Revsure Snowflake Integration Implementation Guide
This page is part of RevSure’s Comprehensive FAQs, your all-in-one hub for answers on capabilities, data, security, scalability, configurability, and more. Click here to return to the FAQ home.
This page is part of RevSure’s Comprehensive FAQs, your all-in-one hub for answers on capabilities, data, security, scalability, configurability, and more. Click here to return to the FAQ home.


1. Navigate to Revsure App Instance
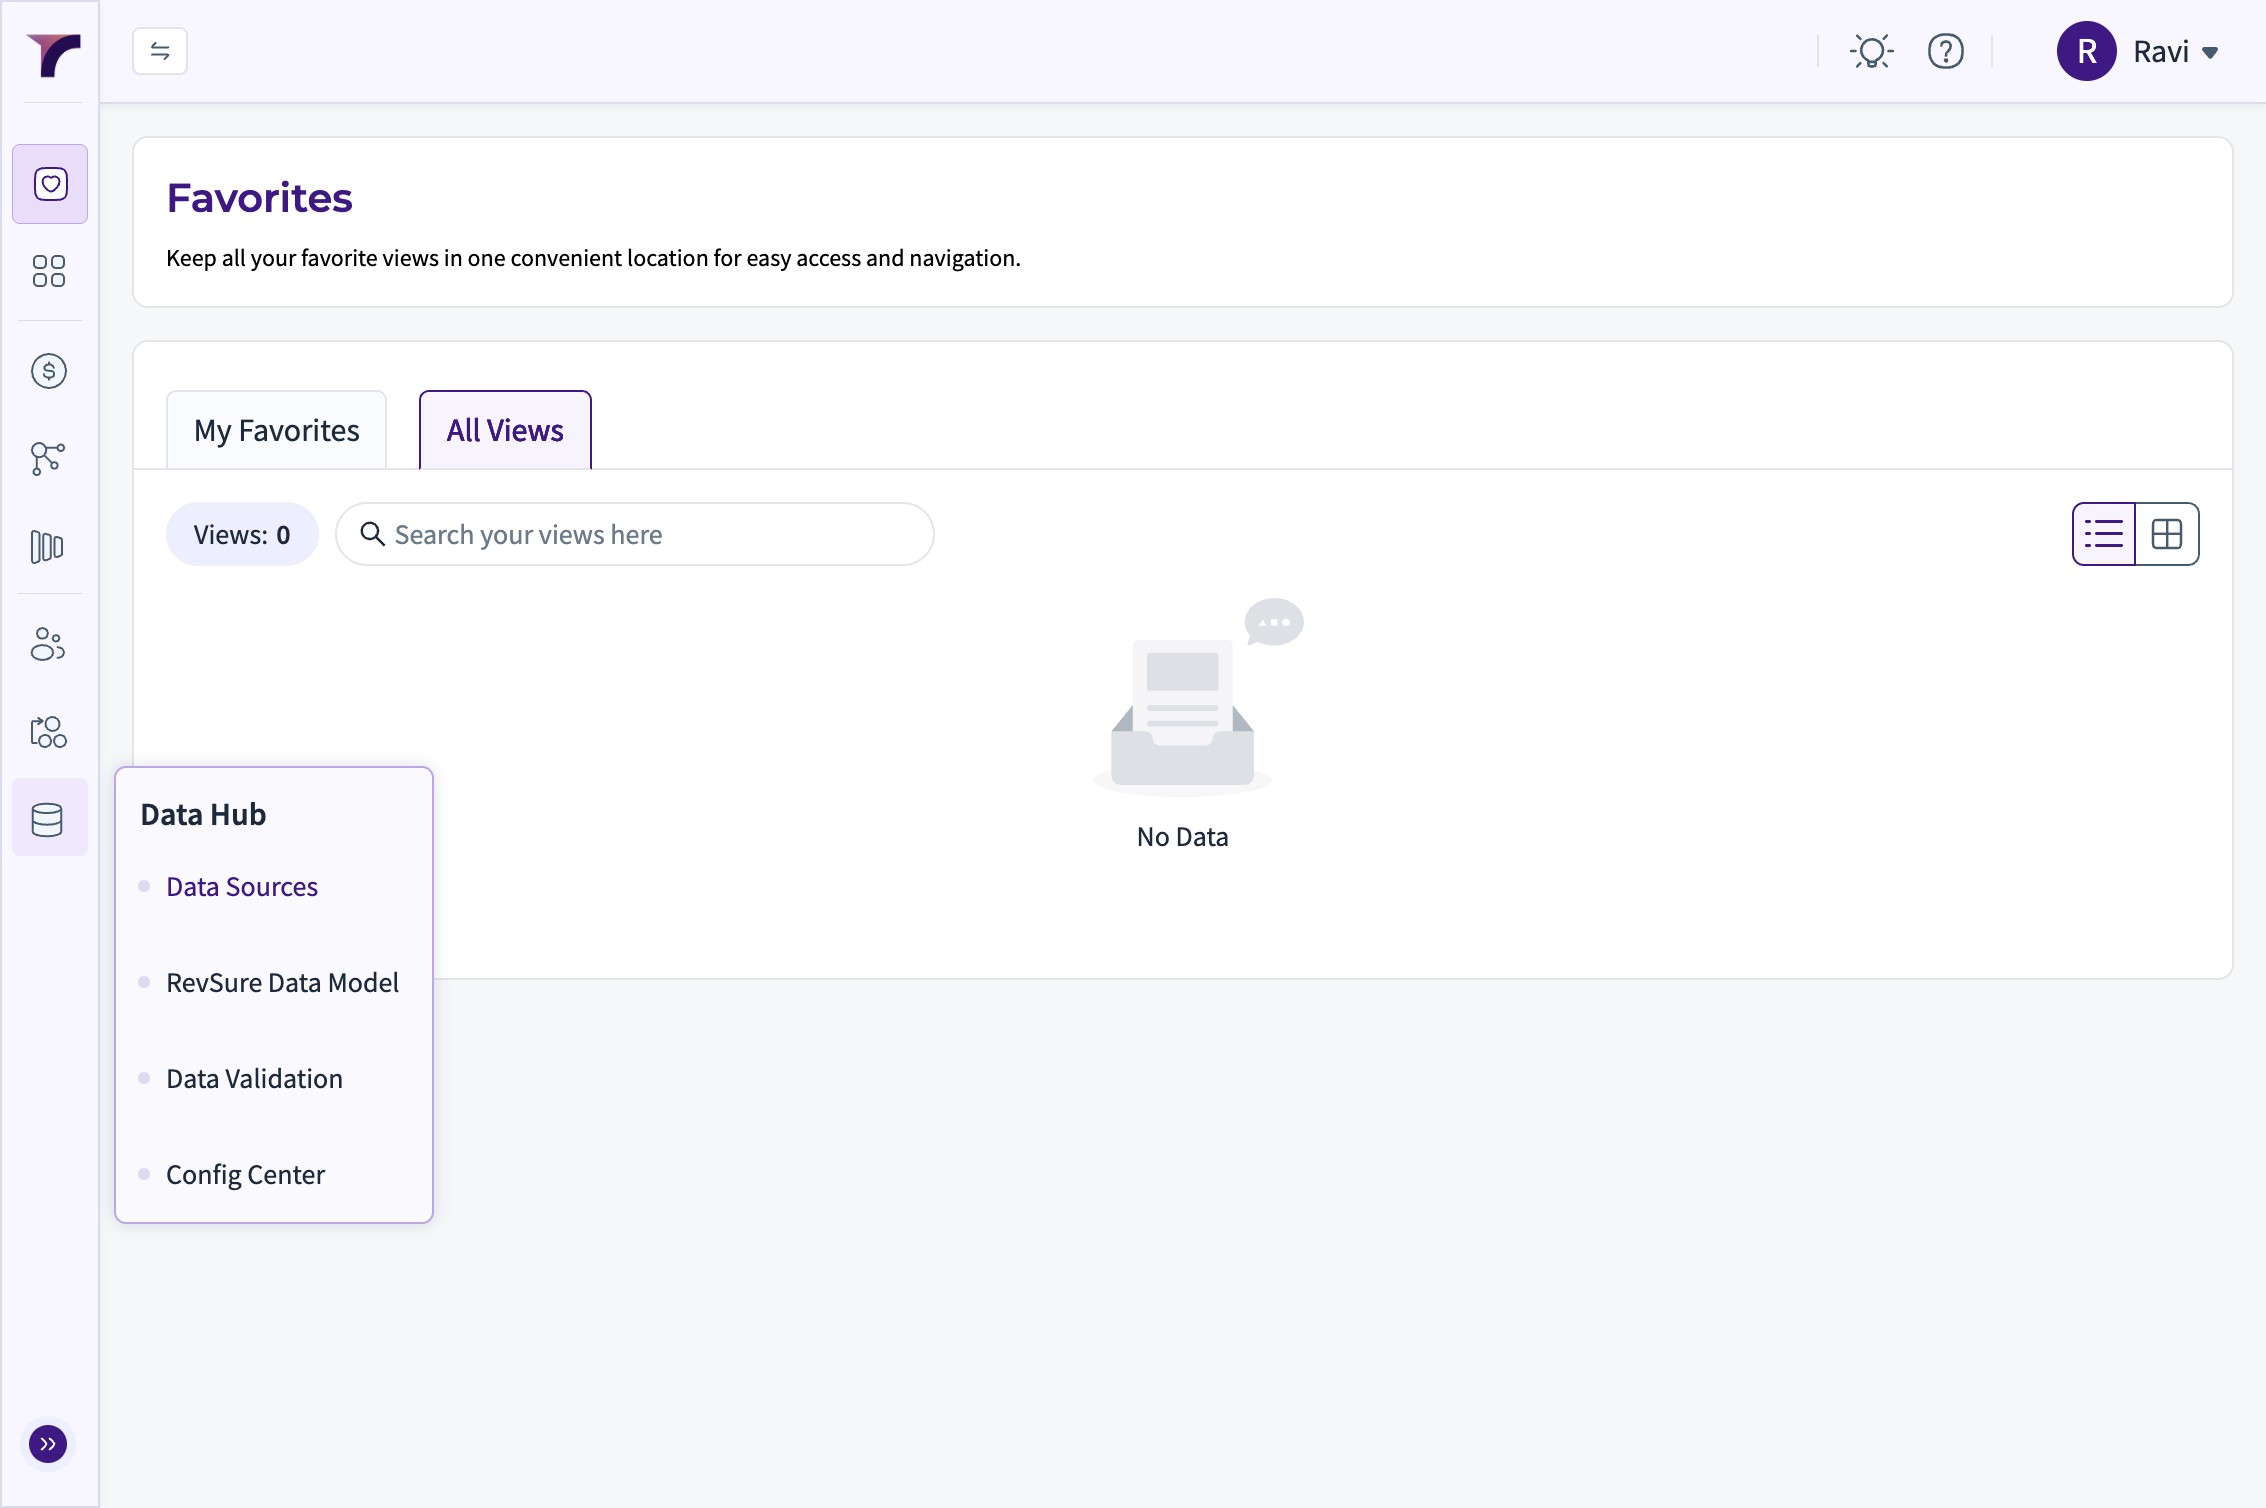
2. Click "Data Hub"
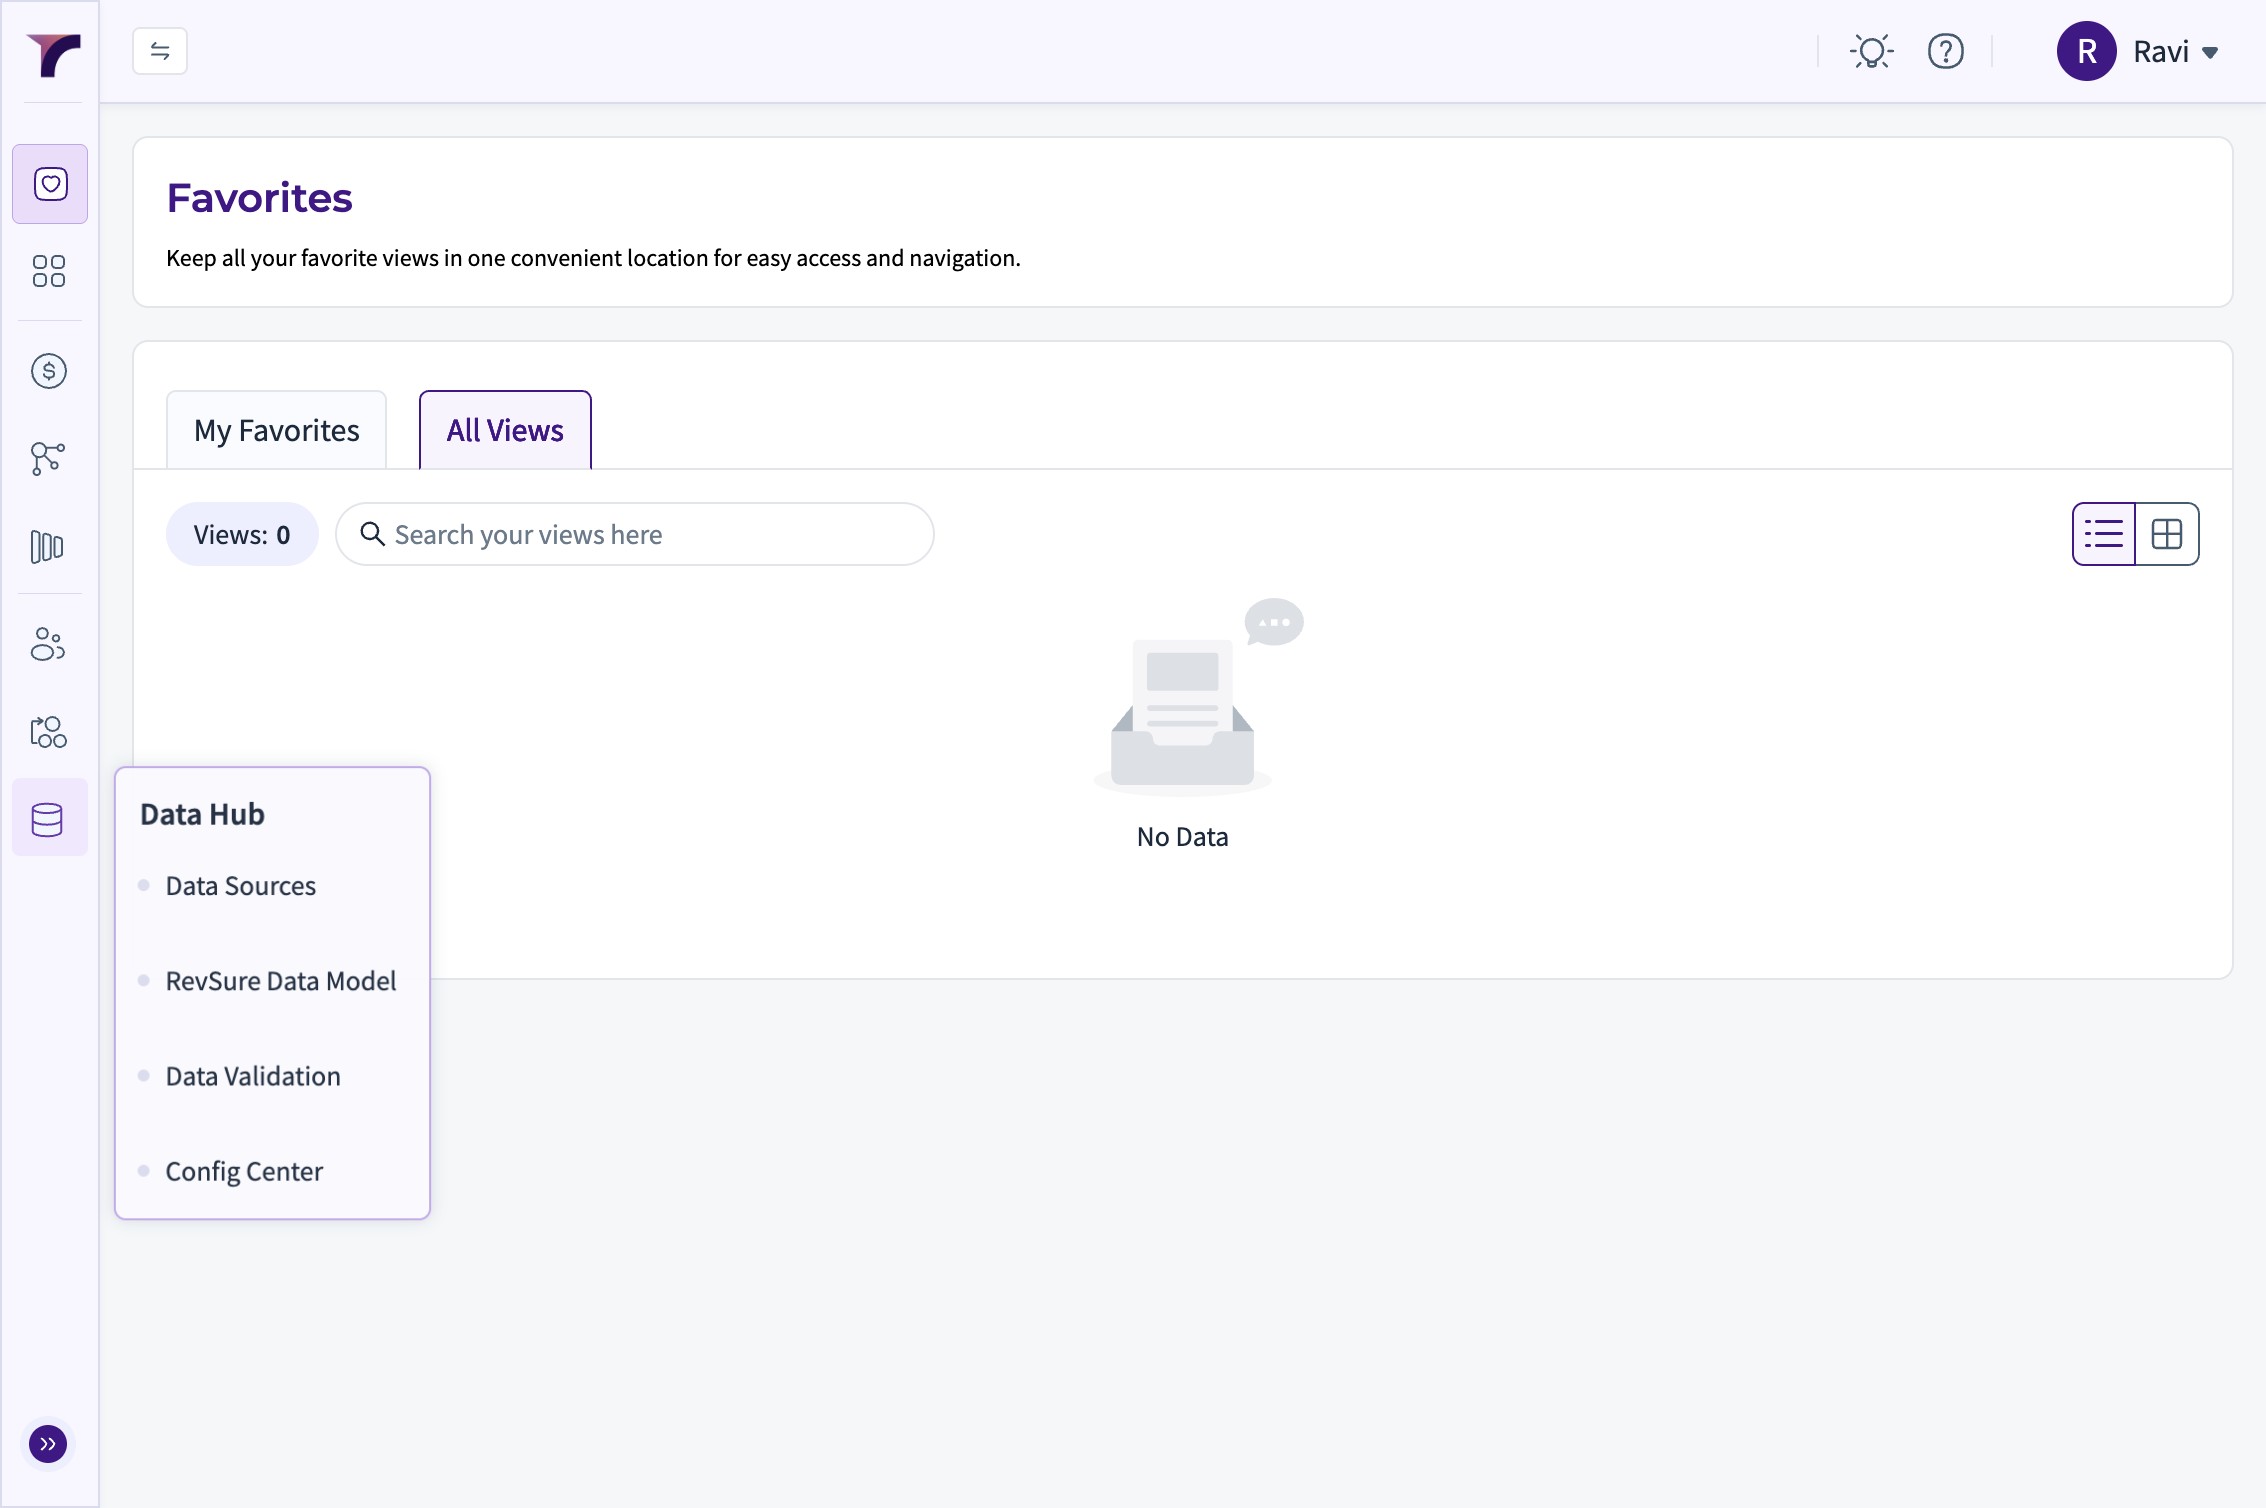
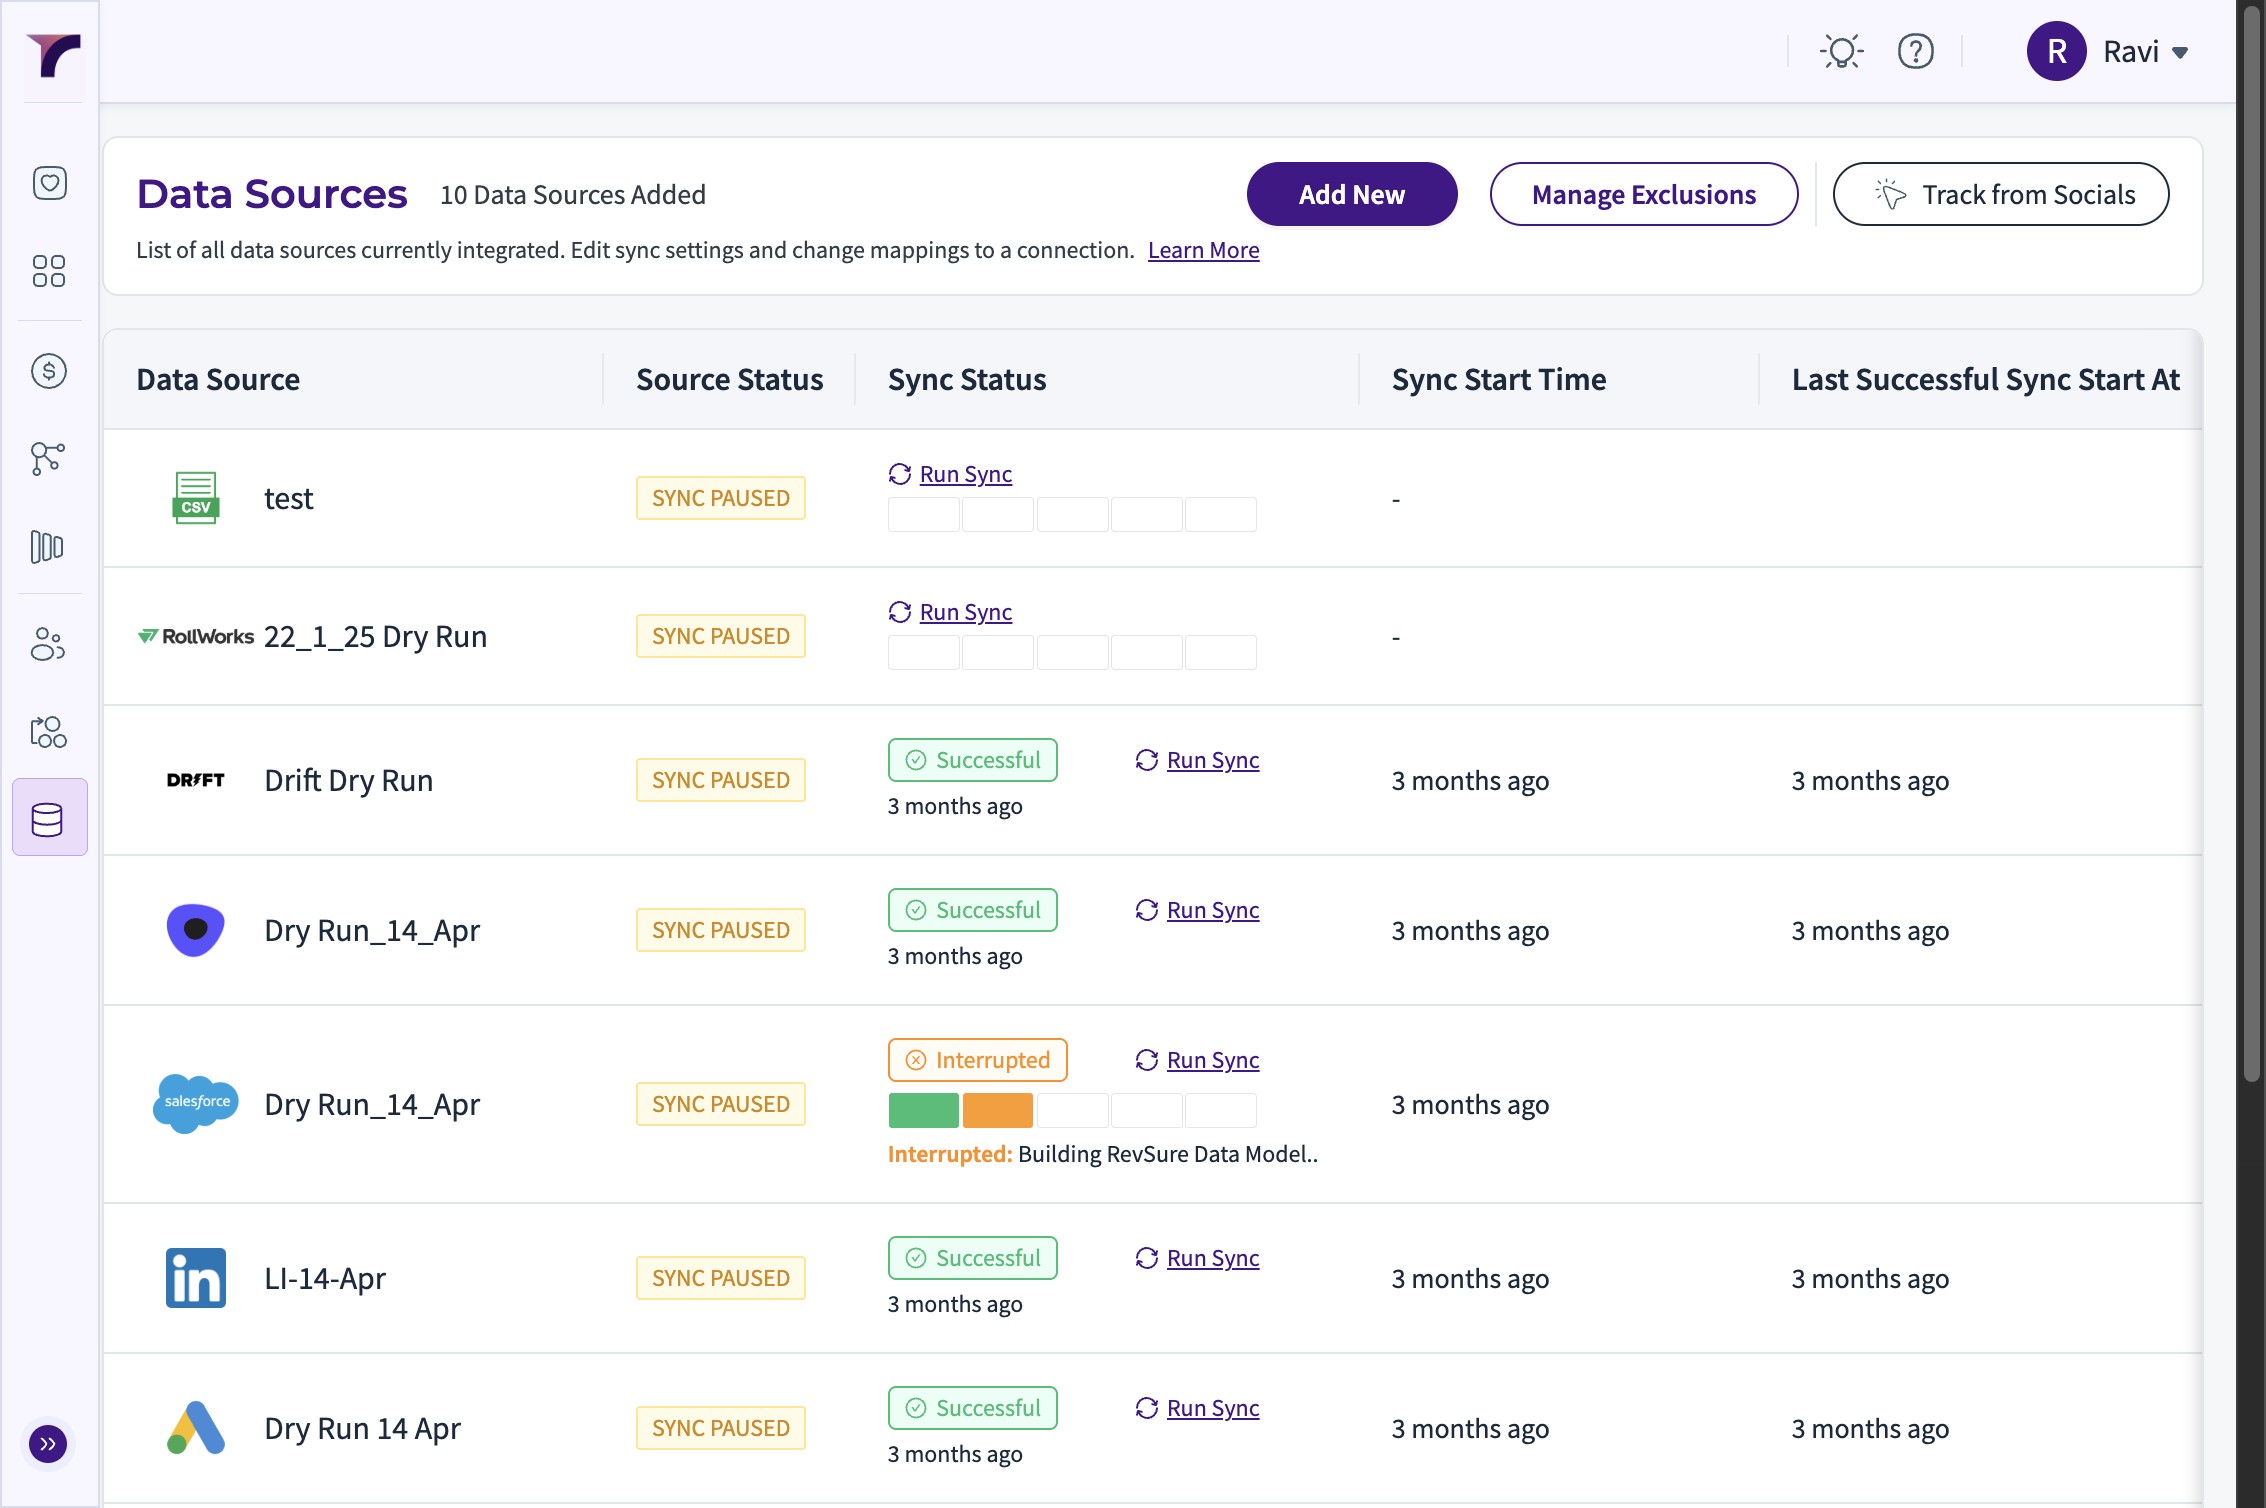
3. Click "Data Sources"
4. In a new tab, navigate to https://app.snowflake.com/
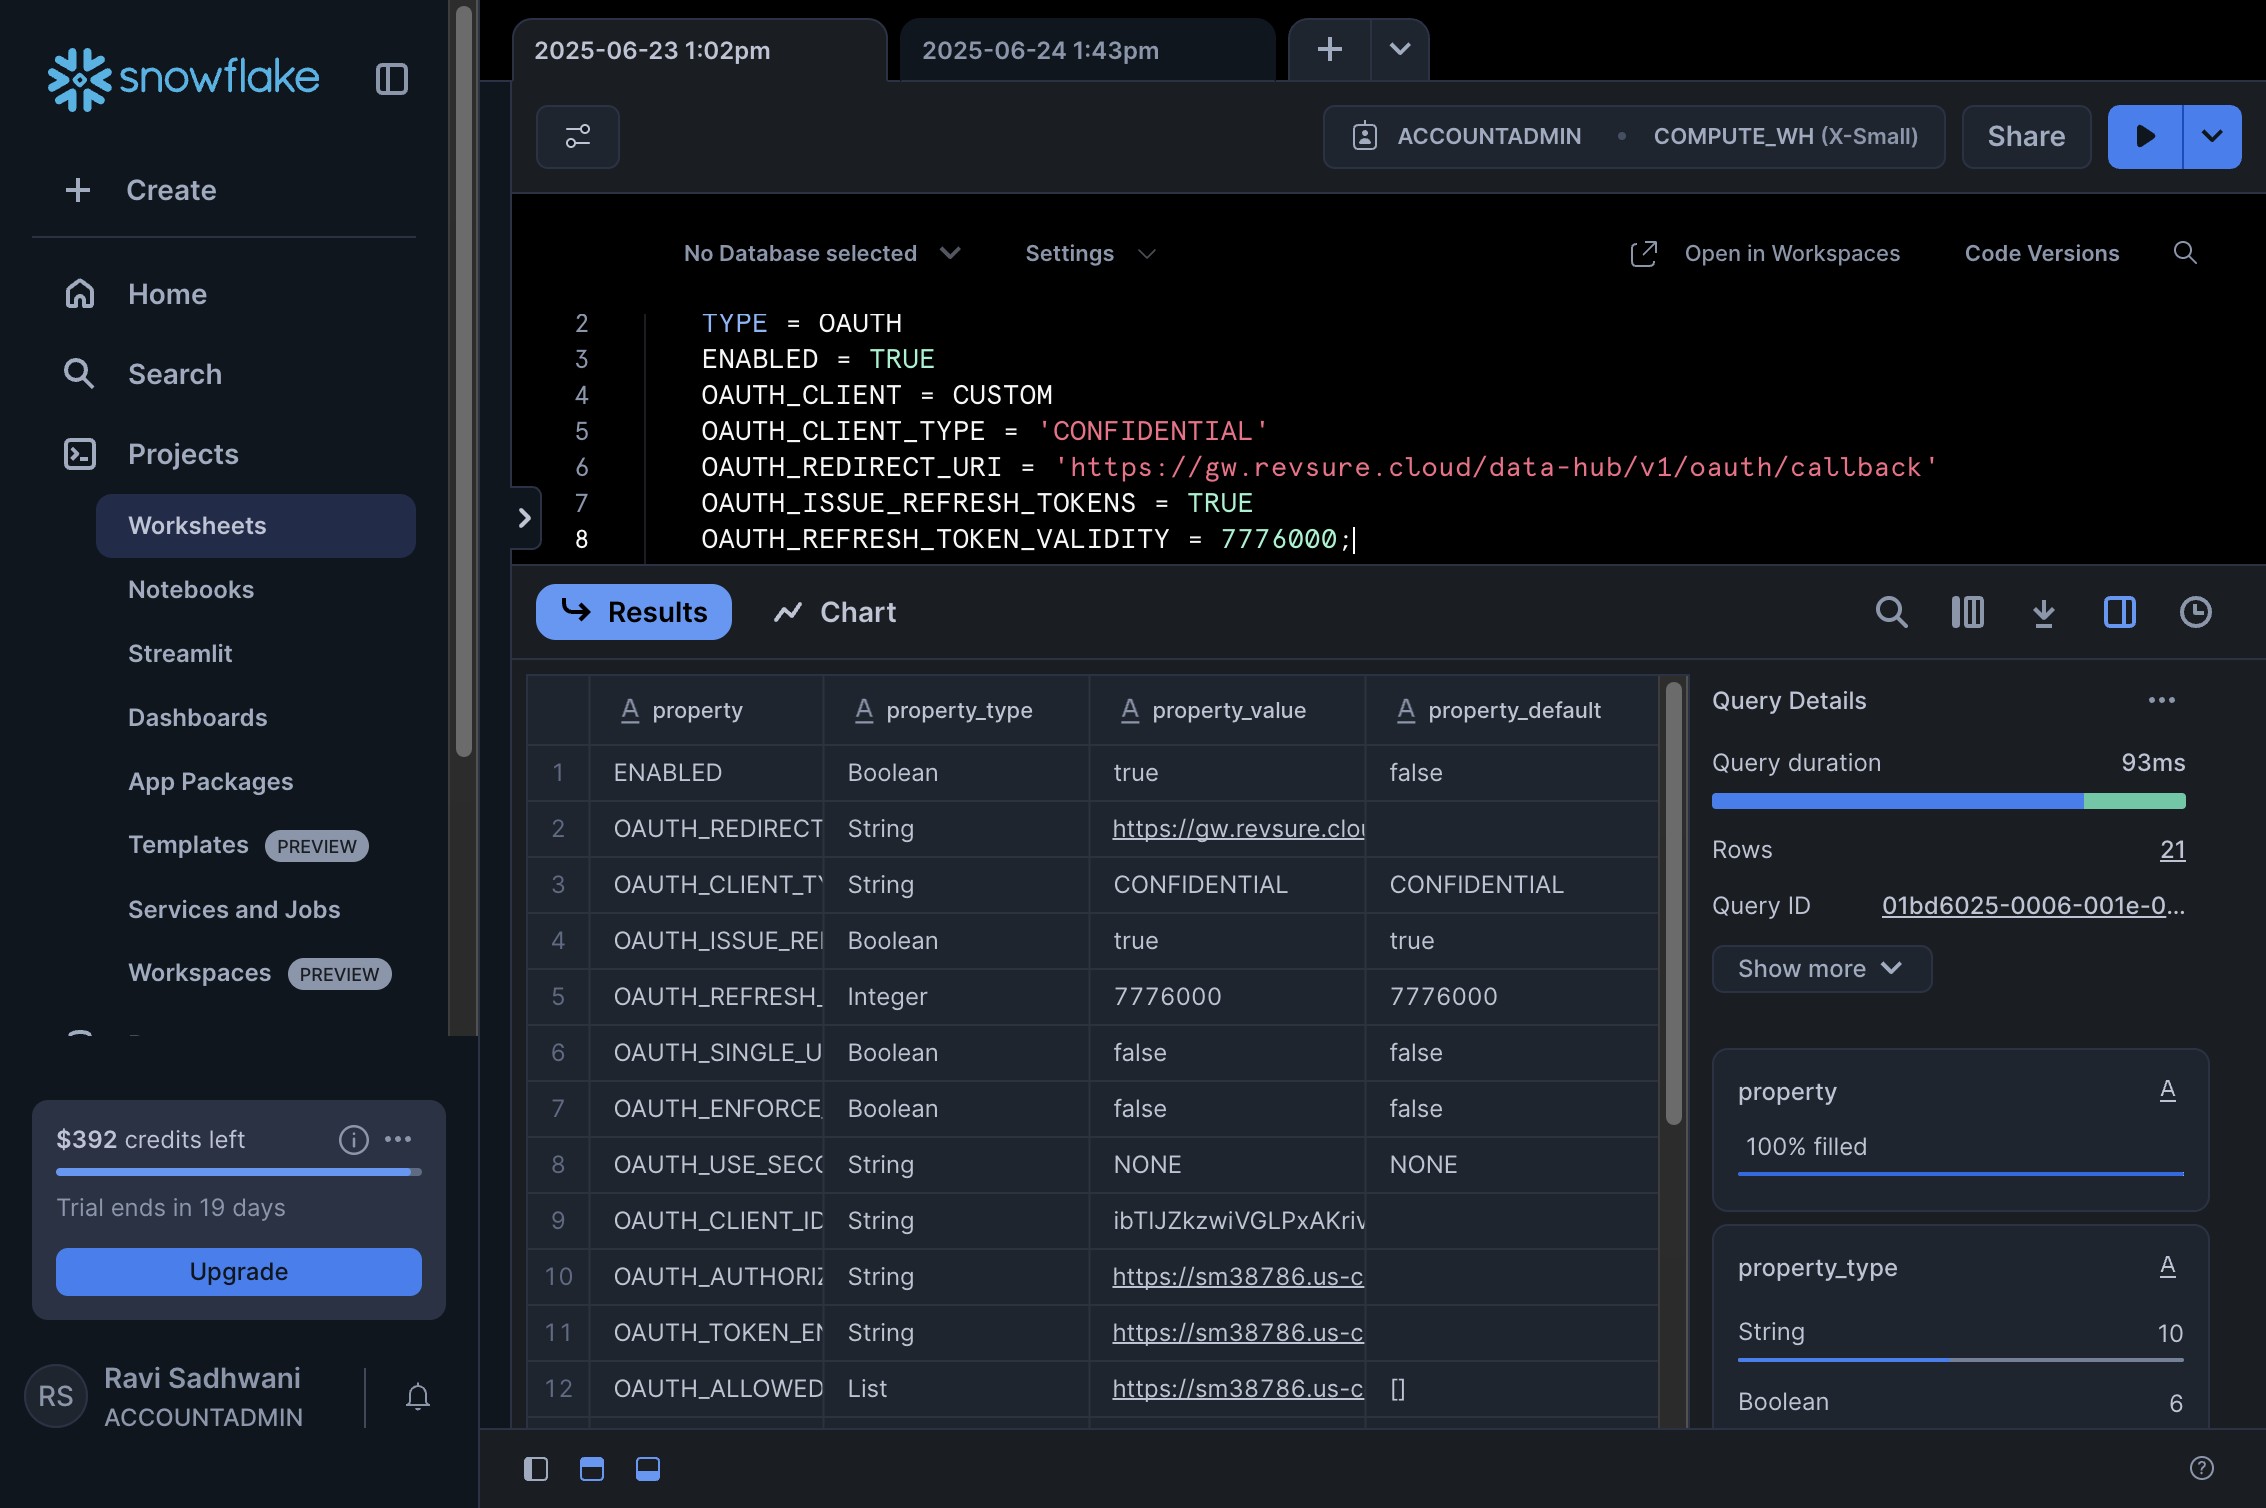
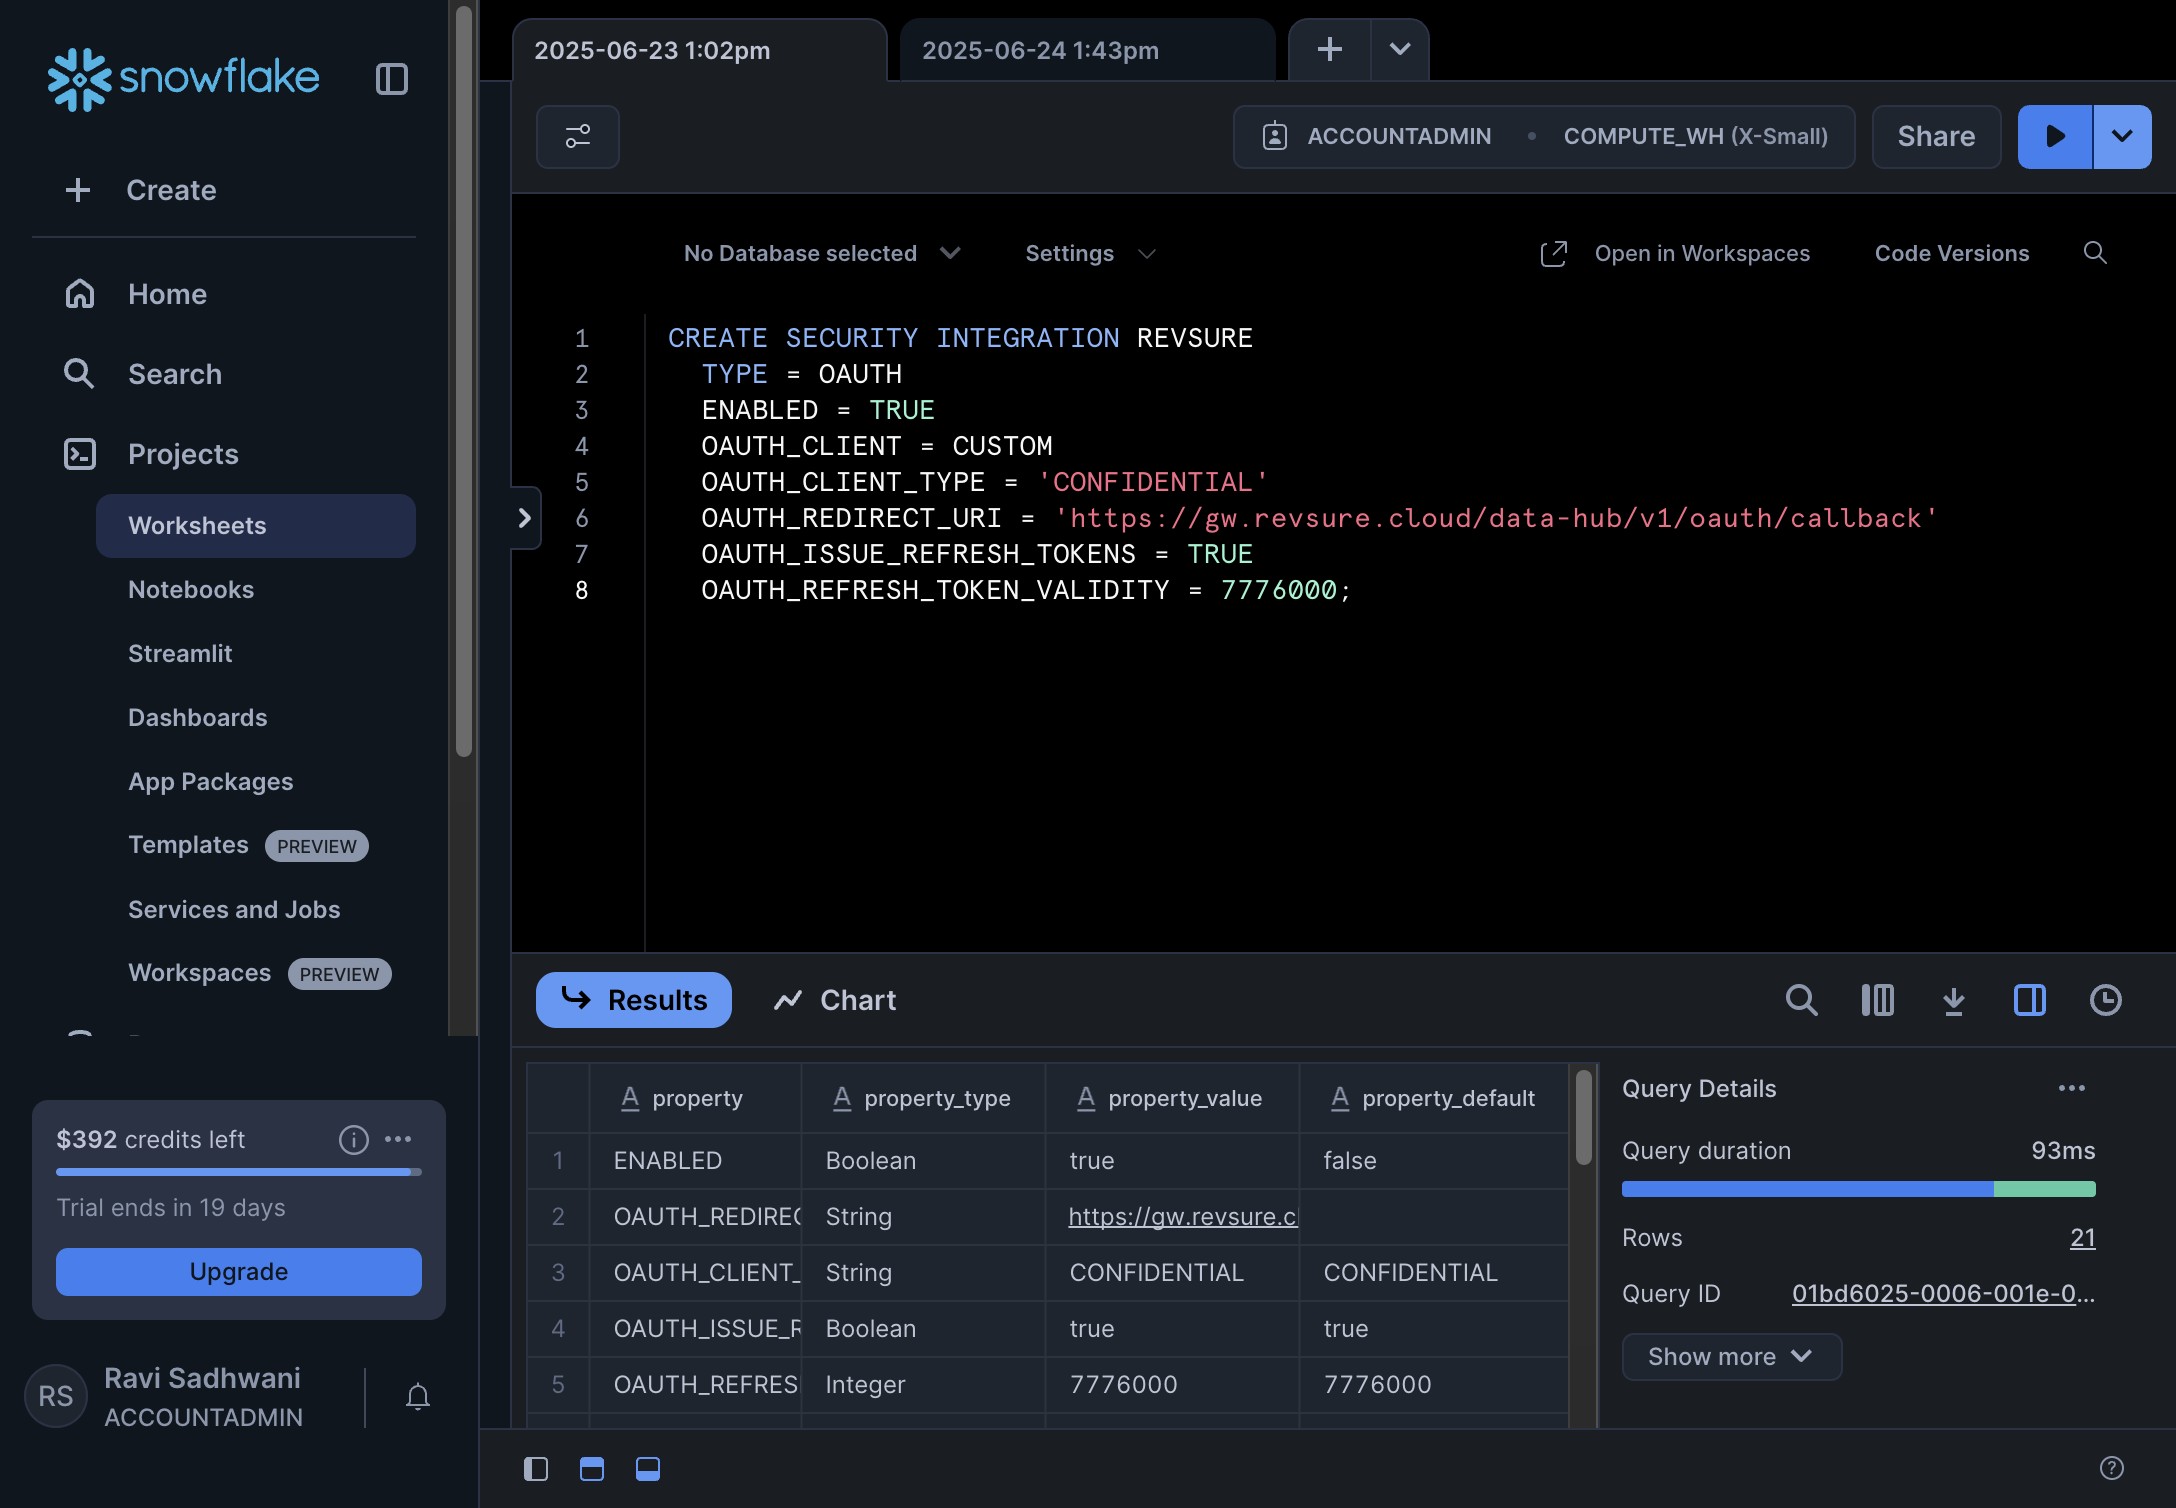
5. Navigate to a SQL Worksheet and run the following command to add Revsure Integration
US :
CREATE SECURITY INTEGRATION REVSURE
TYPE = OAUTH
ENABLED = TRUE
OAUTH_CLIENT = CUSTOM
OAUTH_CLIENT_TYPE = 'CONFIDENTIAL'
OAUTH_REDIRECT_URI = 'https://gw.revsure.cloud/data-hub/v1/oauth/callback'
OAUTH_ISSUE_REFRESH_TOKENS = TRUE
OAUTH_REFRESH_TOKEN_VALIDITY = 7776000;
EU :
CREATE SECURITY INTEGRATION REVSURE
TYPE = OAUTH
ENABLED = TRUE
OAUTH_CLIENT = CUSTOM
OAUTH_CLIENT_TYPE = 'CONFIDENTIAL'
OAUTH_REDIRECT_URI = 'https://gw.revsure-eu.cloud/data-hub/v1/oauth/callback'
OAUTH_ISSUE_REFRESH_TOKENS = TRUE
OAUTH_REFRESH_TOKEN_VALIDITY = 7776000;
6. Execute the Query
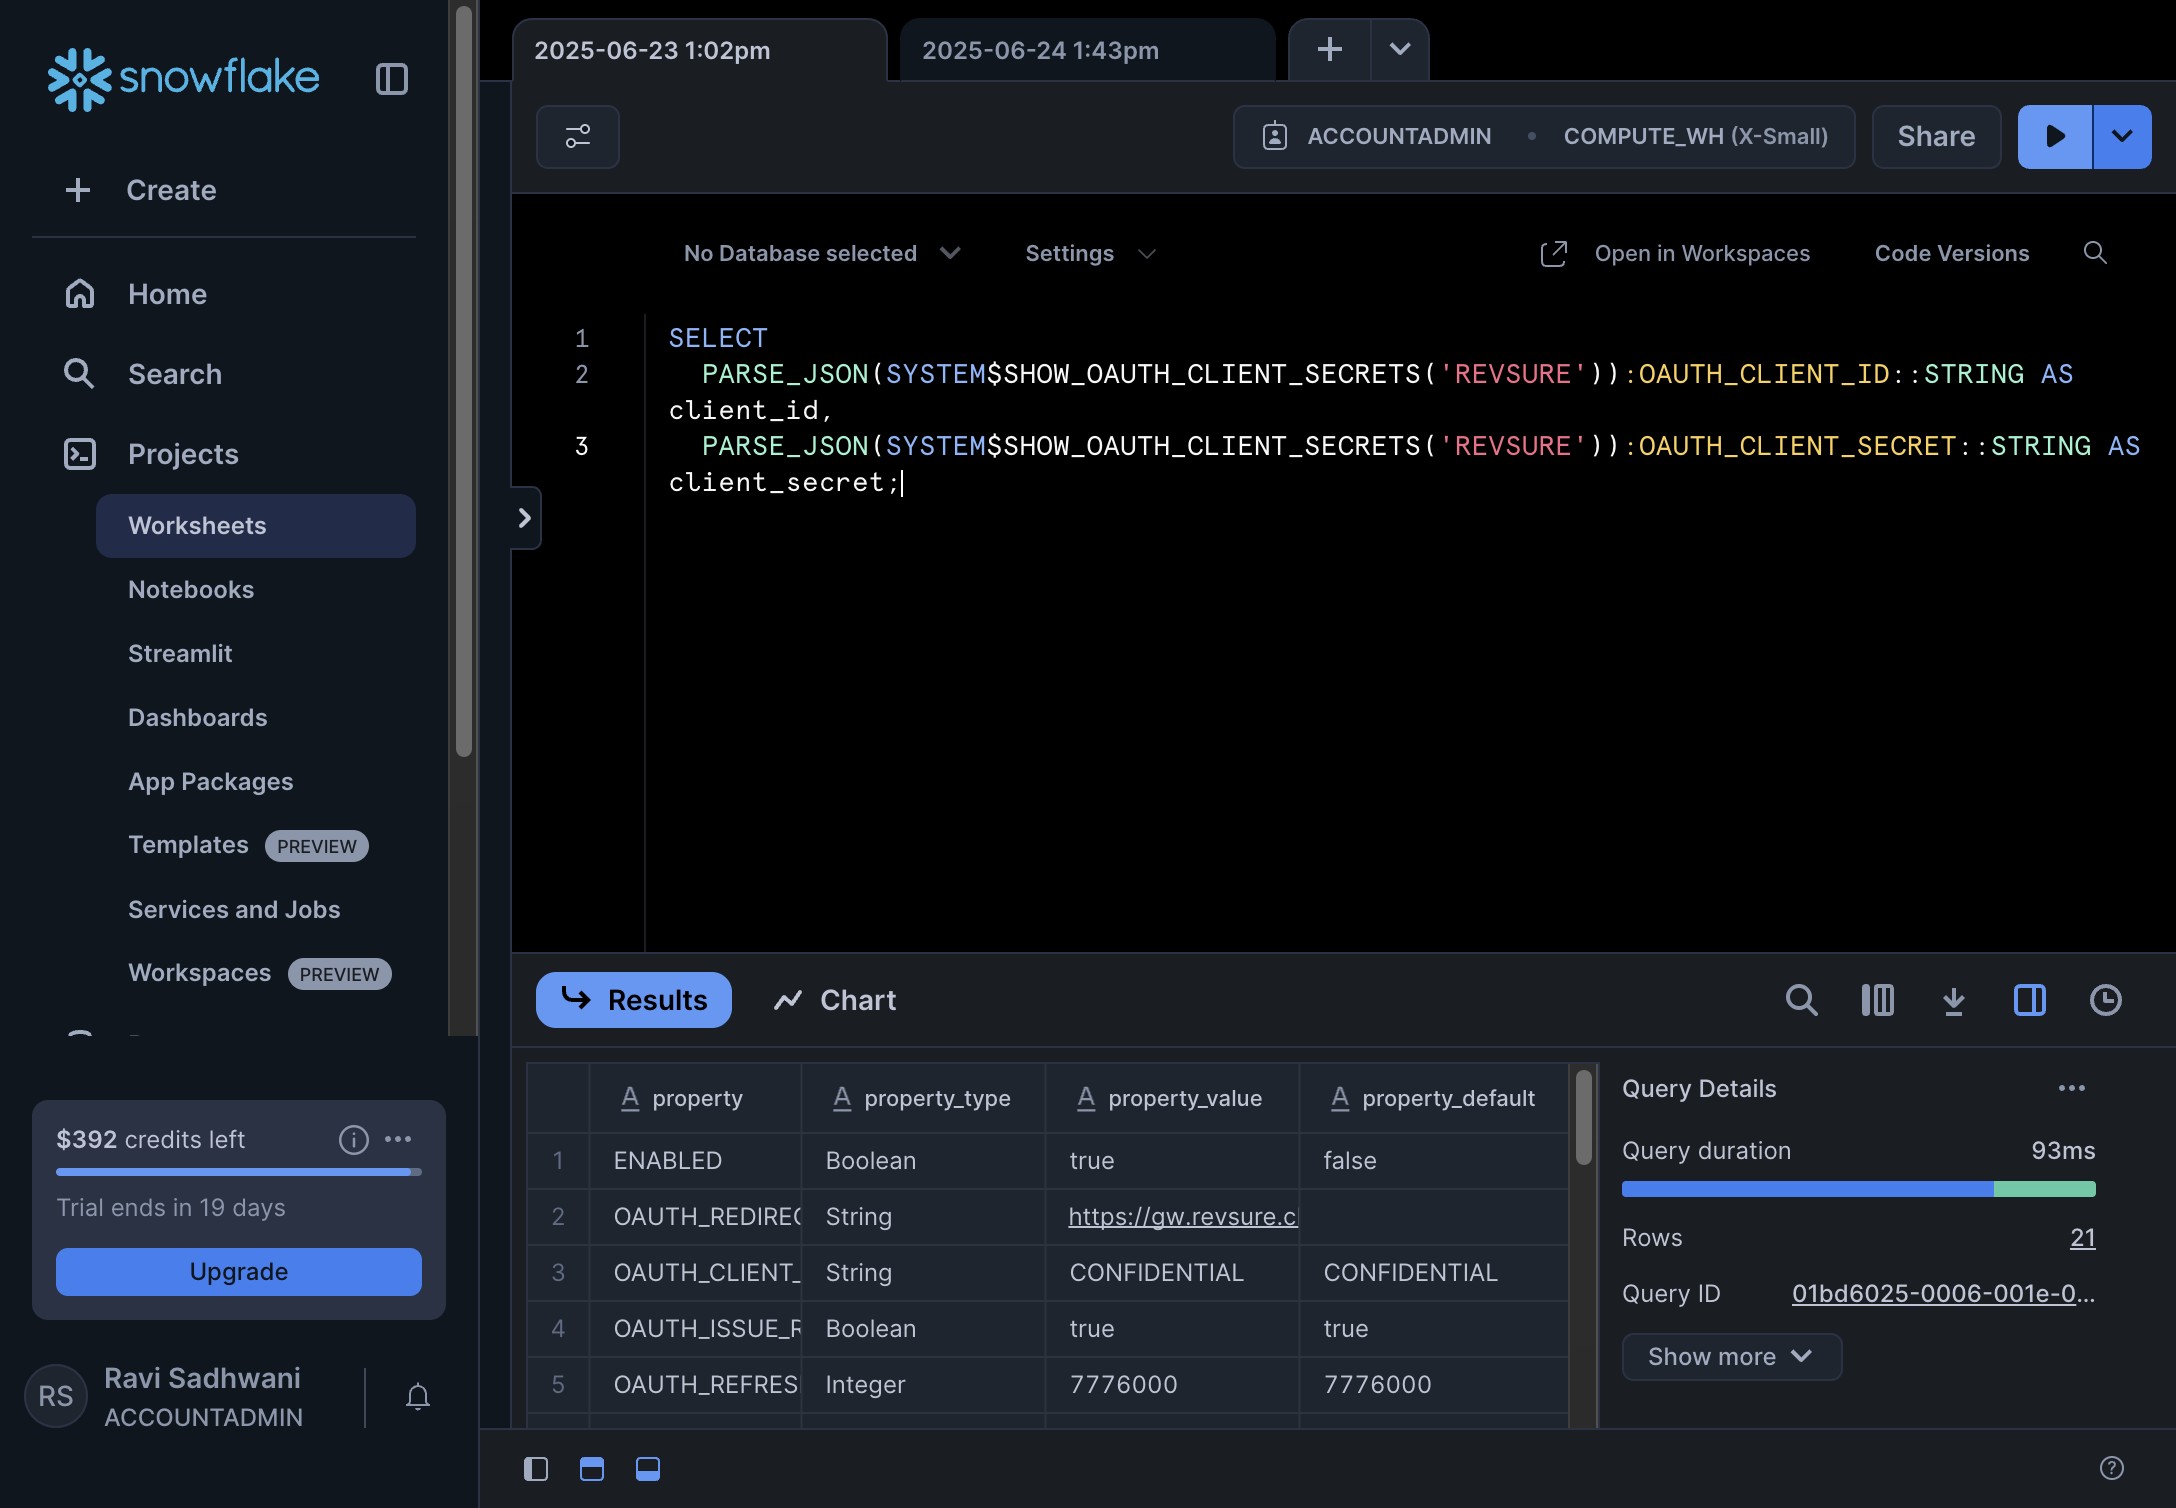
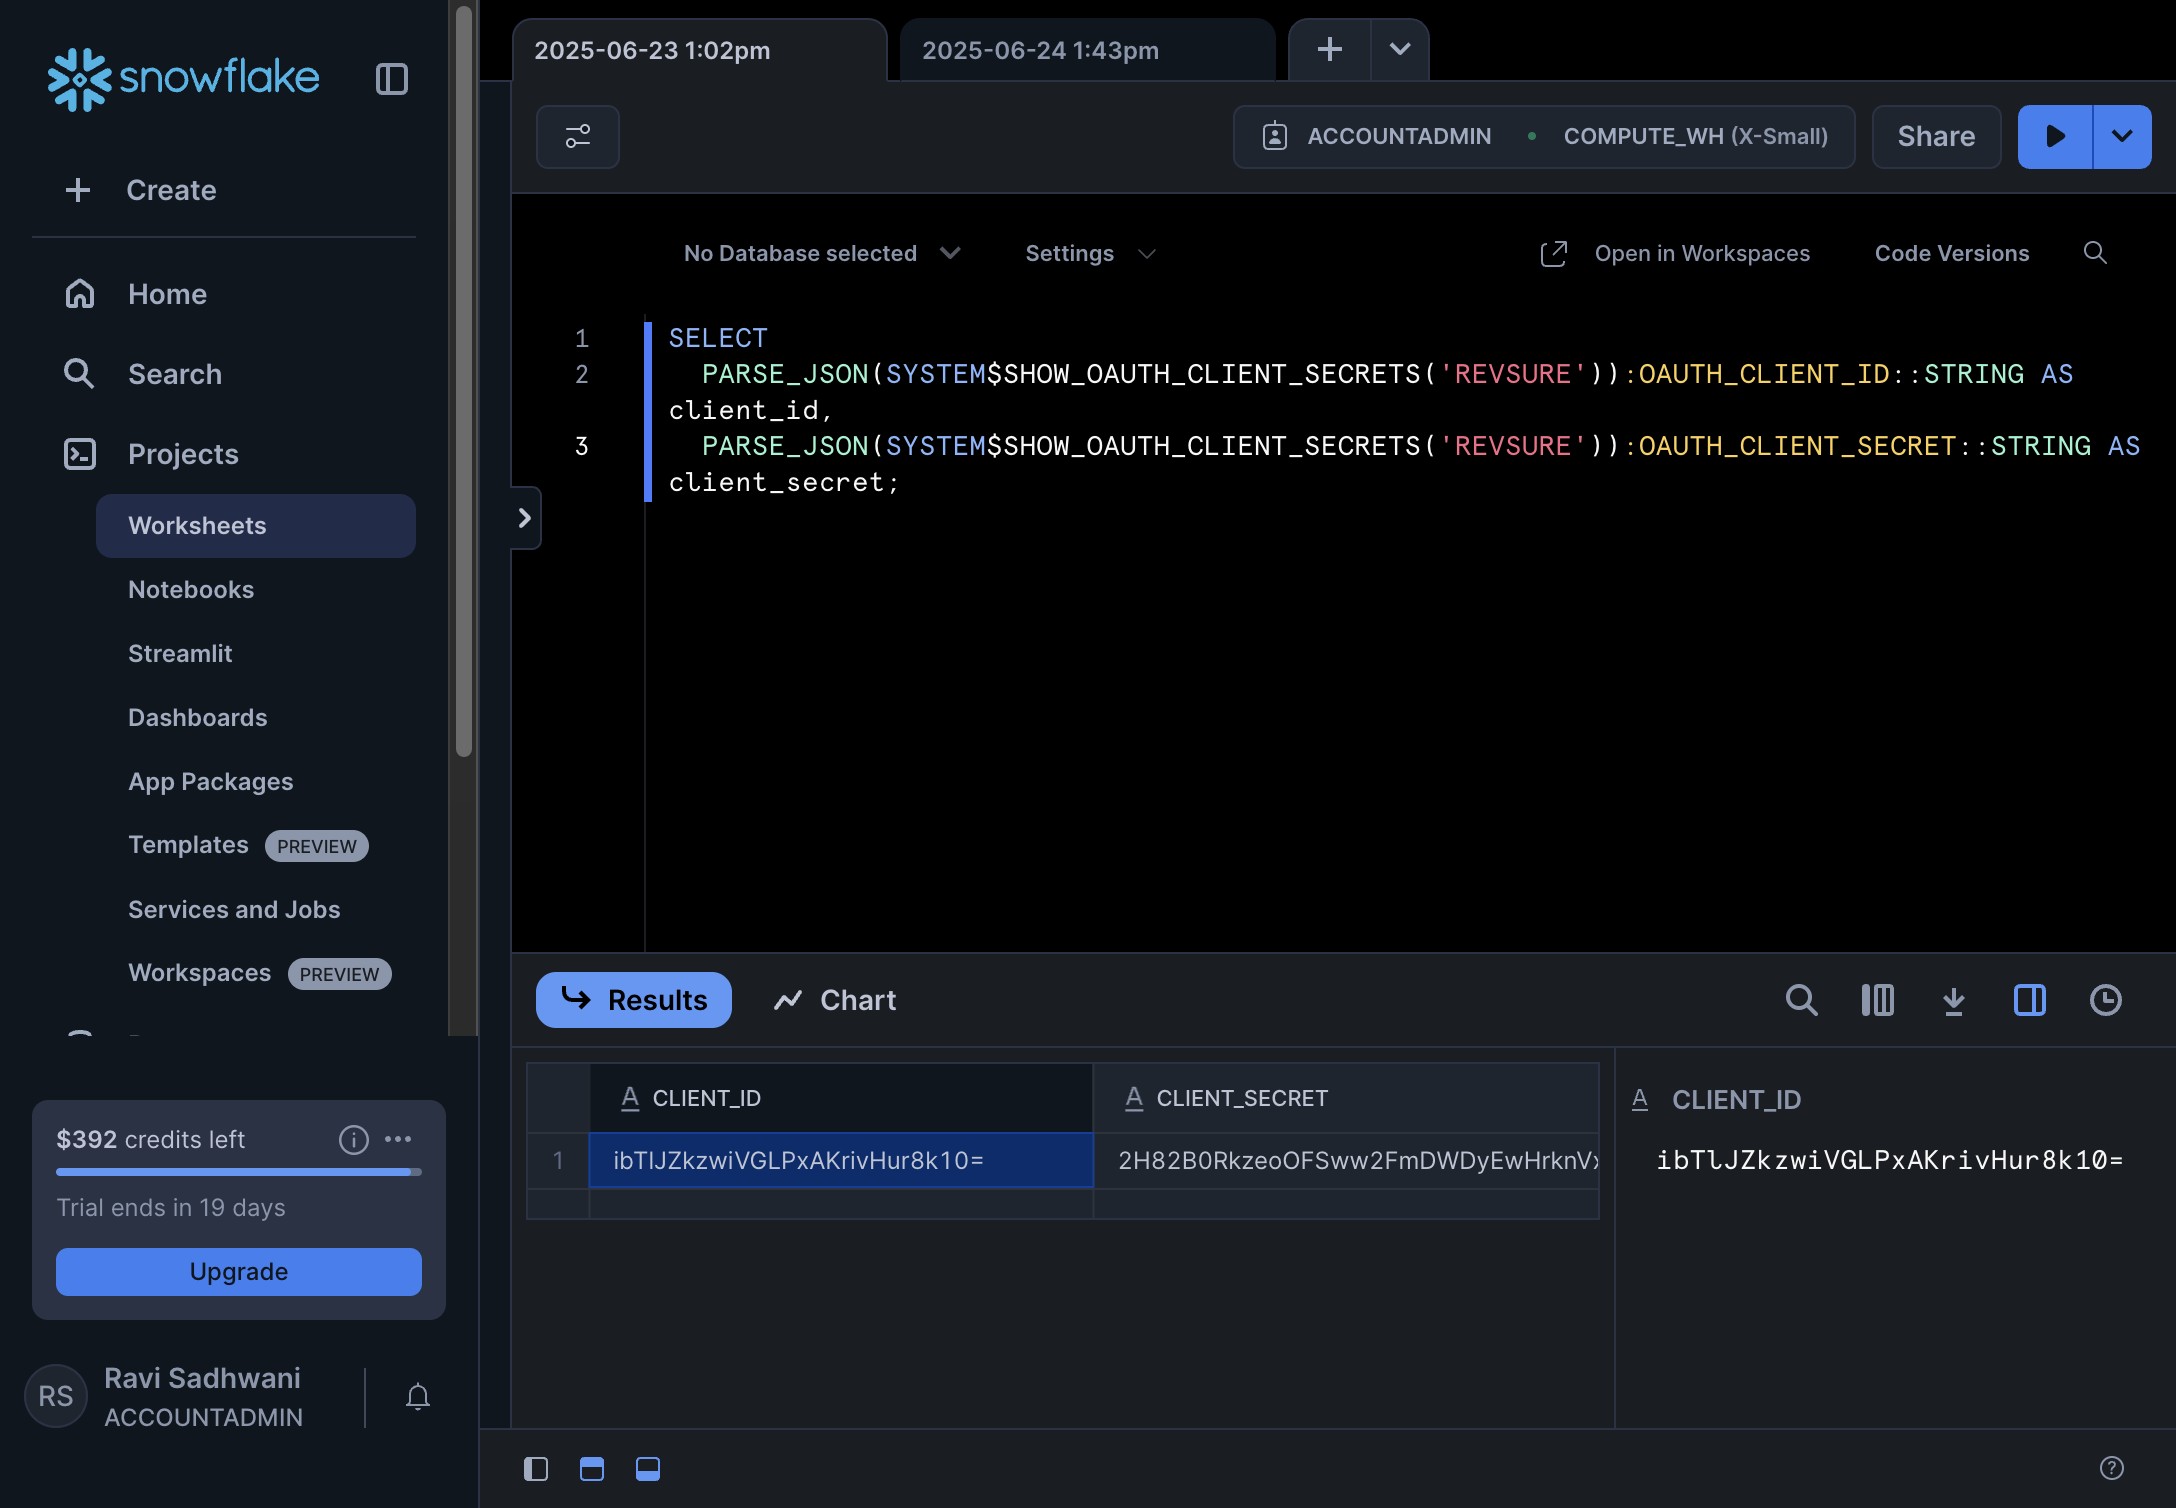
7. After Integration is created, run the following command to fetch the Client Id and Client Secret
SELECT
PARSE_JSON(SYSTEM$SHOW_OAUTH_CLIENT_SECRETS('REVSURE')):OAUTH_CLIENT_ID::STRING AS client_id,
PARSE_JSON(SYSTEM$SHOW_OAUTH_CLIENT_SECRETS('REVSURE')):OAUTH_CLIENT_SECRET::STRING AS client_secret;
8. Retrieve Client ID
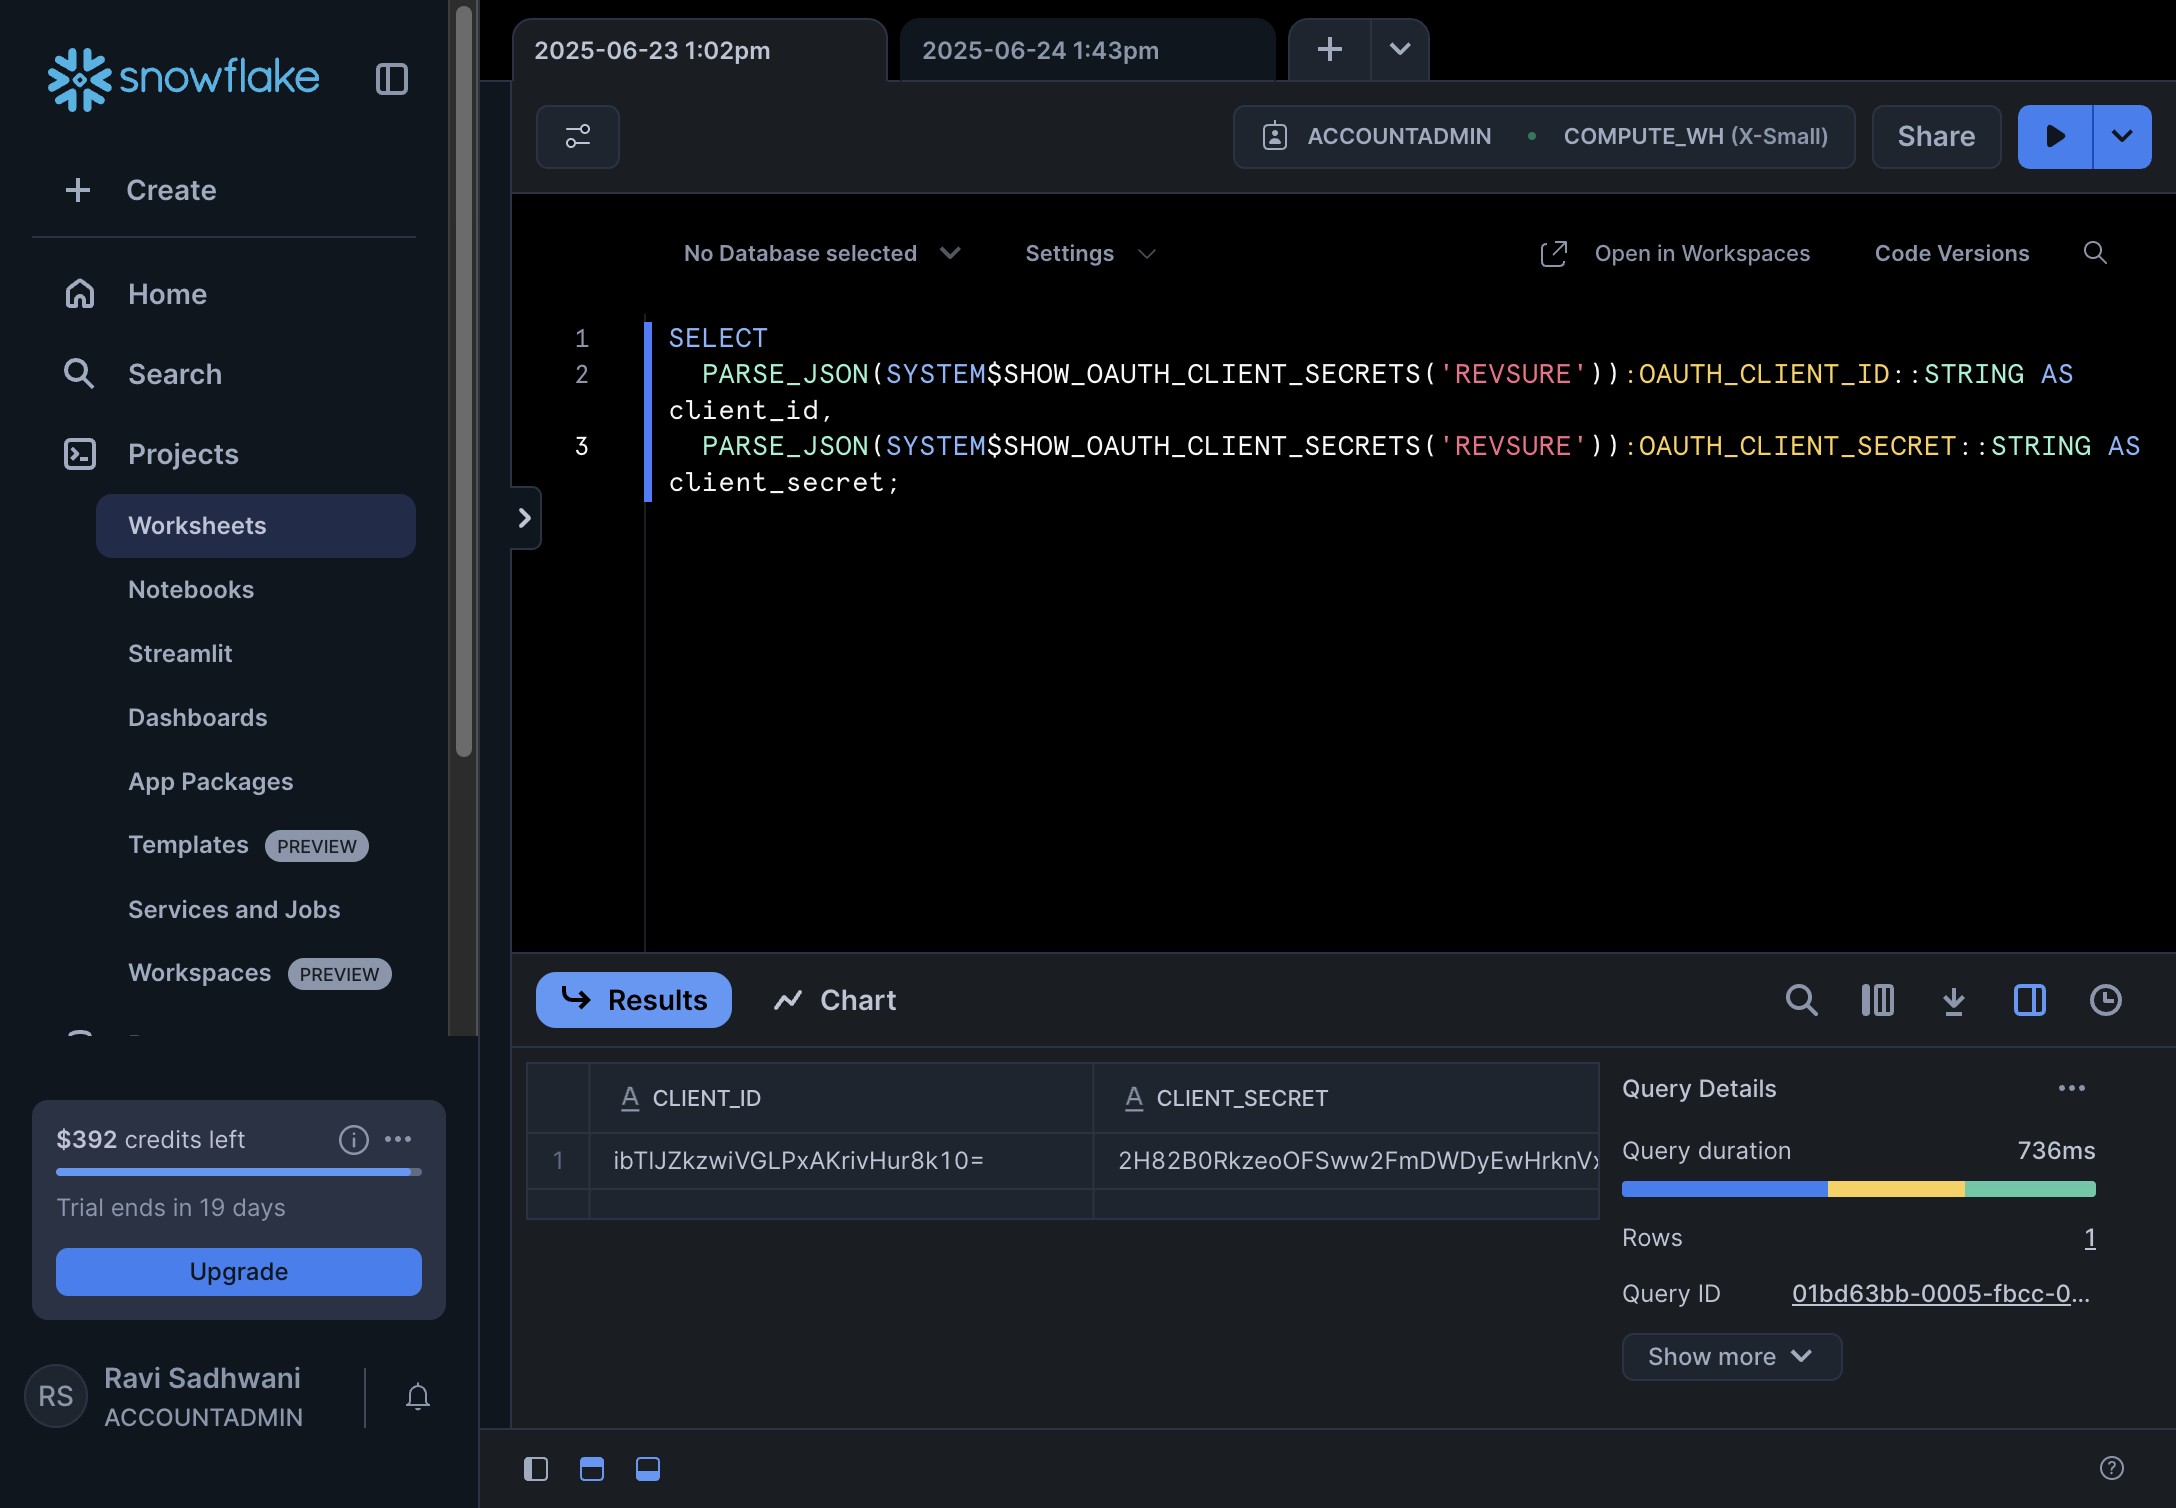
9. and Client Secret
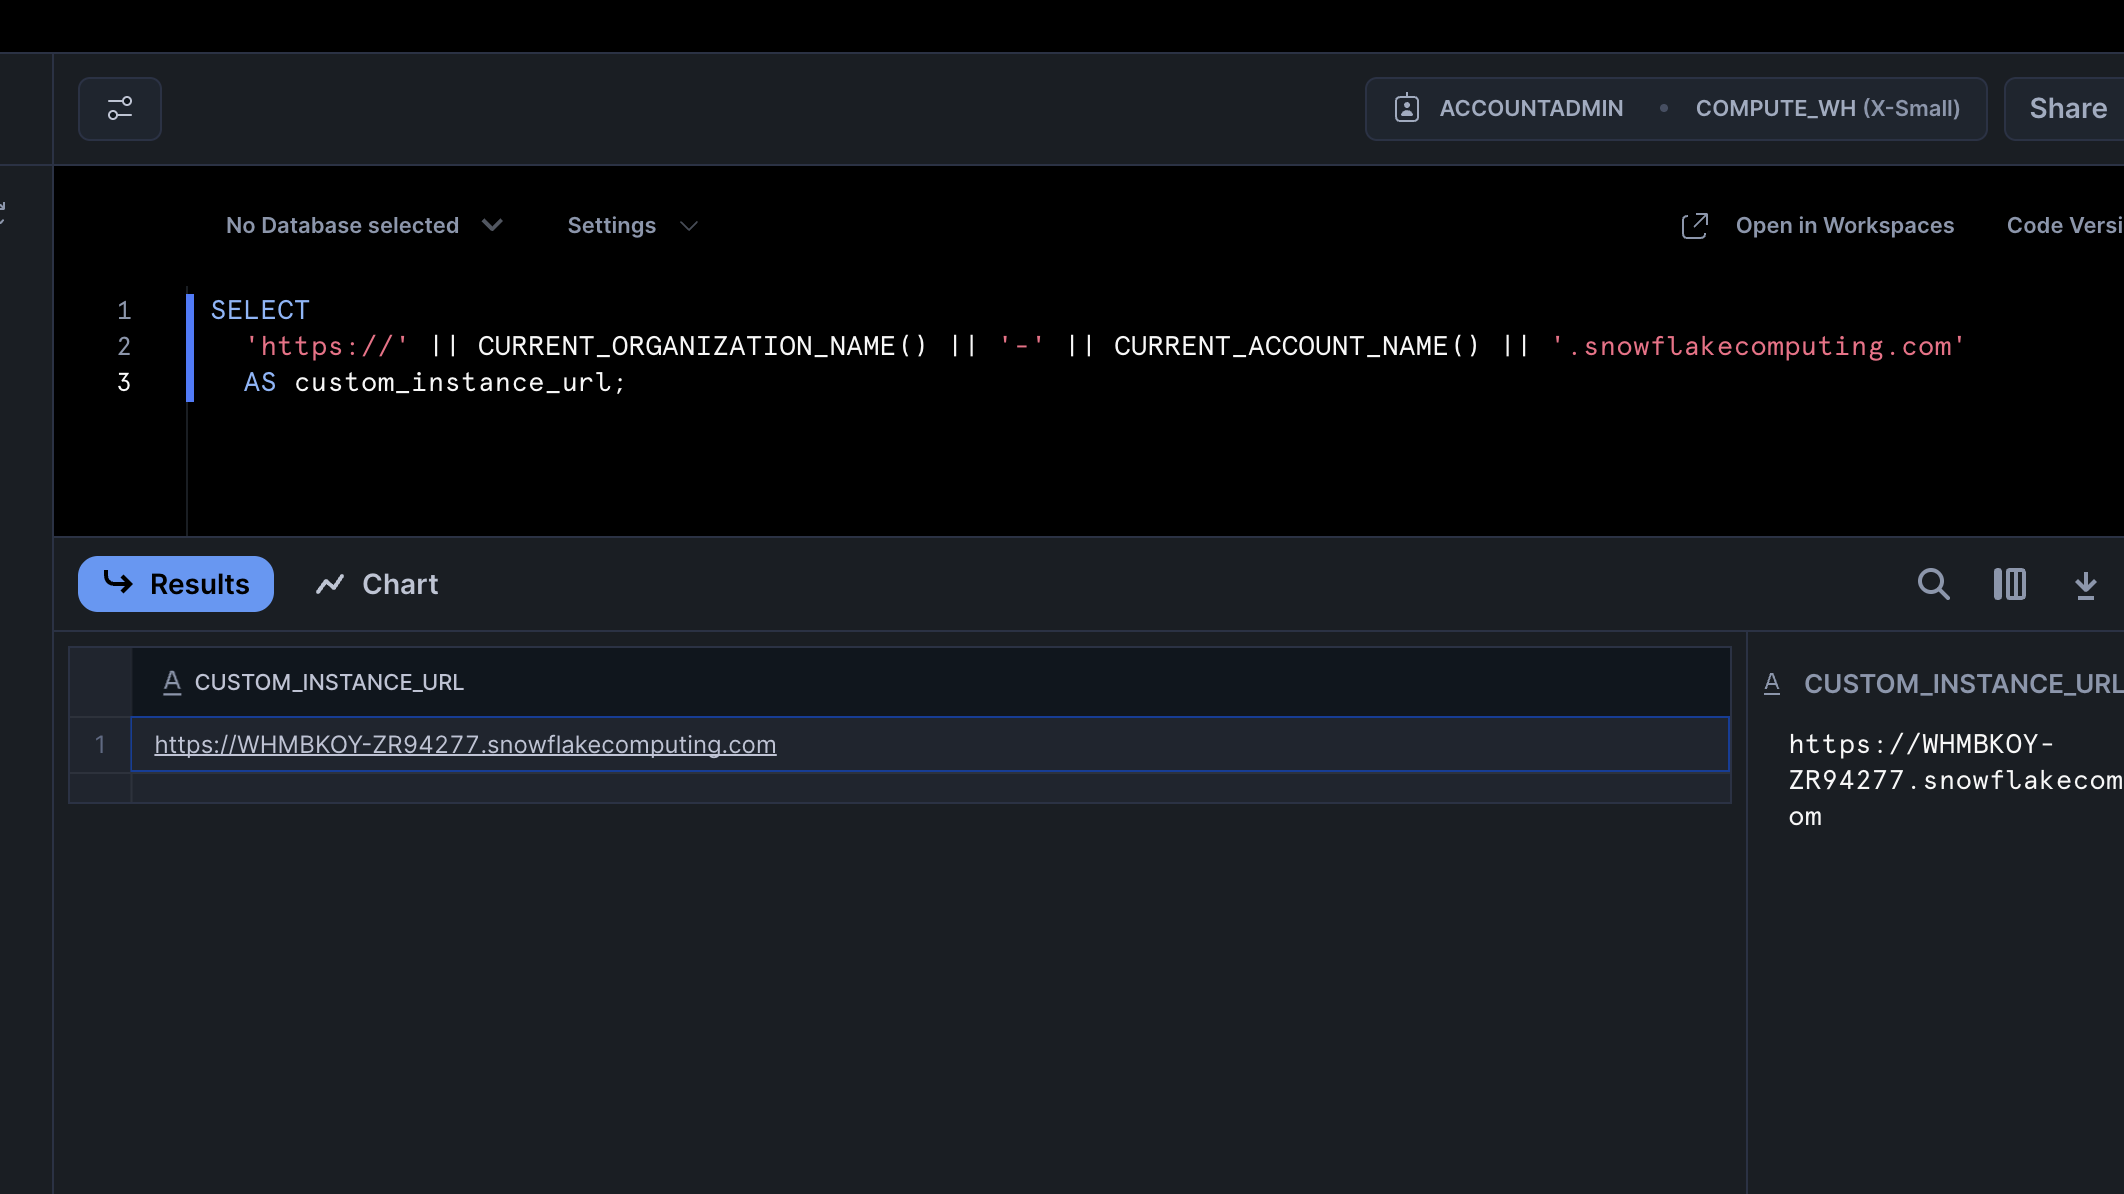
10. Next, we also need the custom Instance URL for the connection.
Execute the following query :
SELECT
'https://' || CURRENT_ORGANIZATION_NAME() || '-' || CURRENT_ACCOUNT_NAME() || '.snowflakecomputing.com'
AS custom_instance_url;
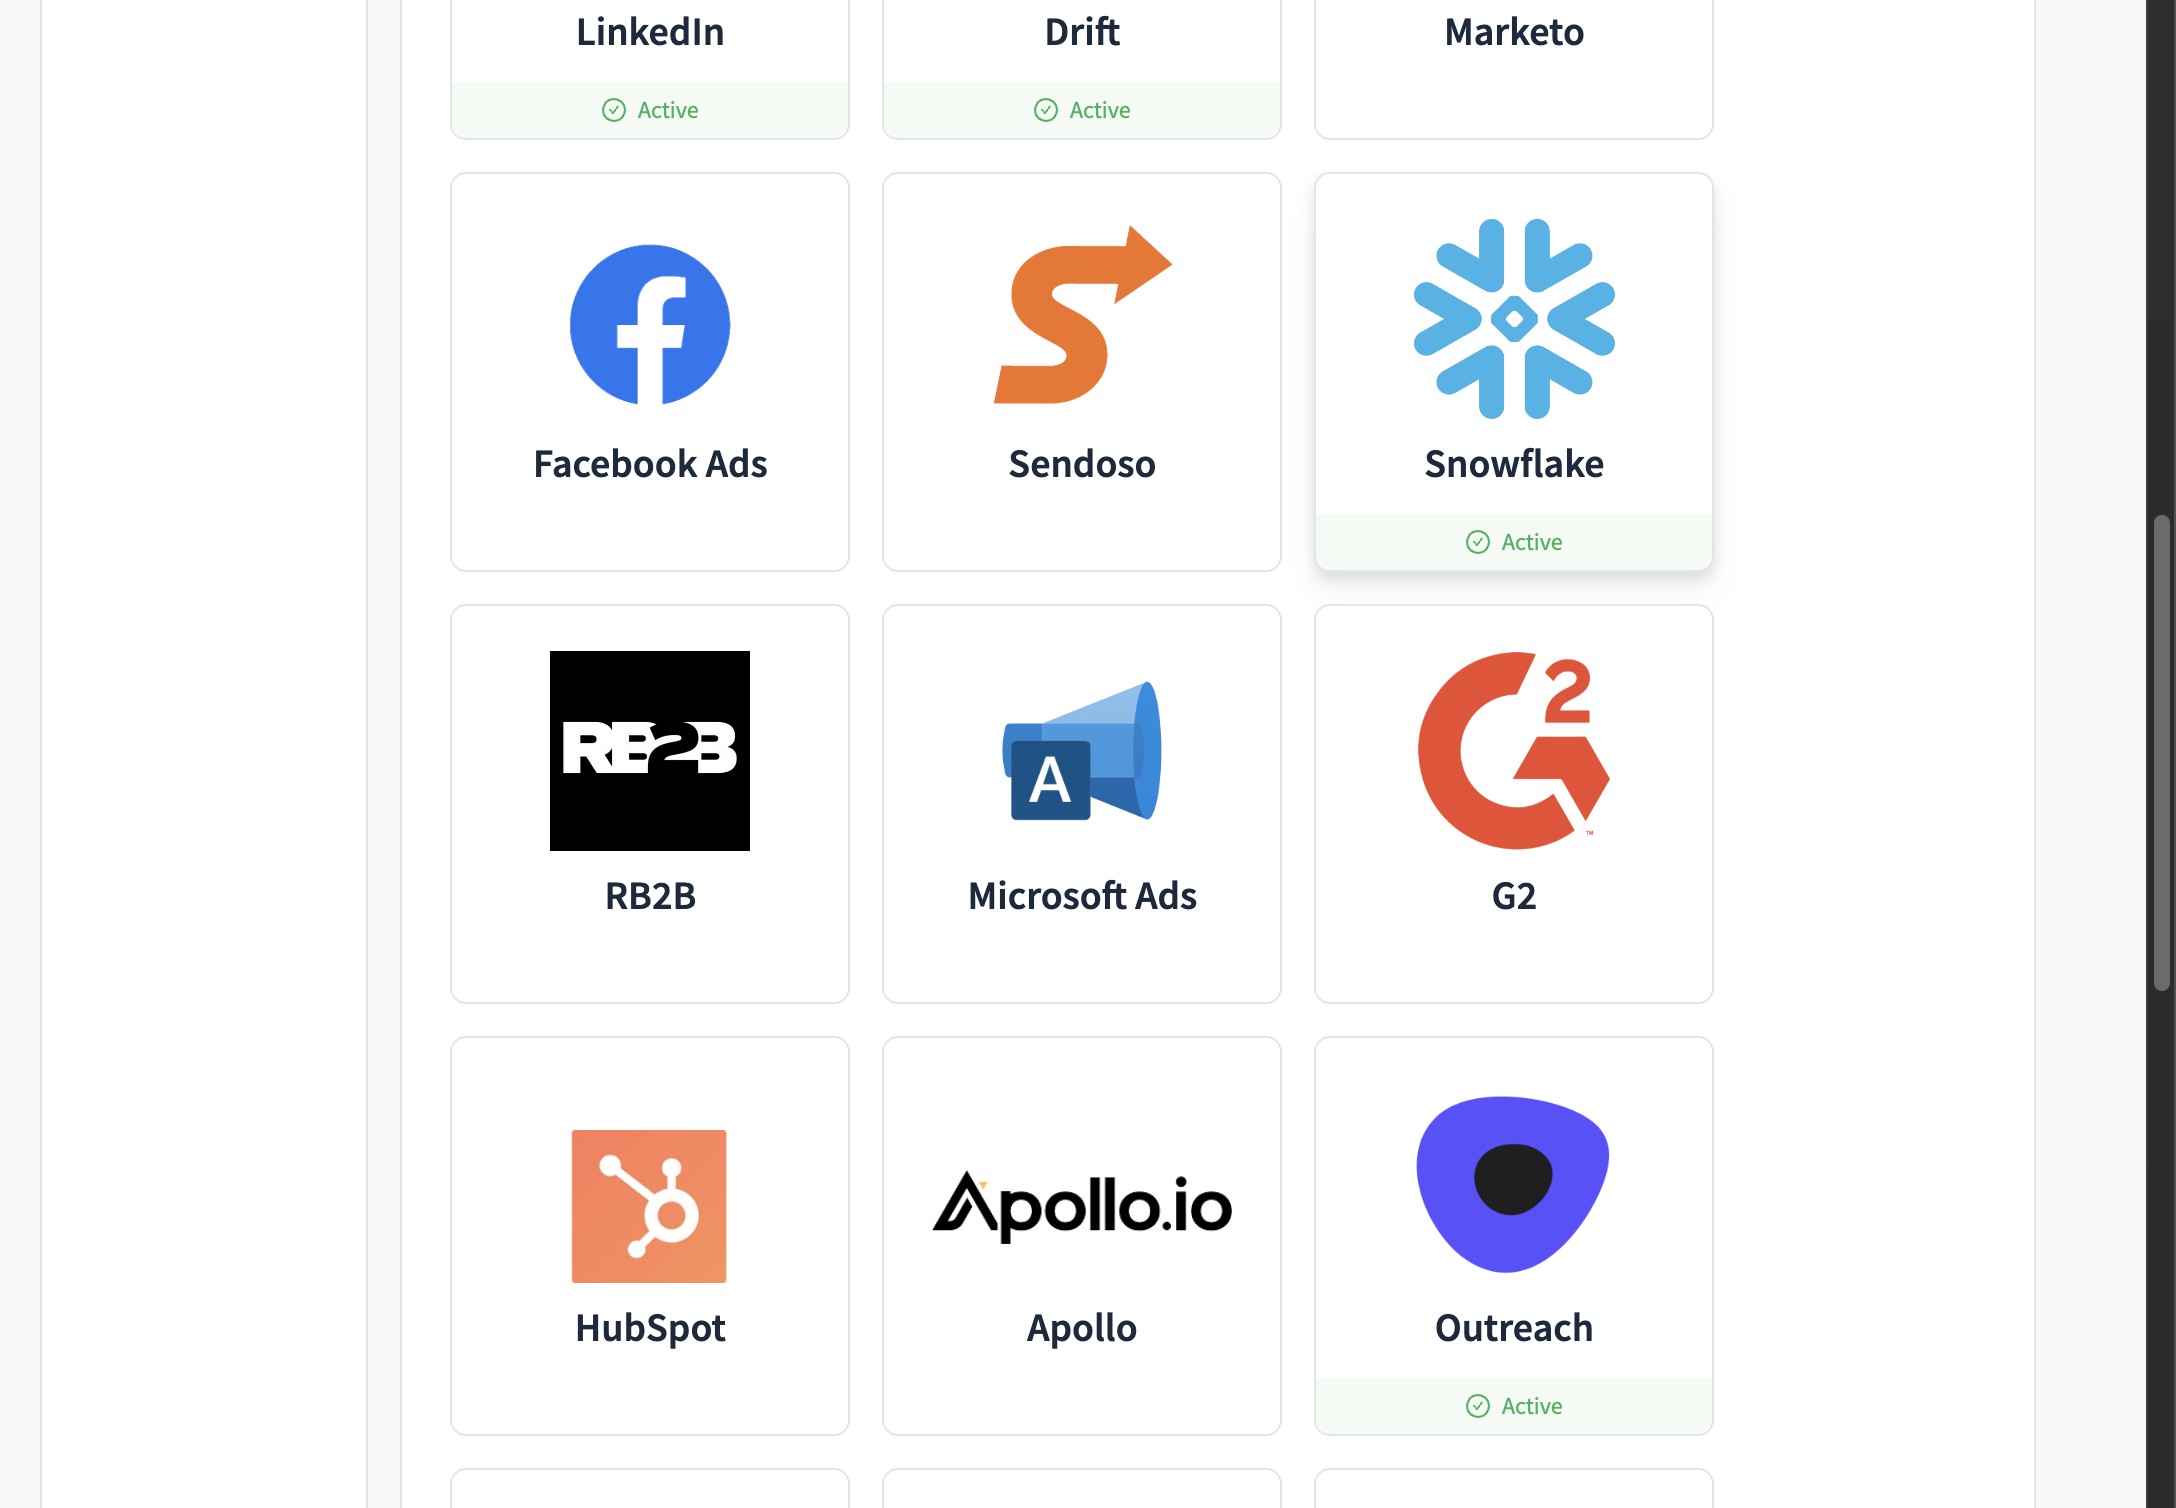
11. Back onto the Revsure App Data Hub, Click Add New
12. Select Snowflake from the list of Sources
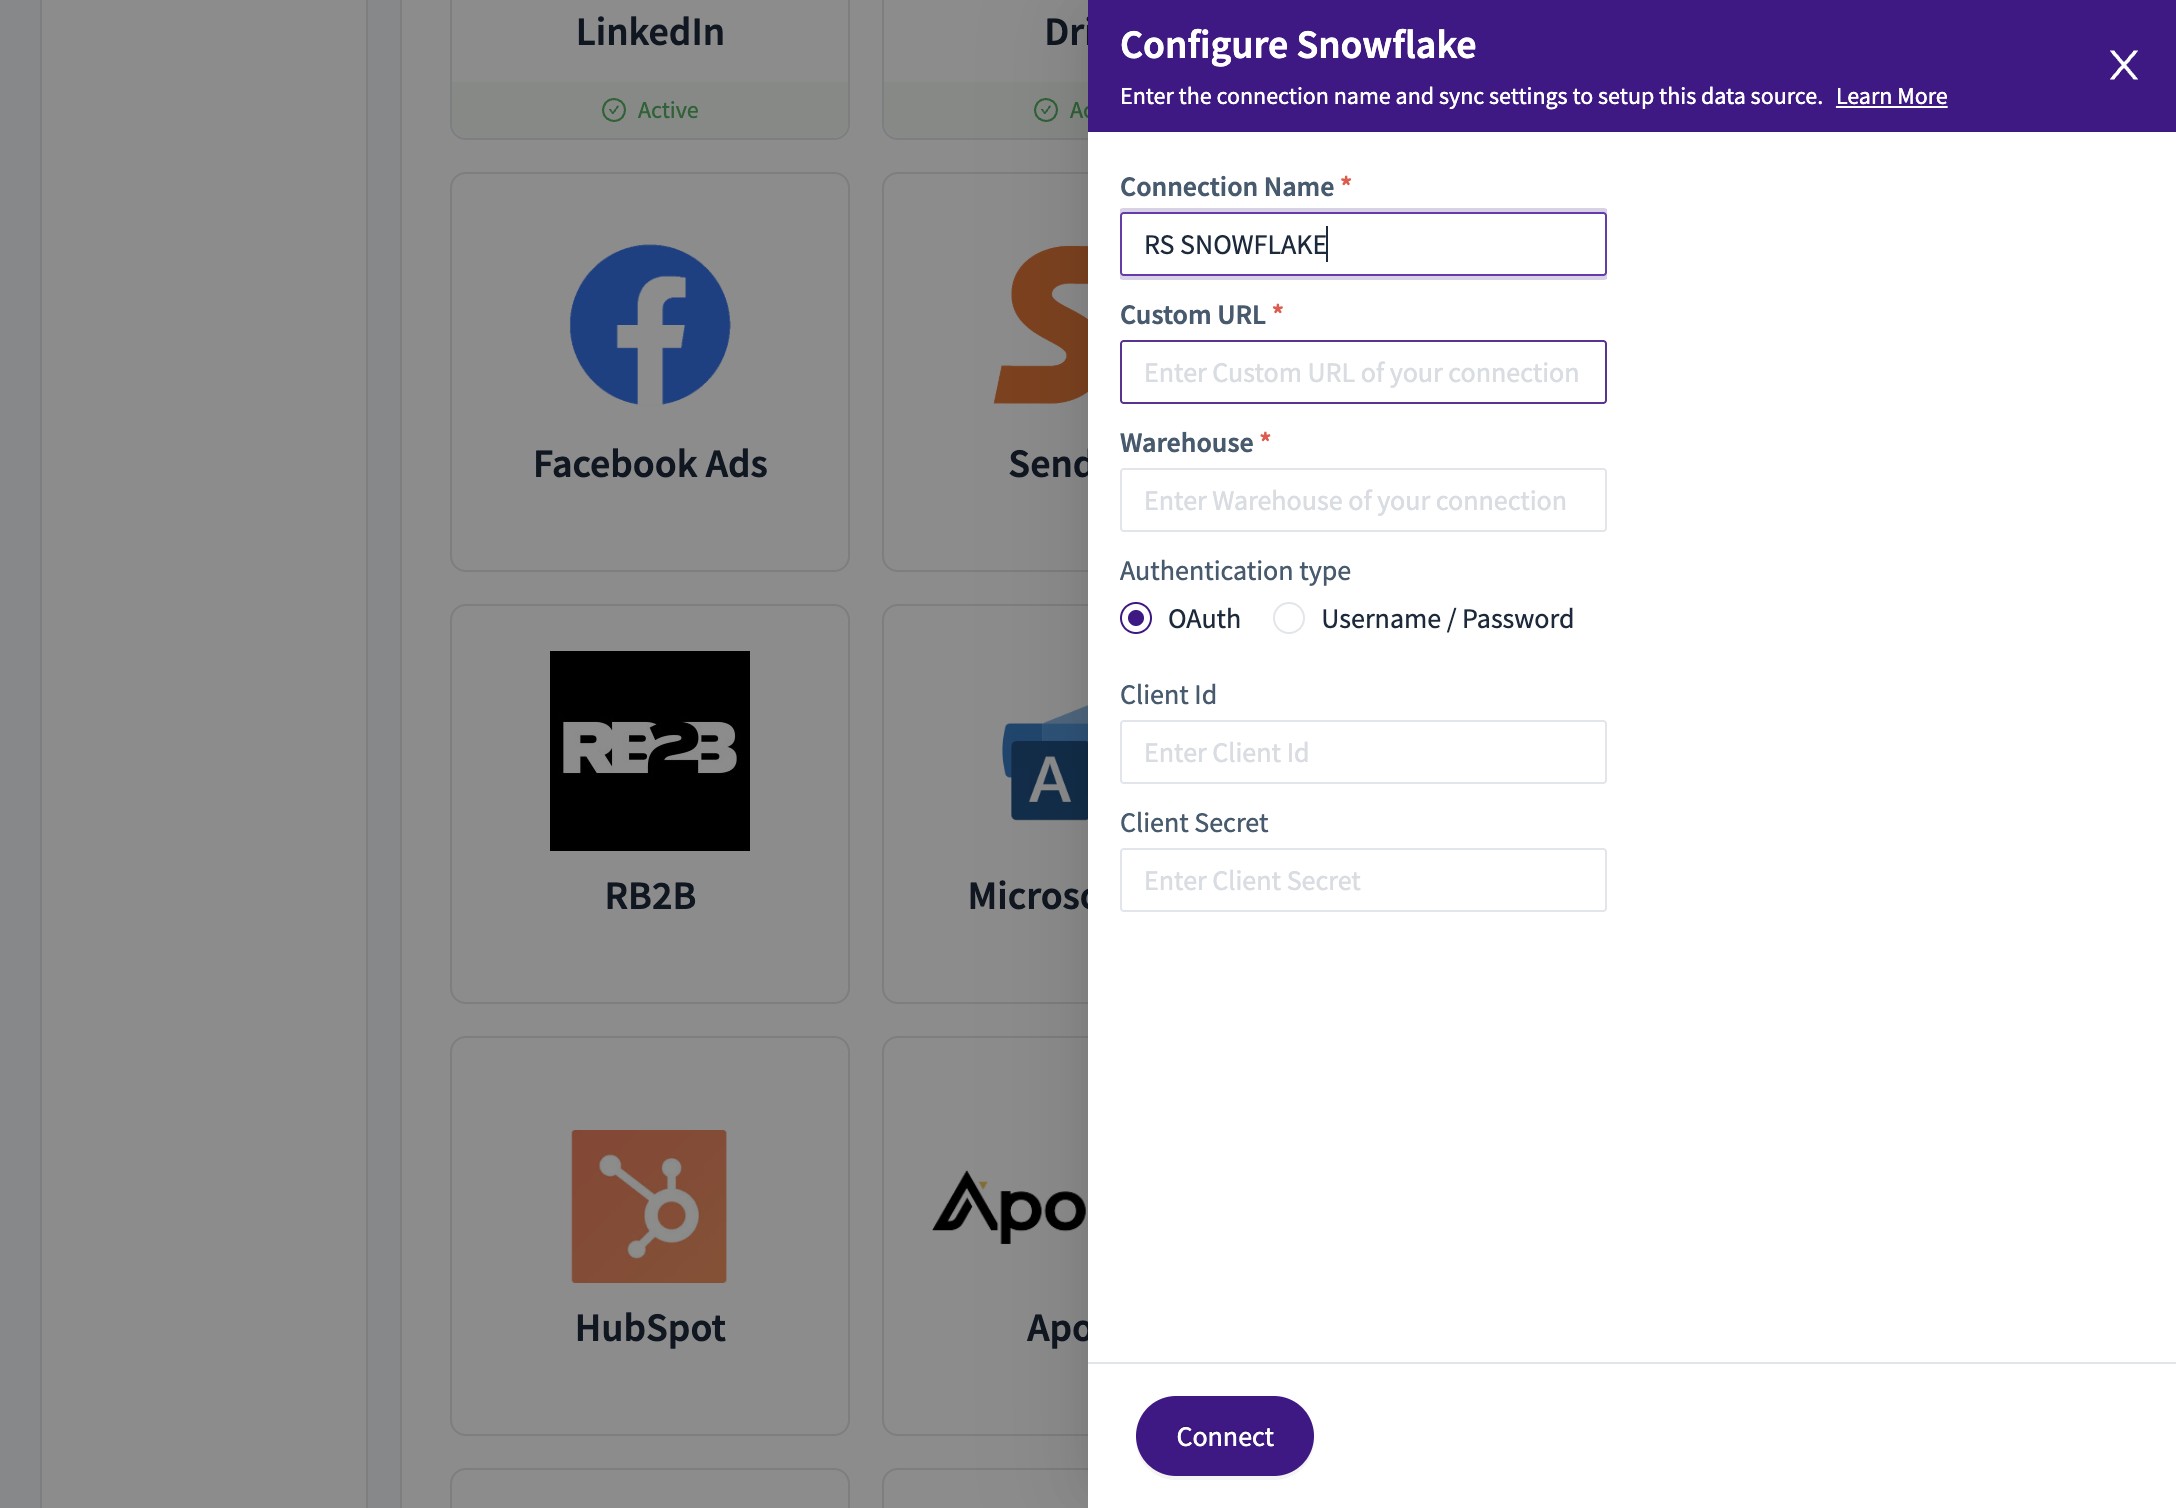
13. Set the "Connection Name *" field

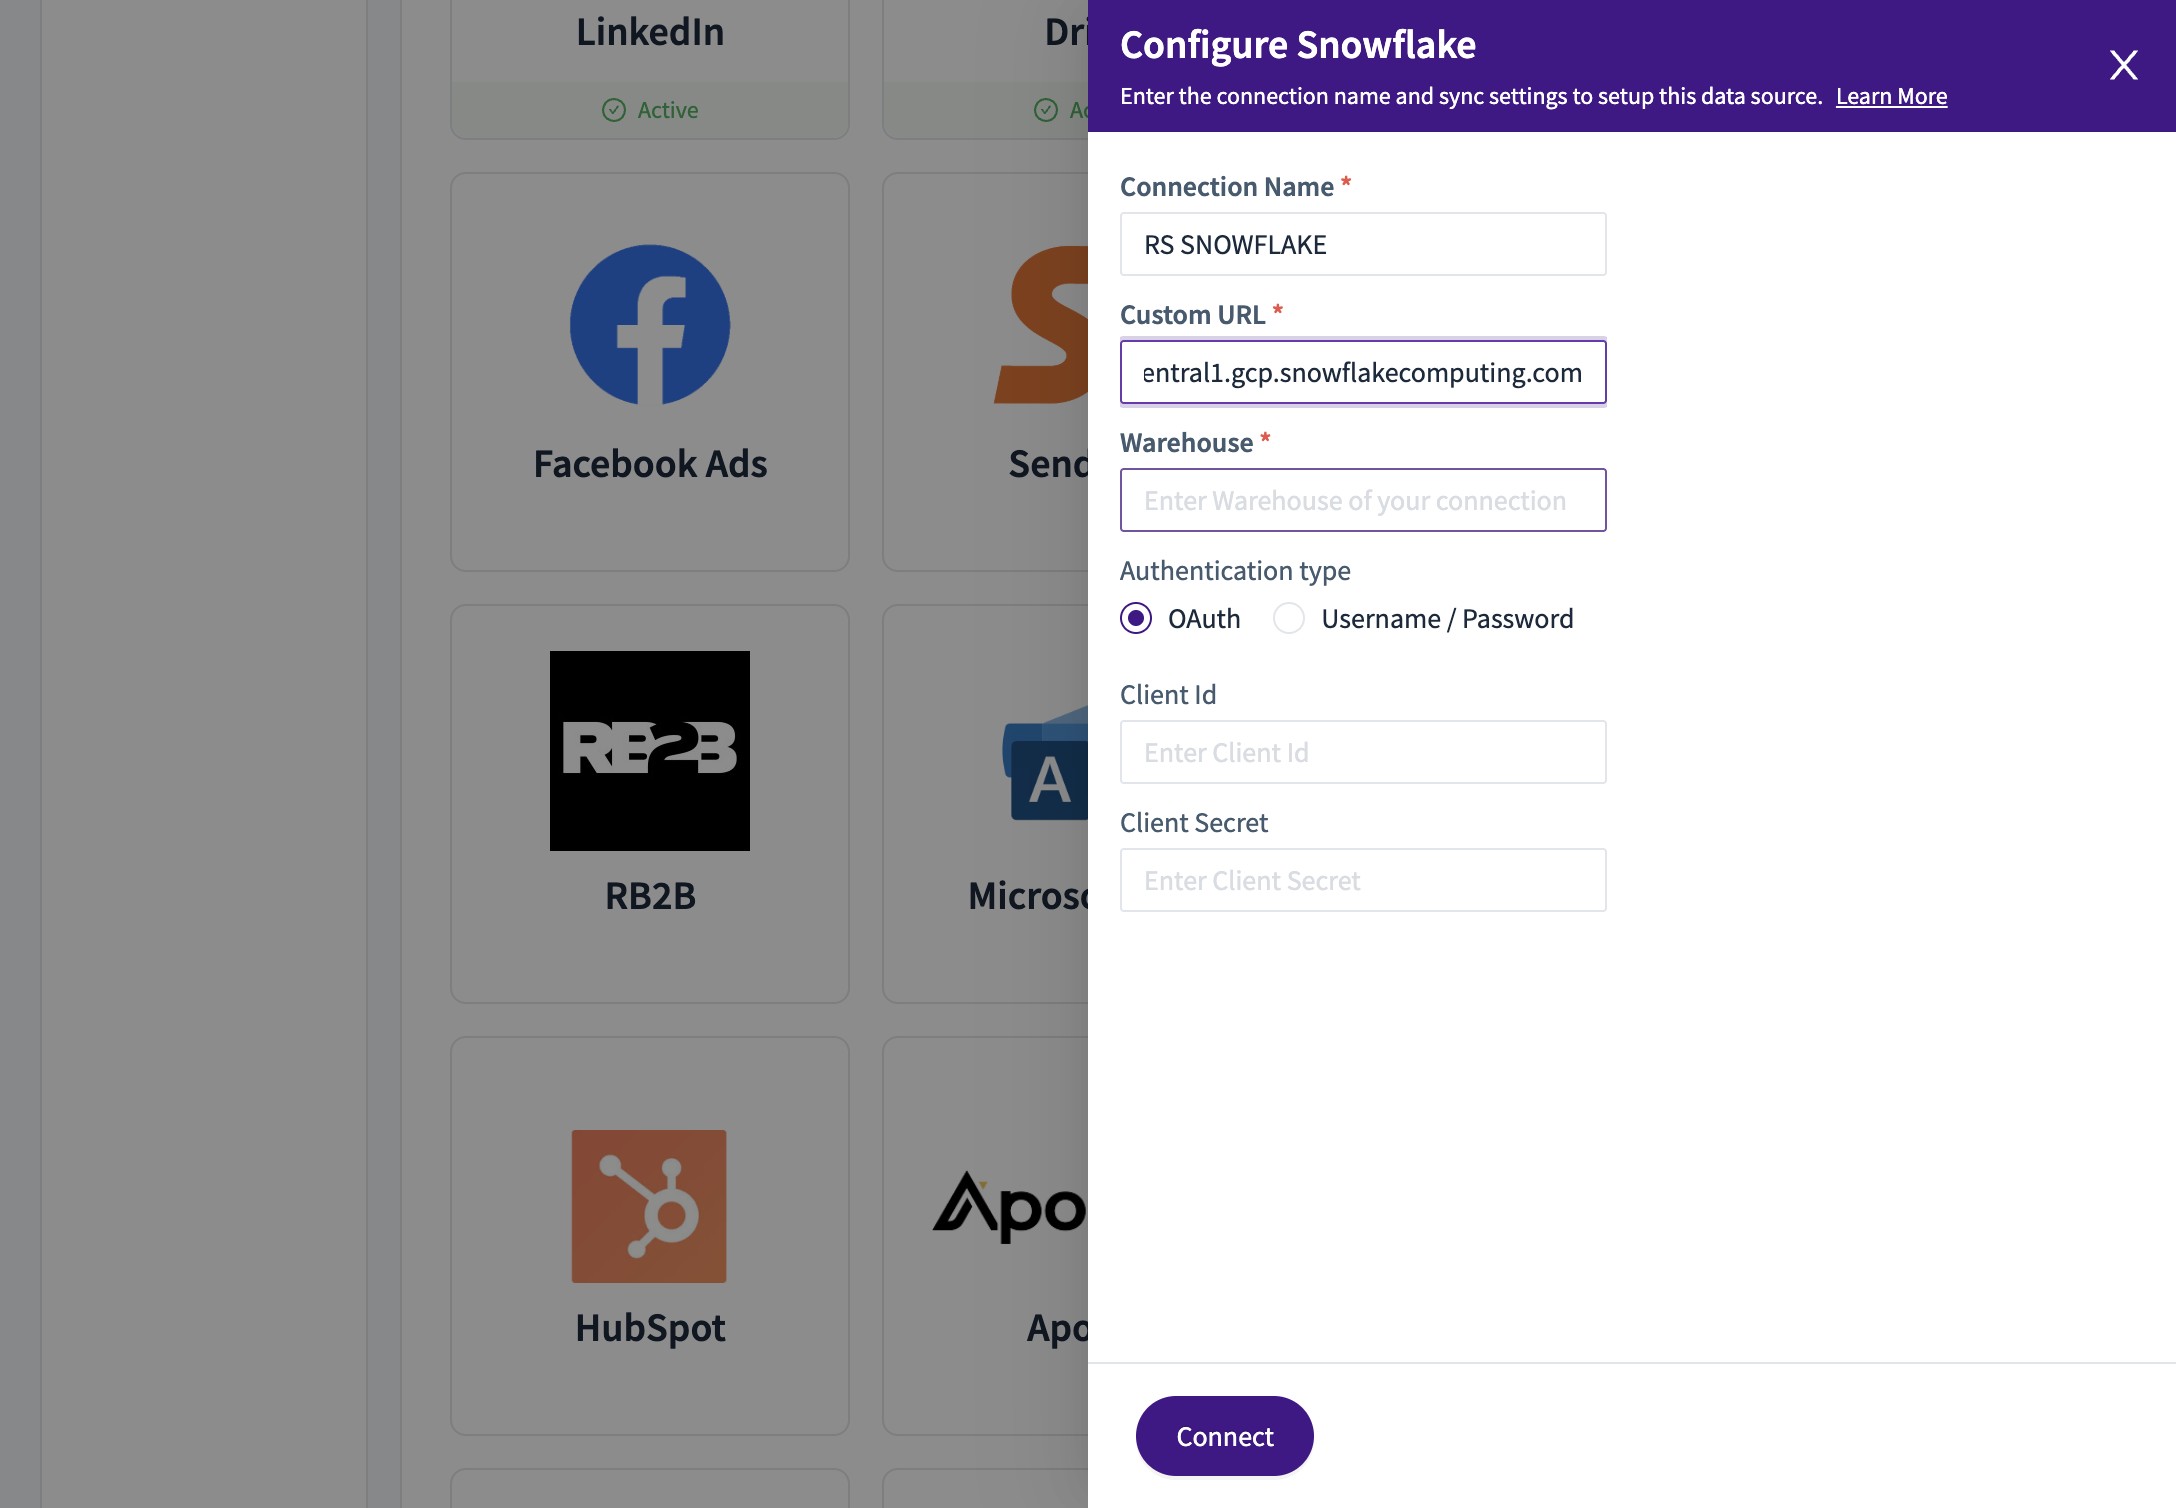
14. Fill your instance URL in the "Custom URL *" field
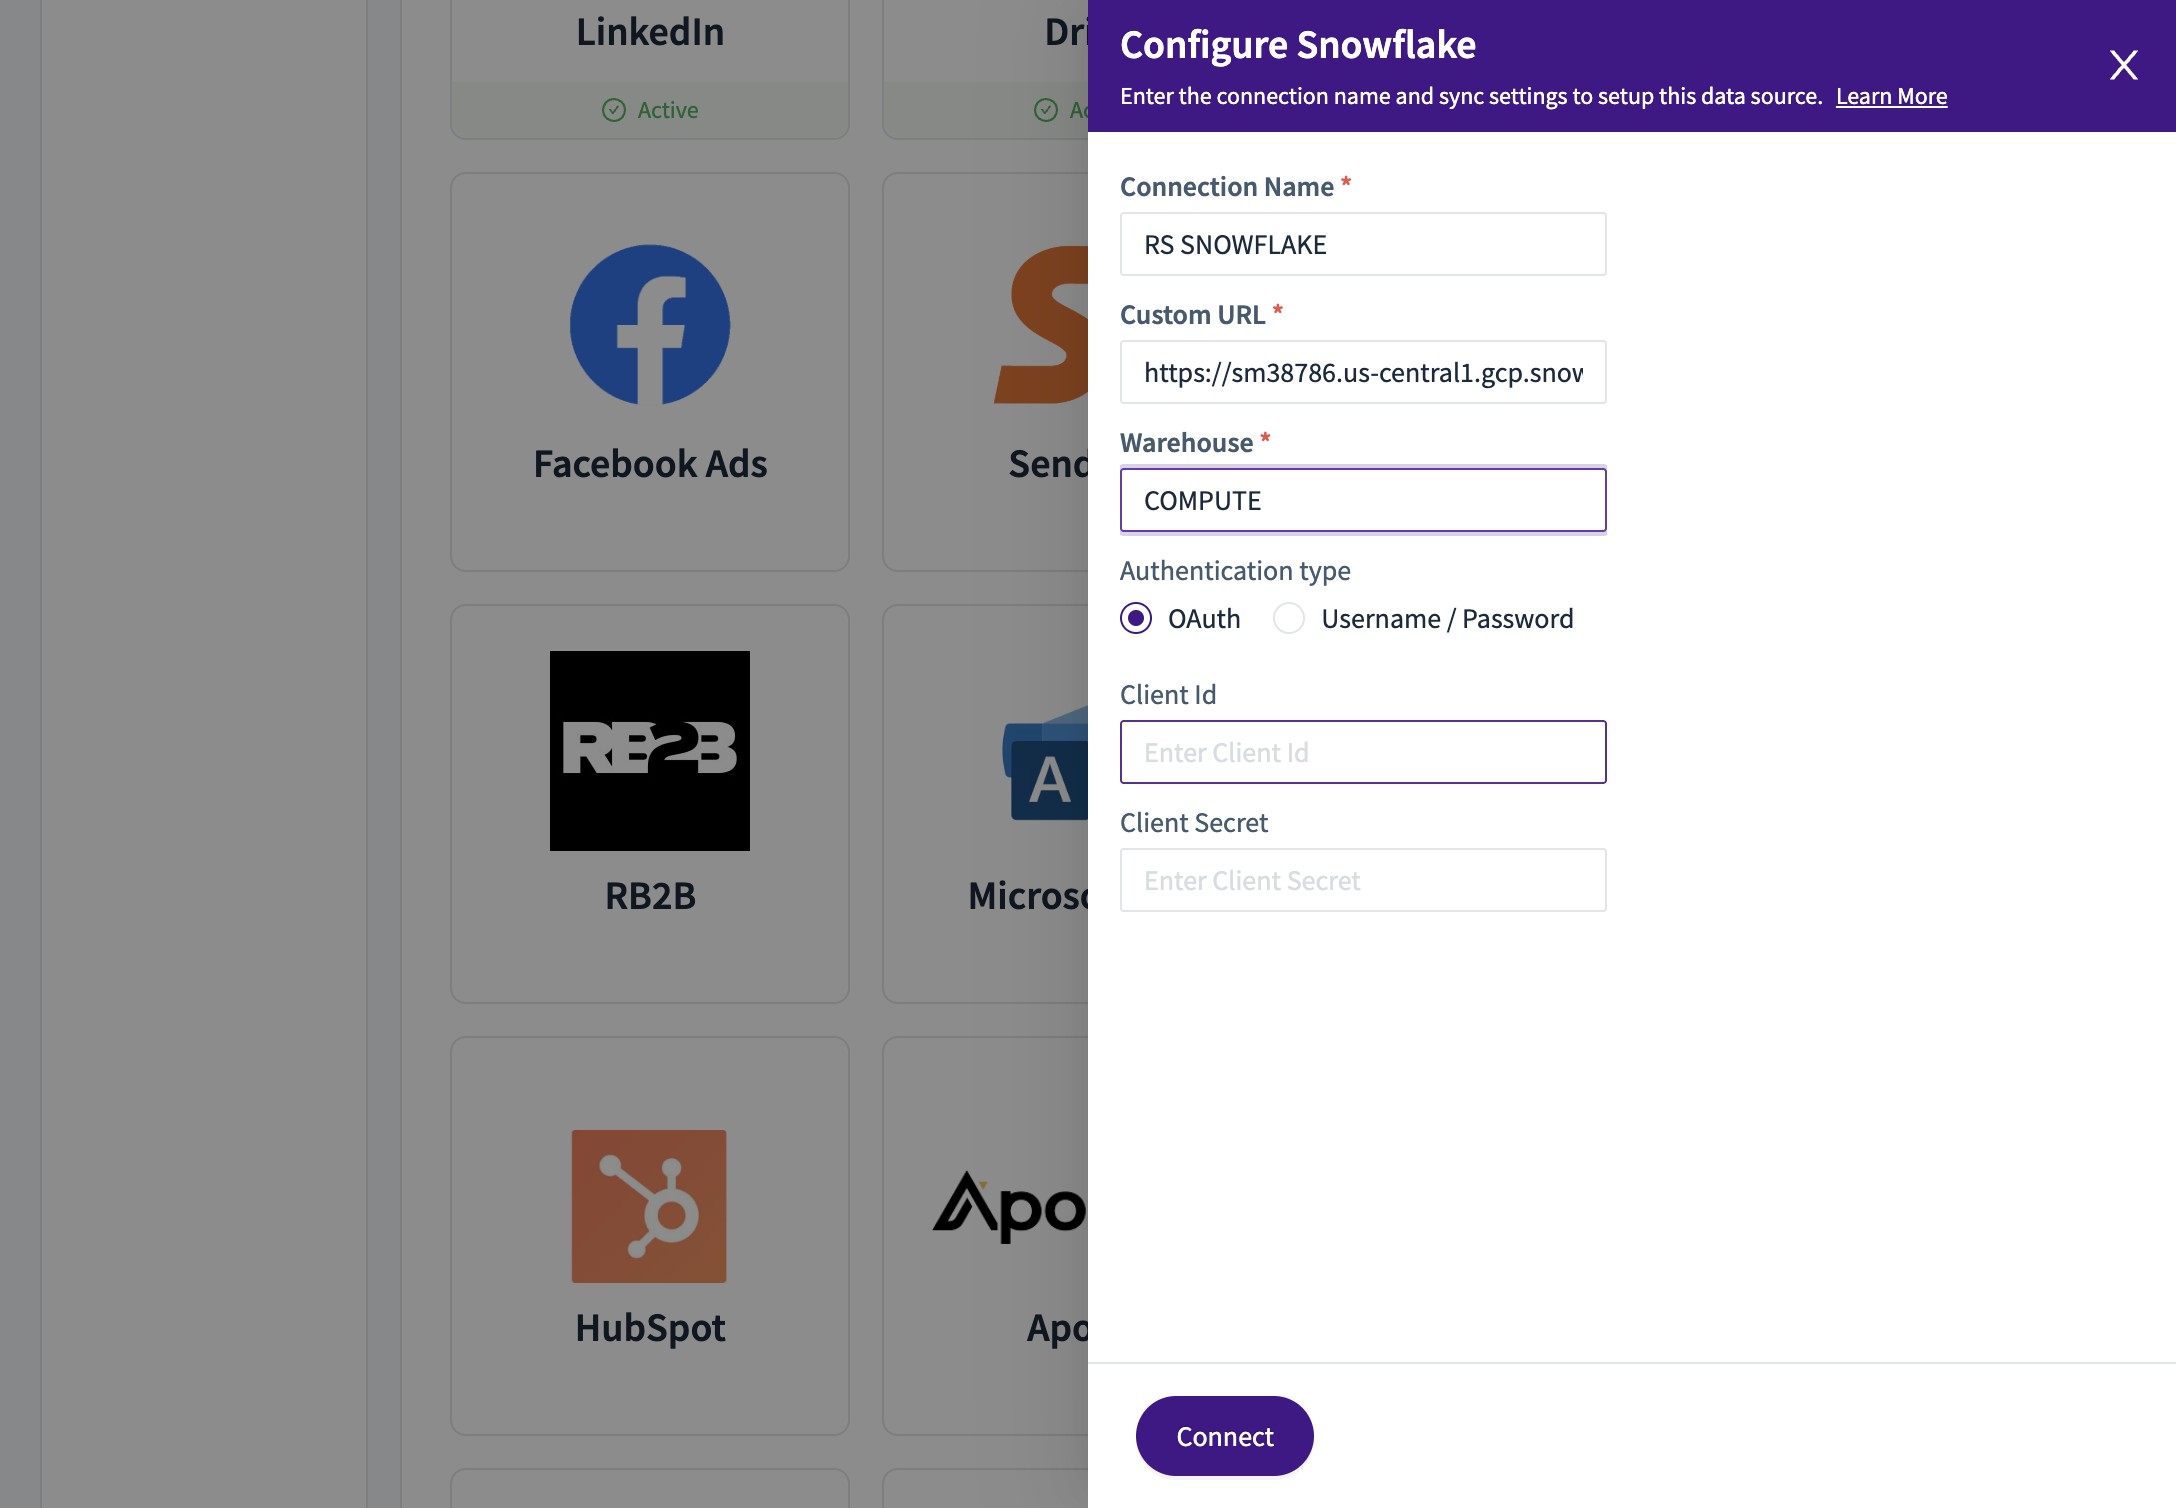
15. Set the "Warehouse *" field
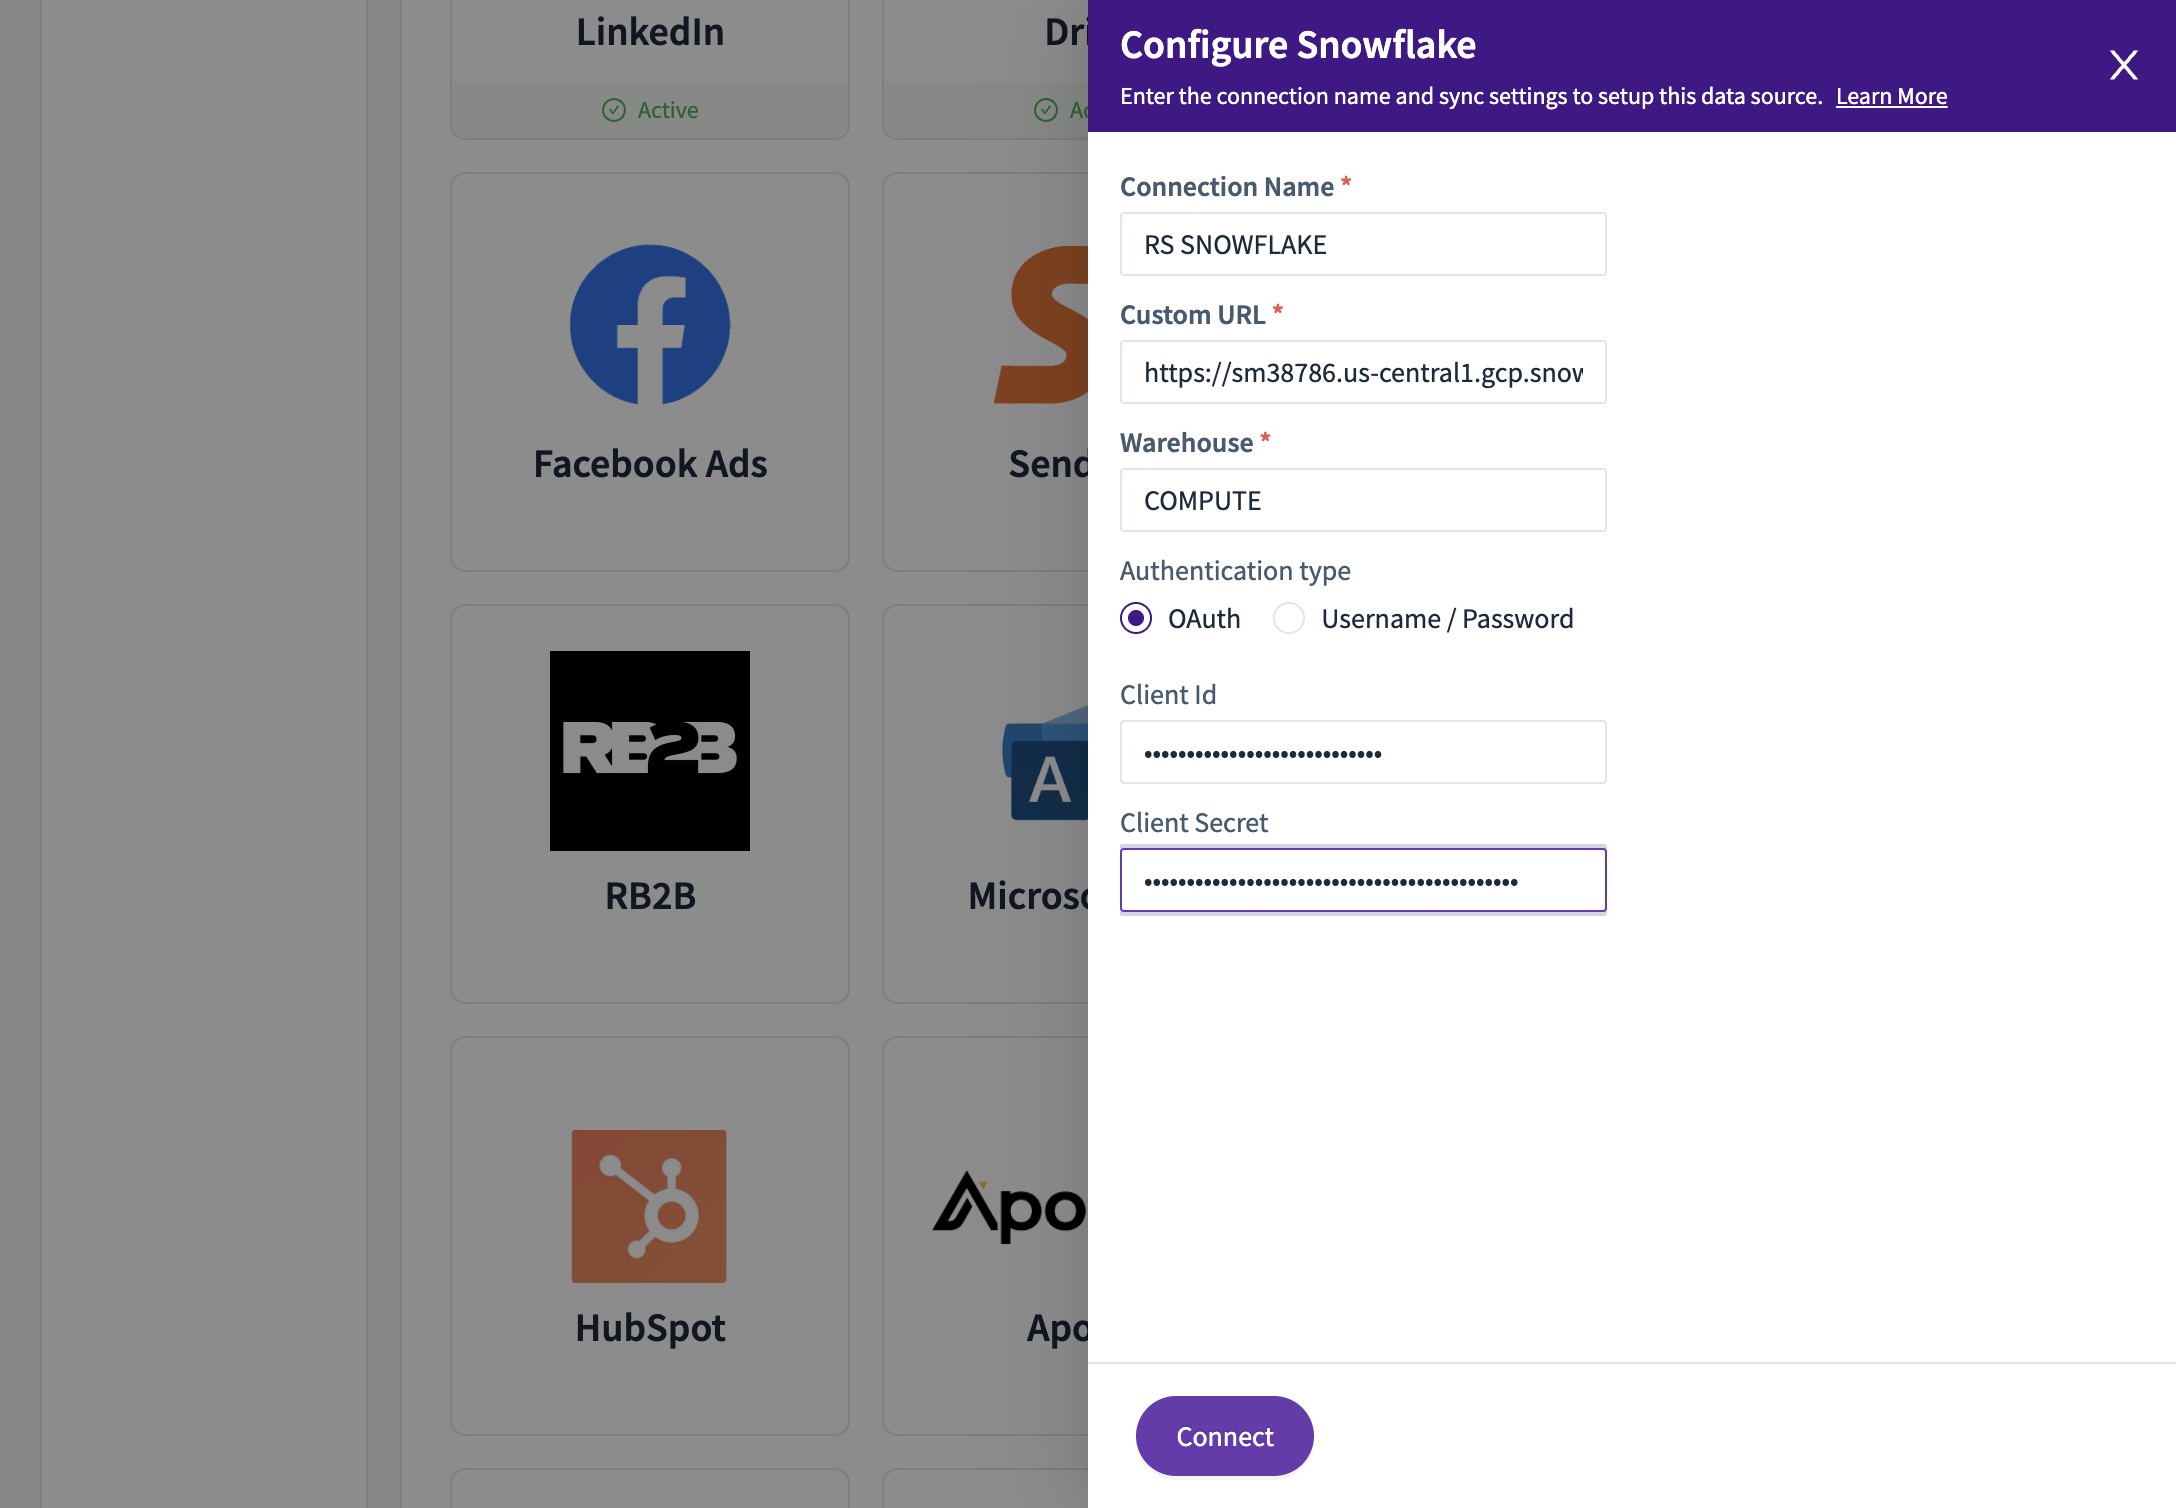
16. From the Snowflake , use the retrieved information to set the "Client Id" and "Client Secret" field
17. Click "Connect"
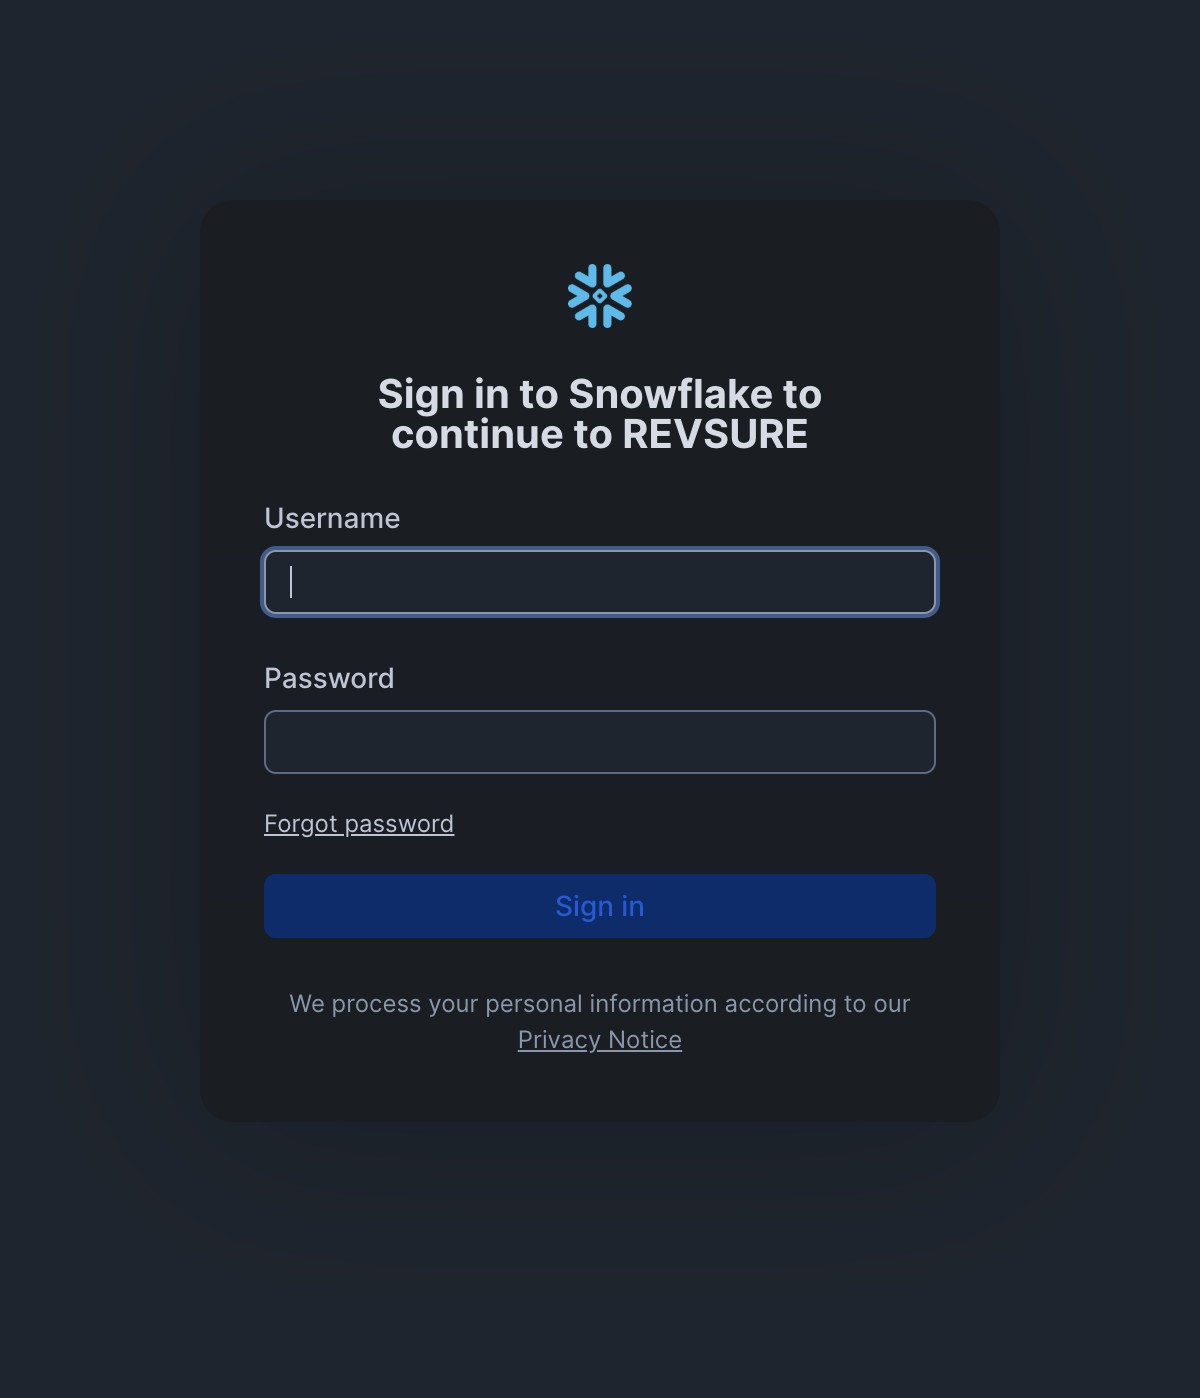
18. This takes you to "Sign in to Snowflake to authorize REVSURE"
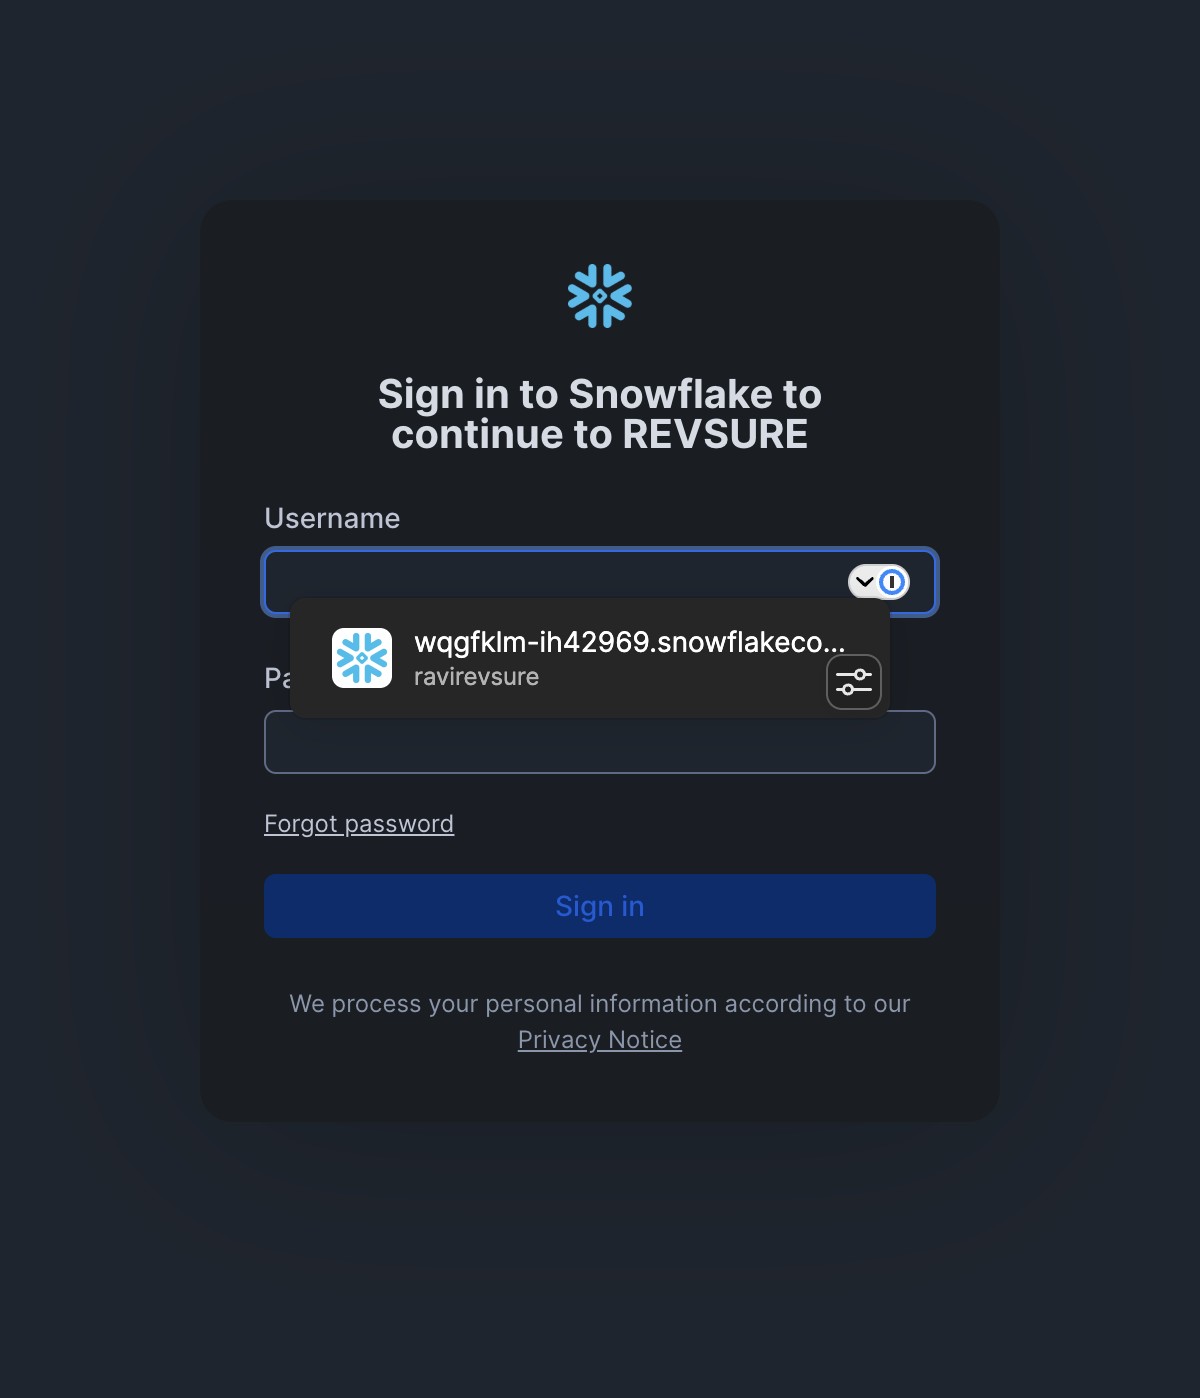
19. Click here
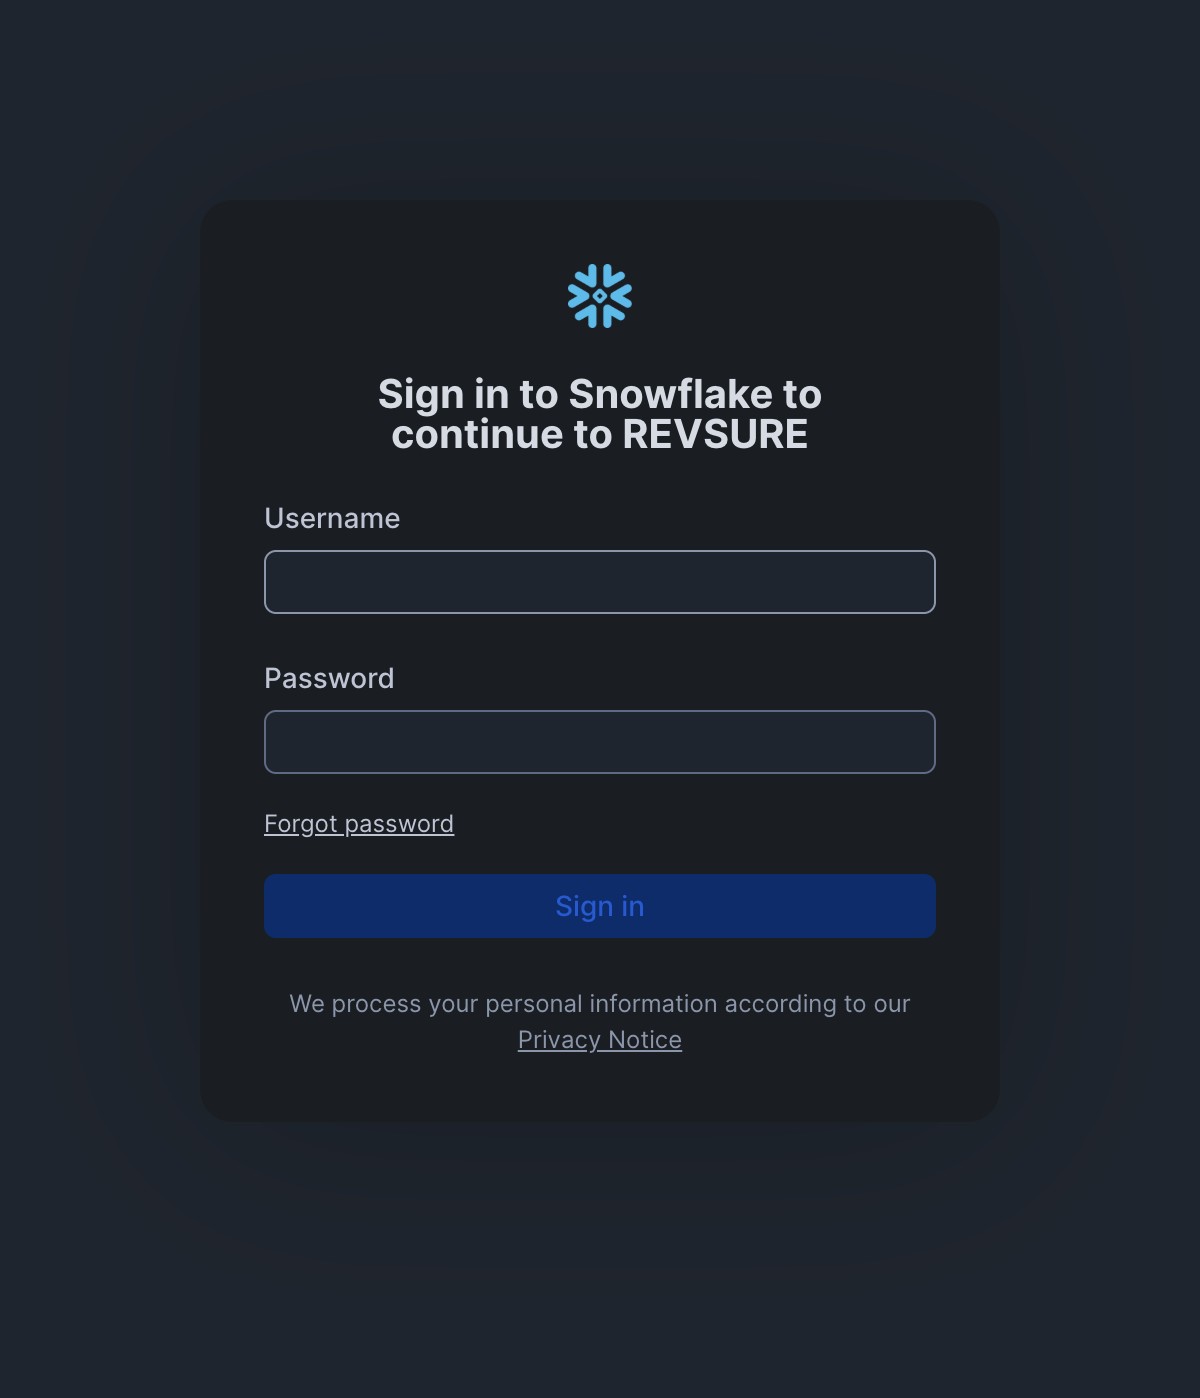
20. Use your credentials to authorize the same
21. A message of "Authorization successful" would be recieved

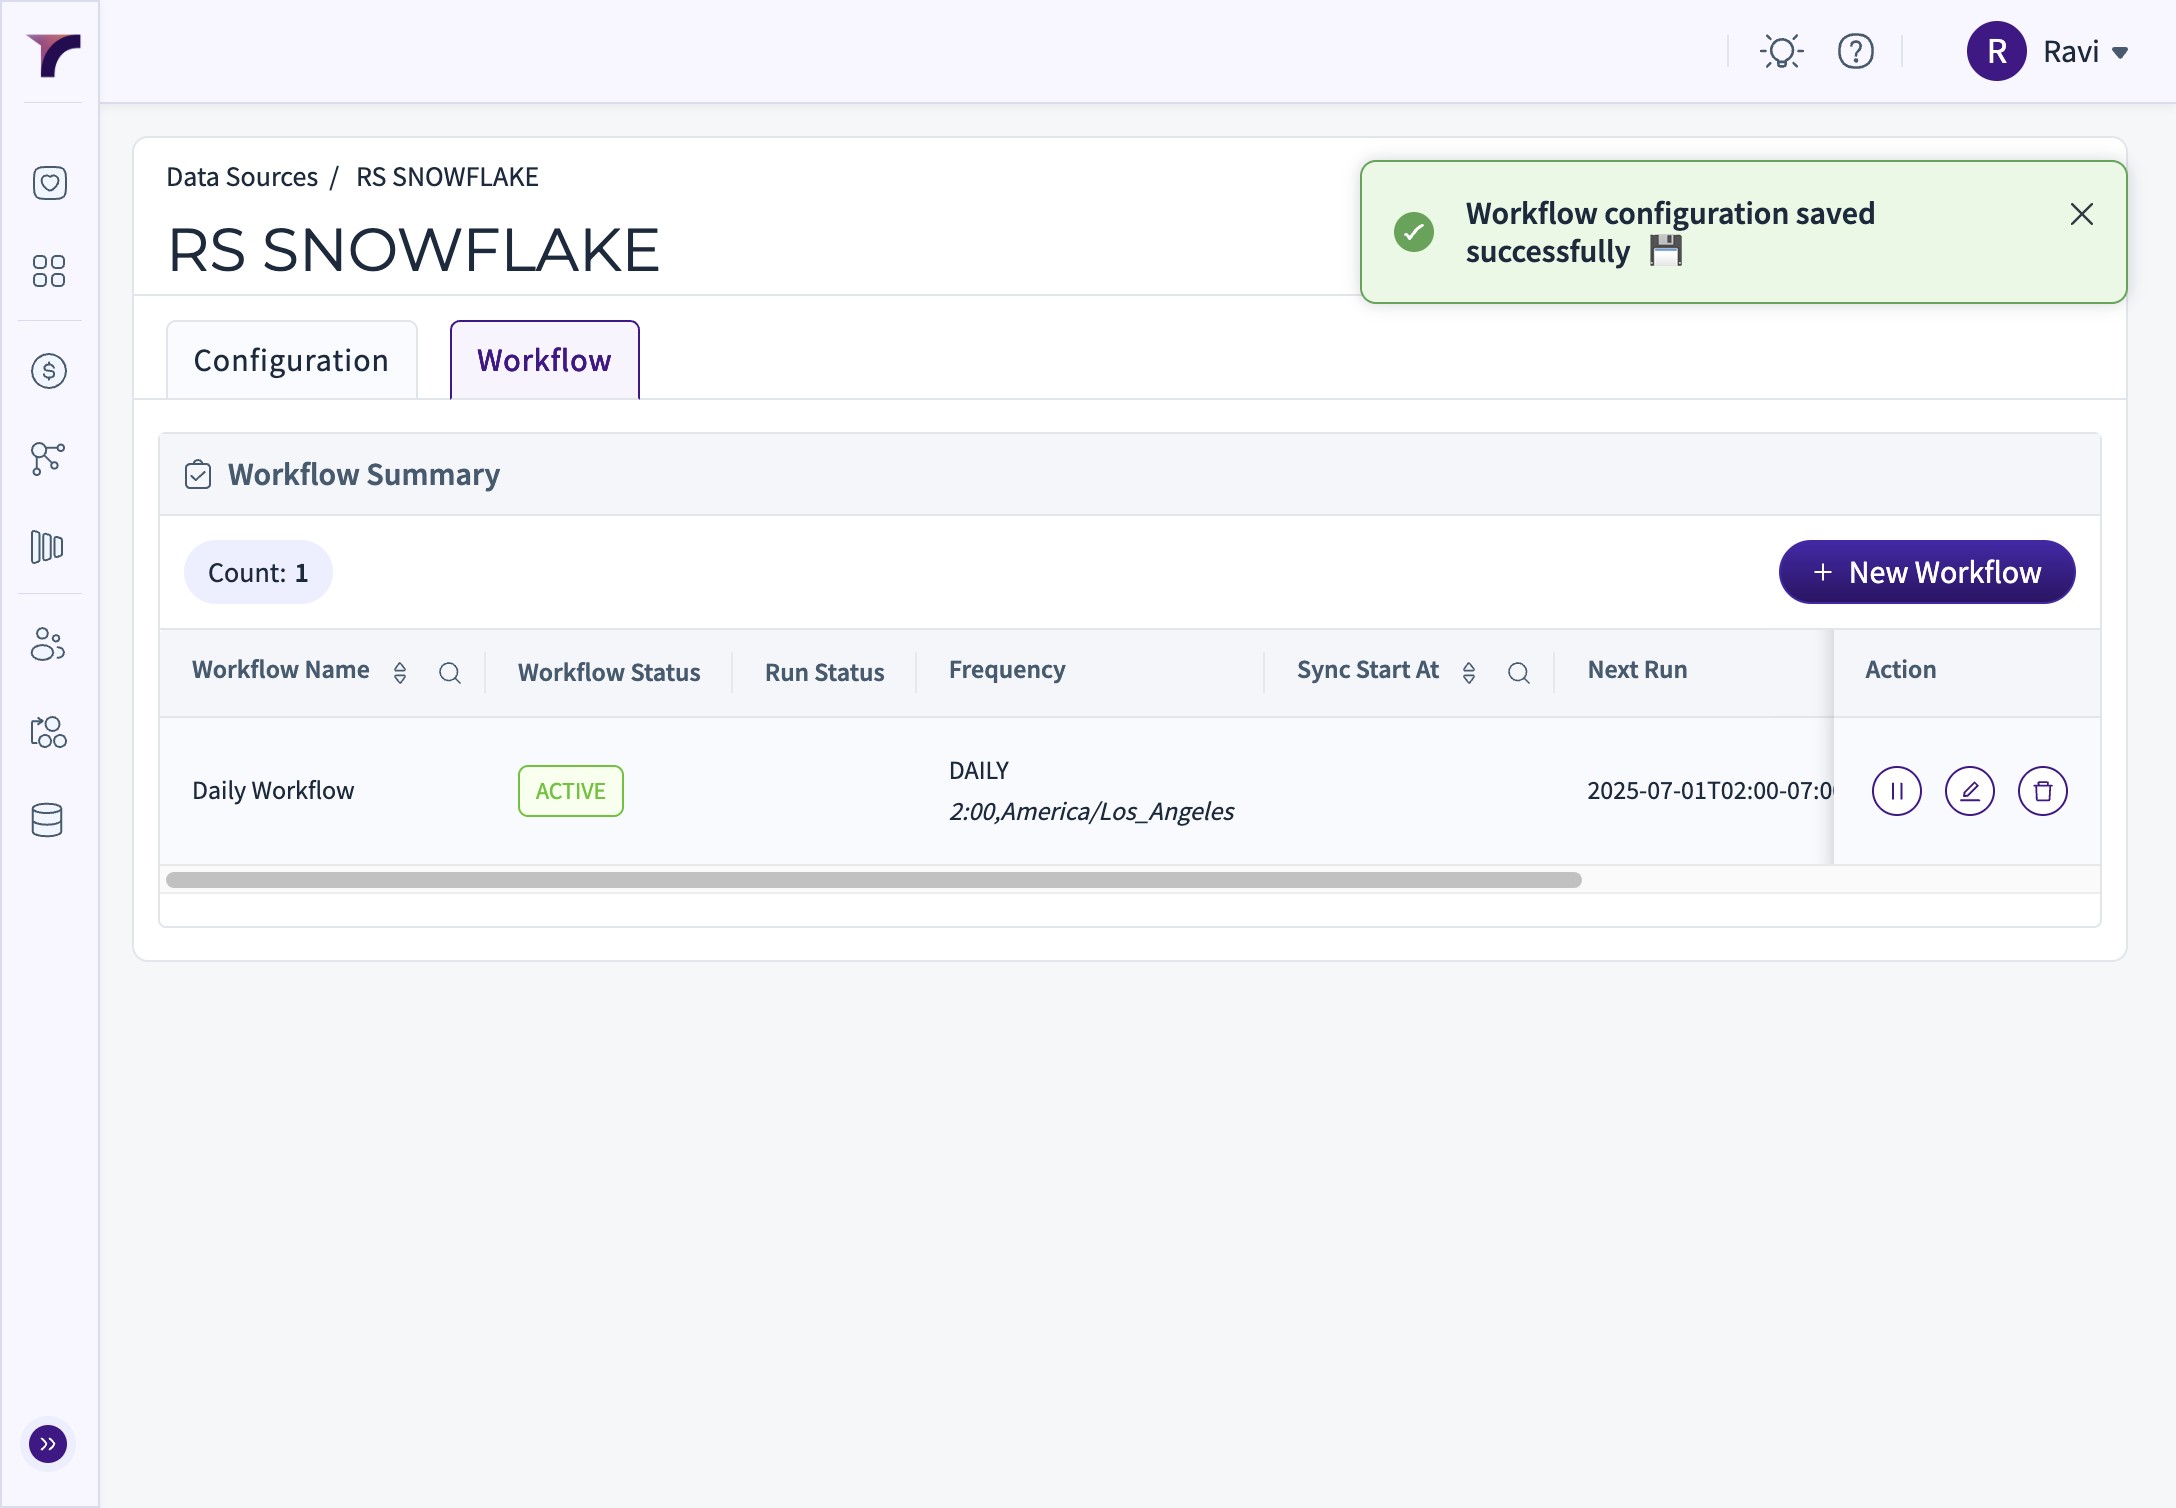
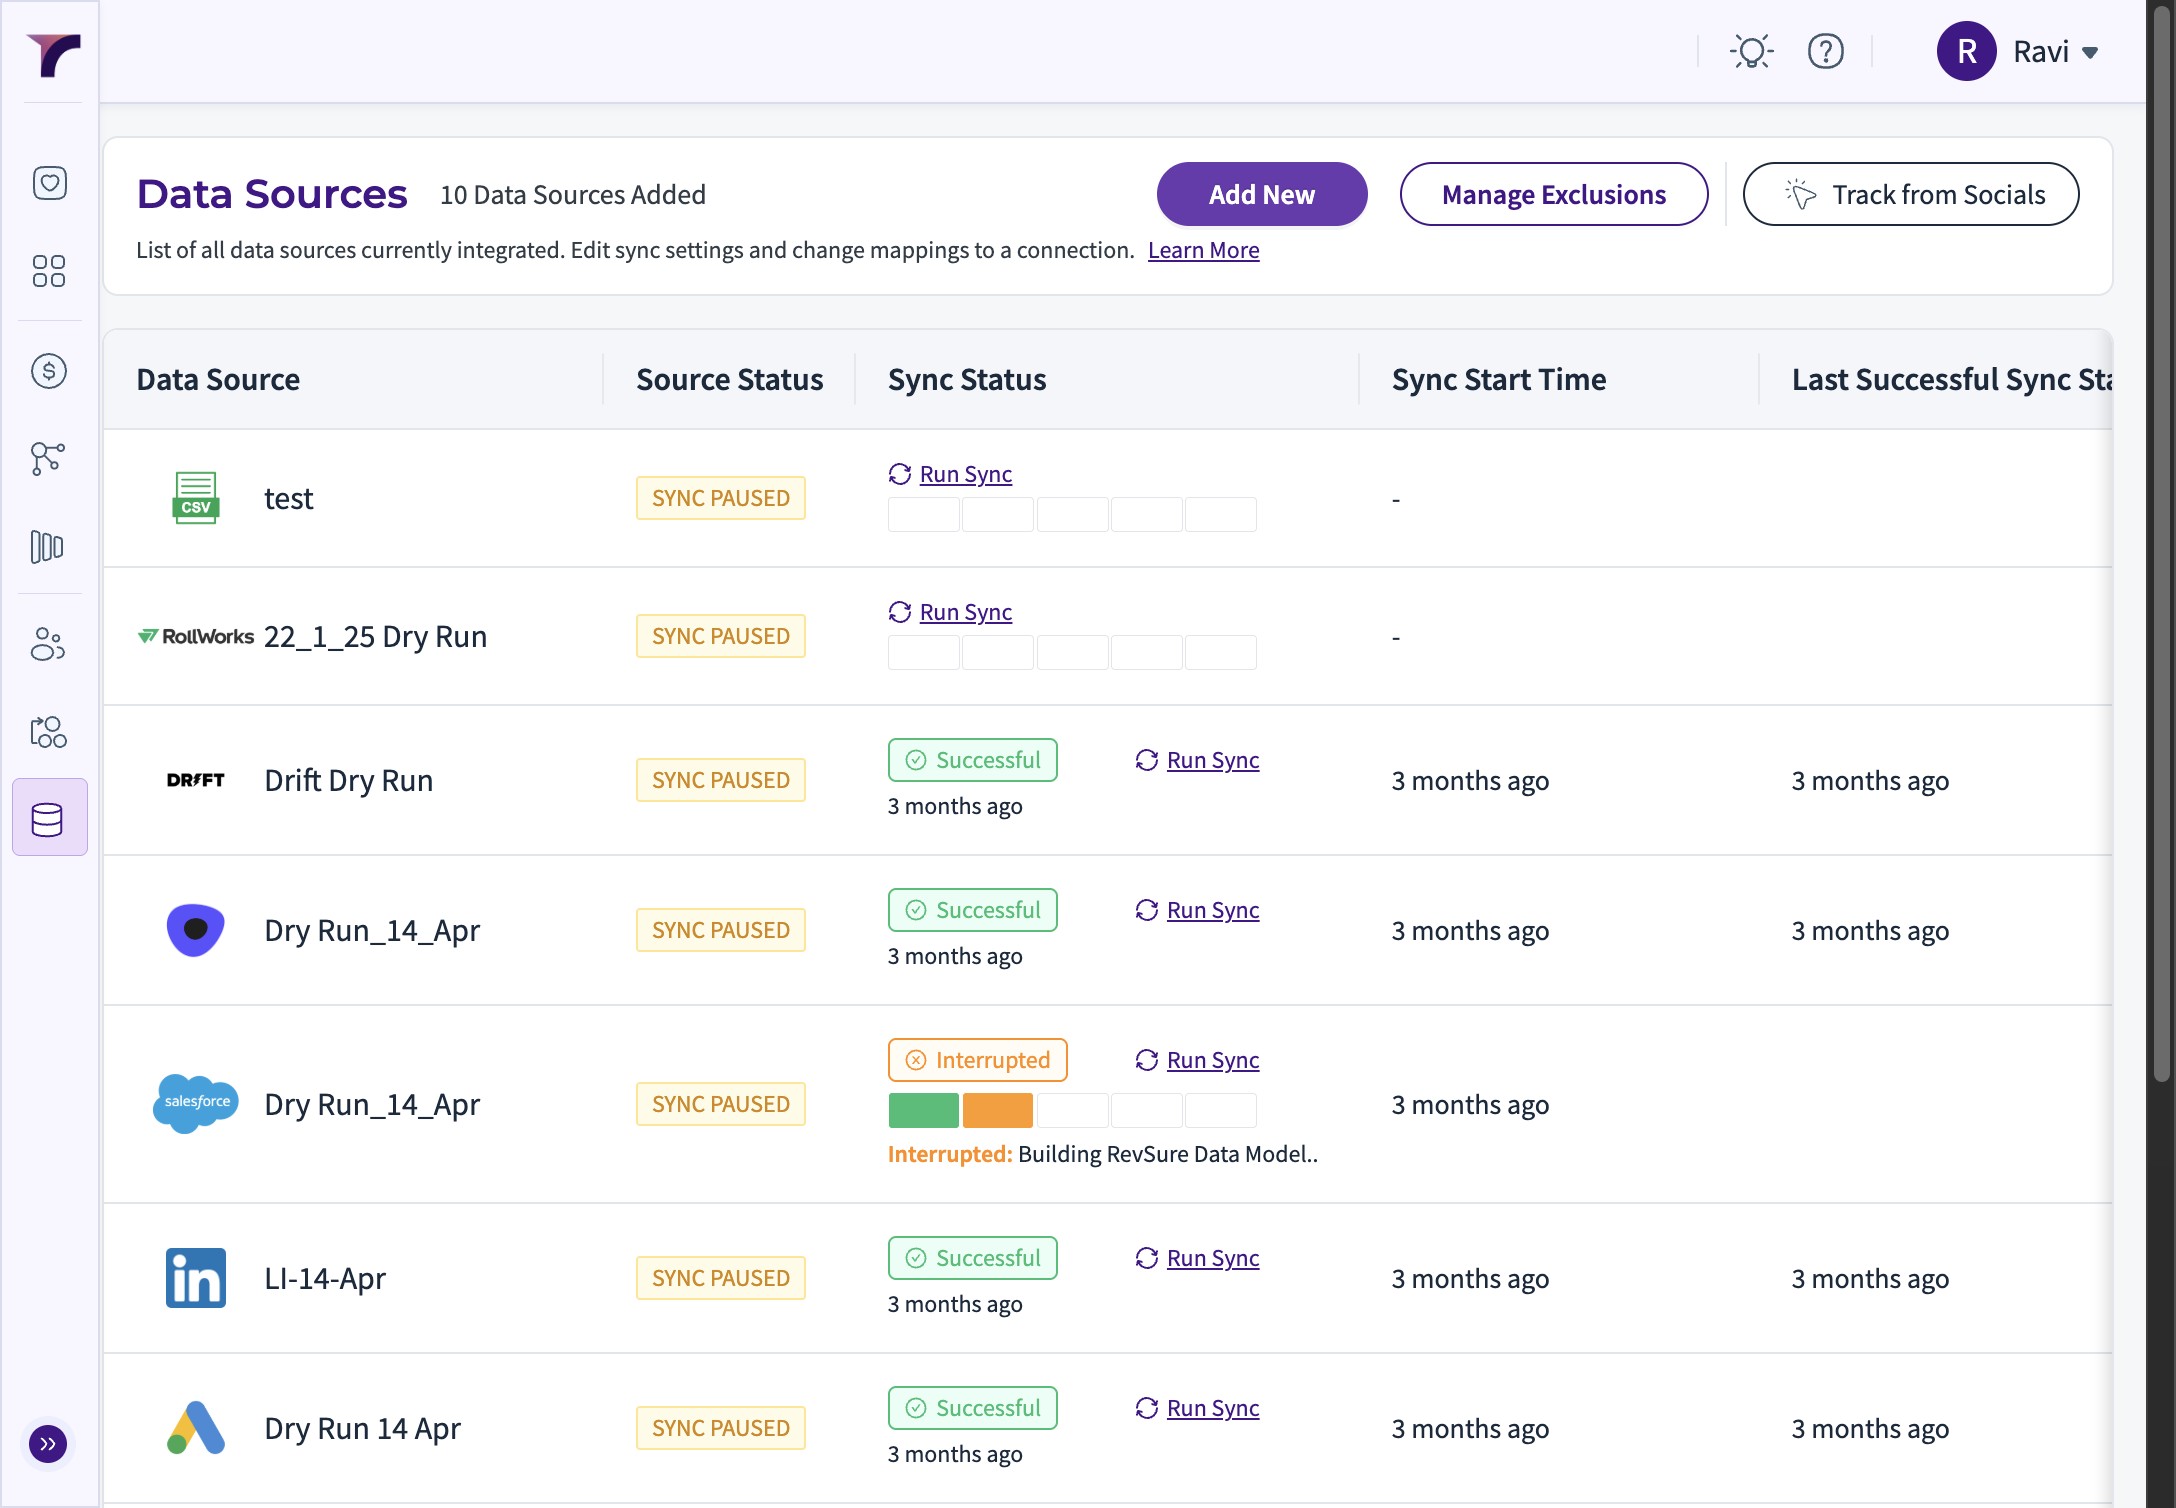
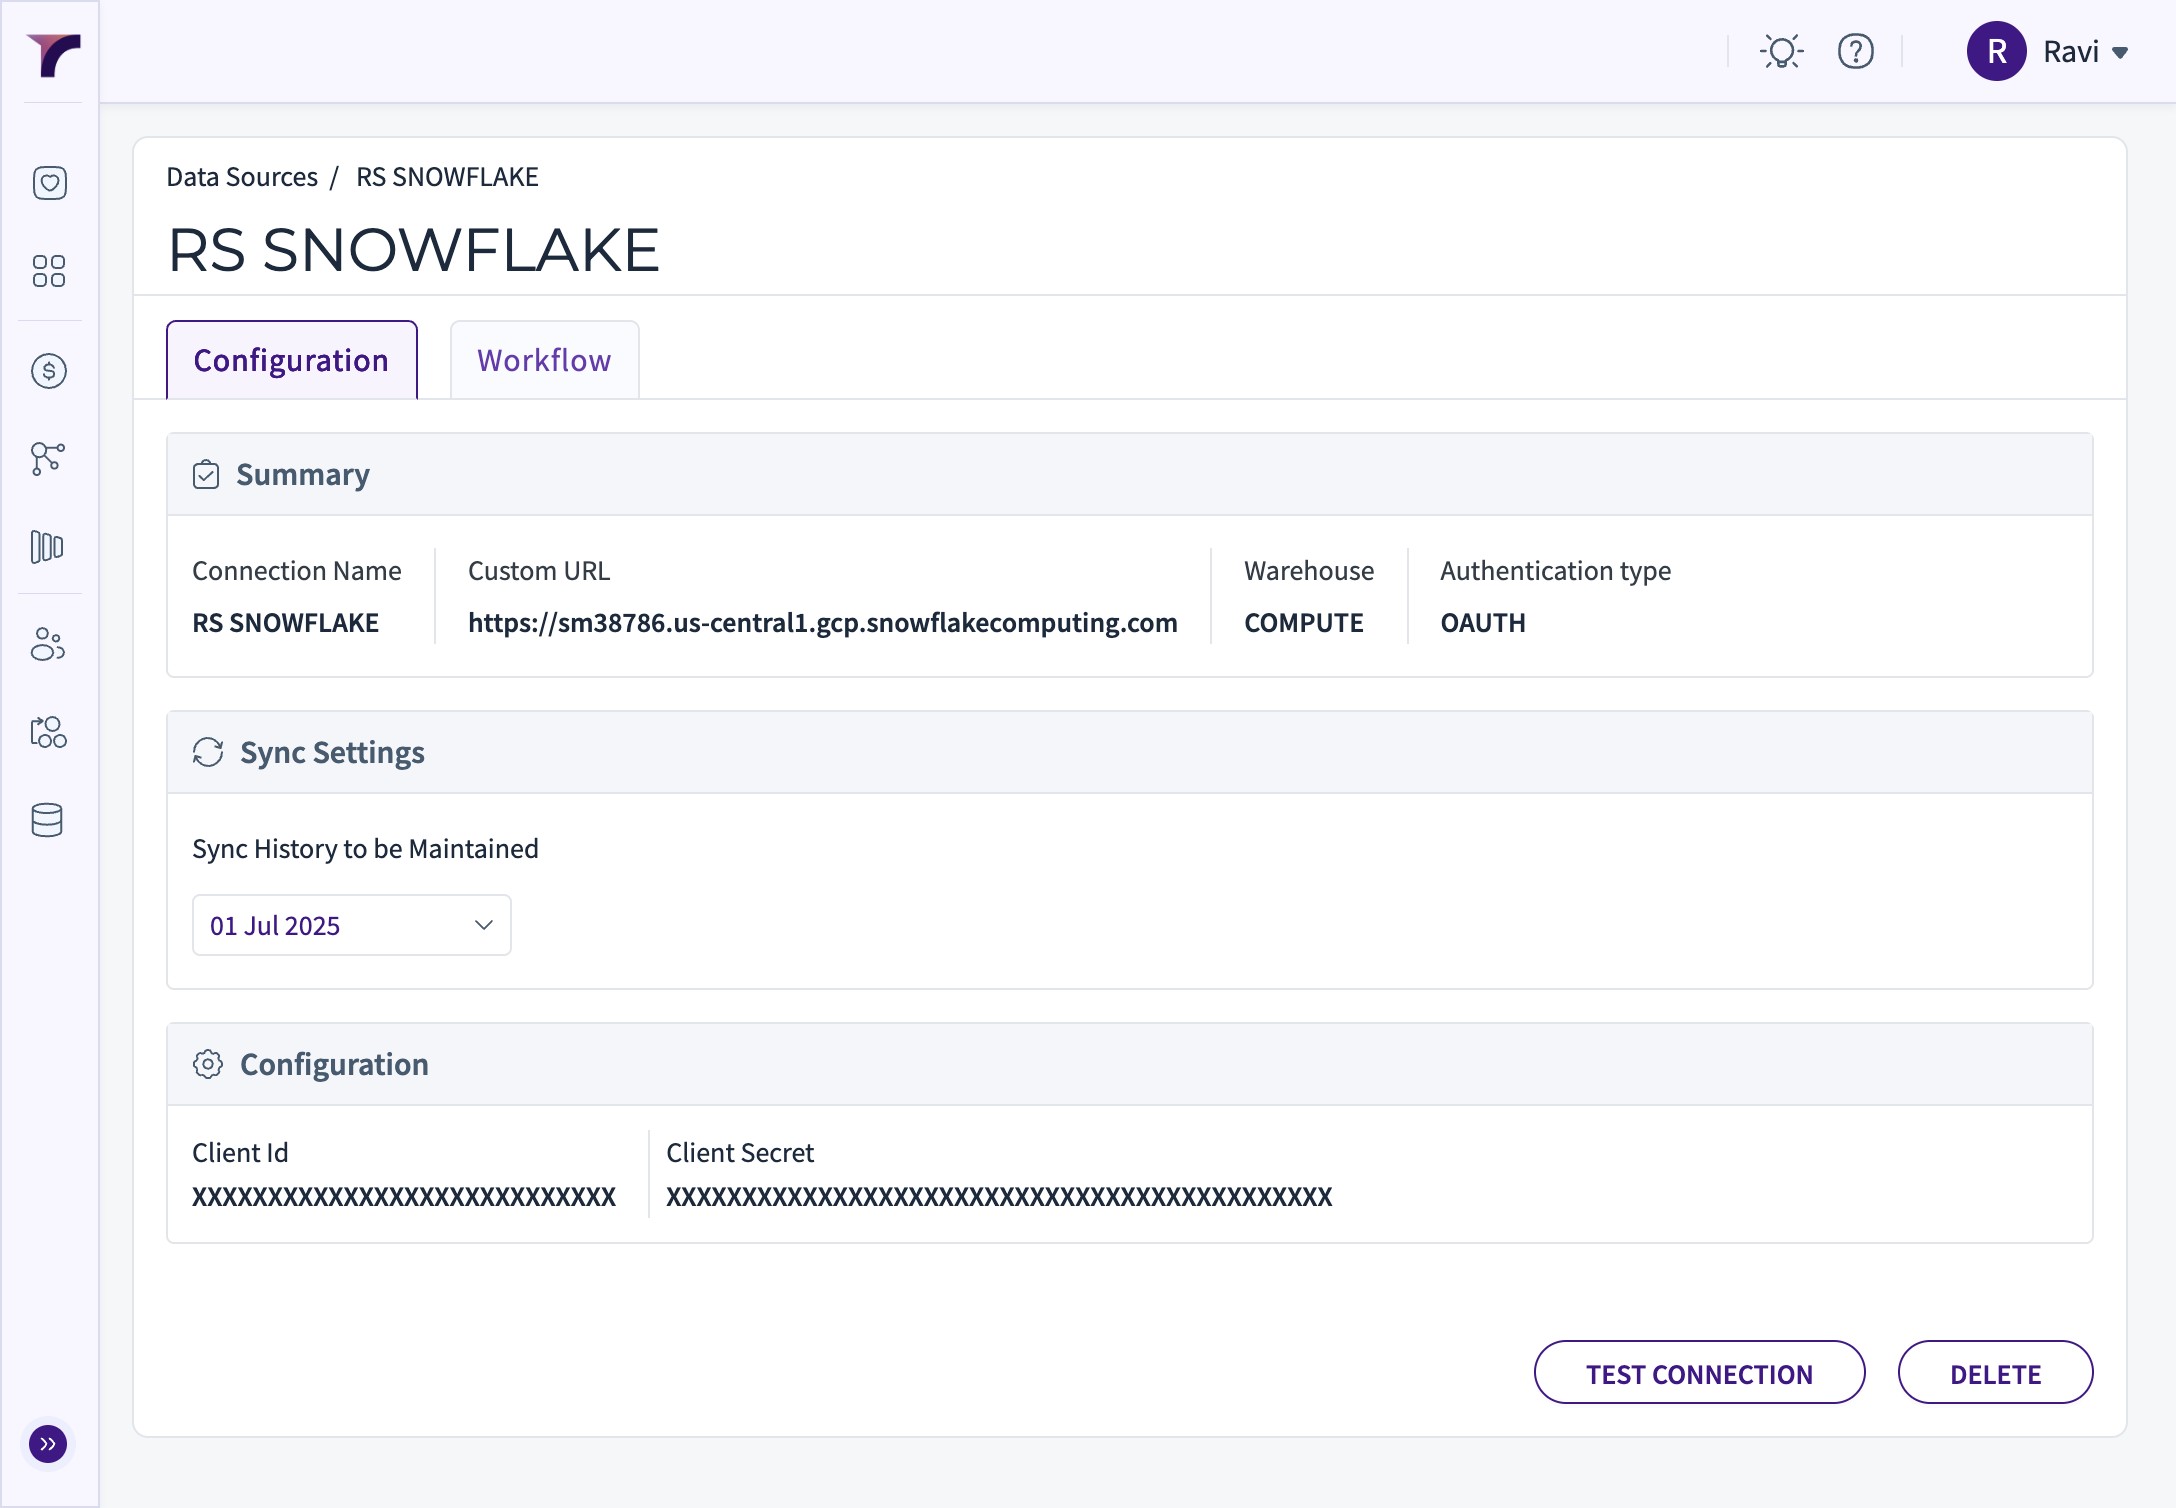
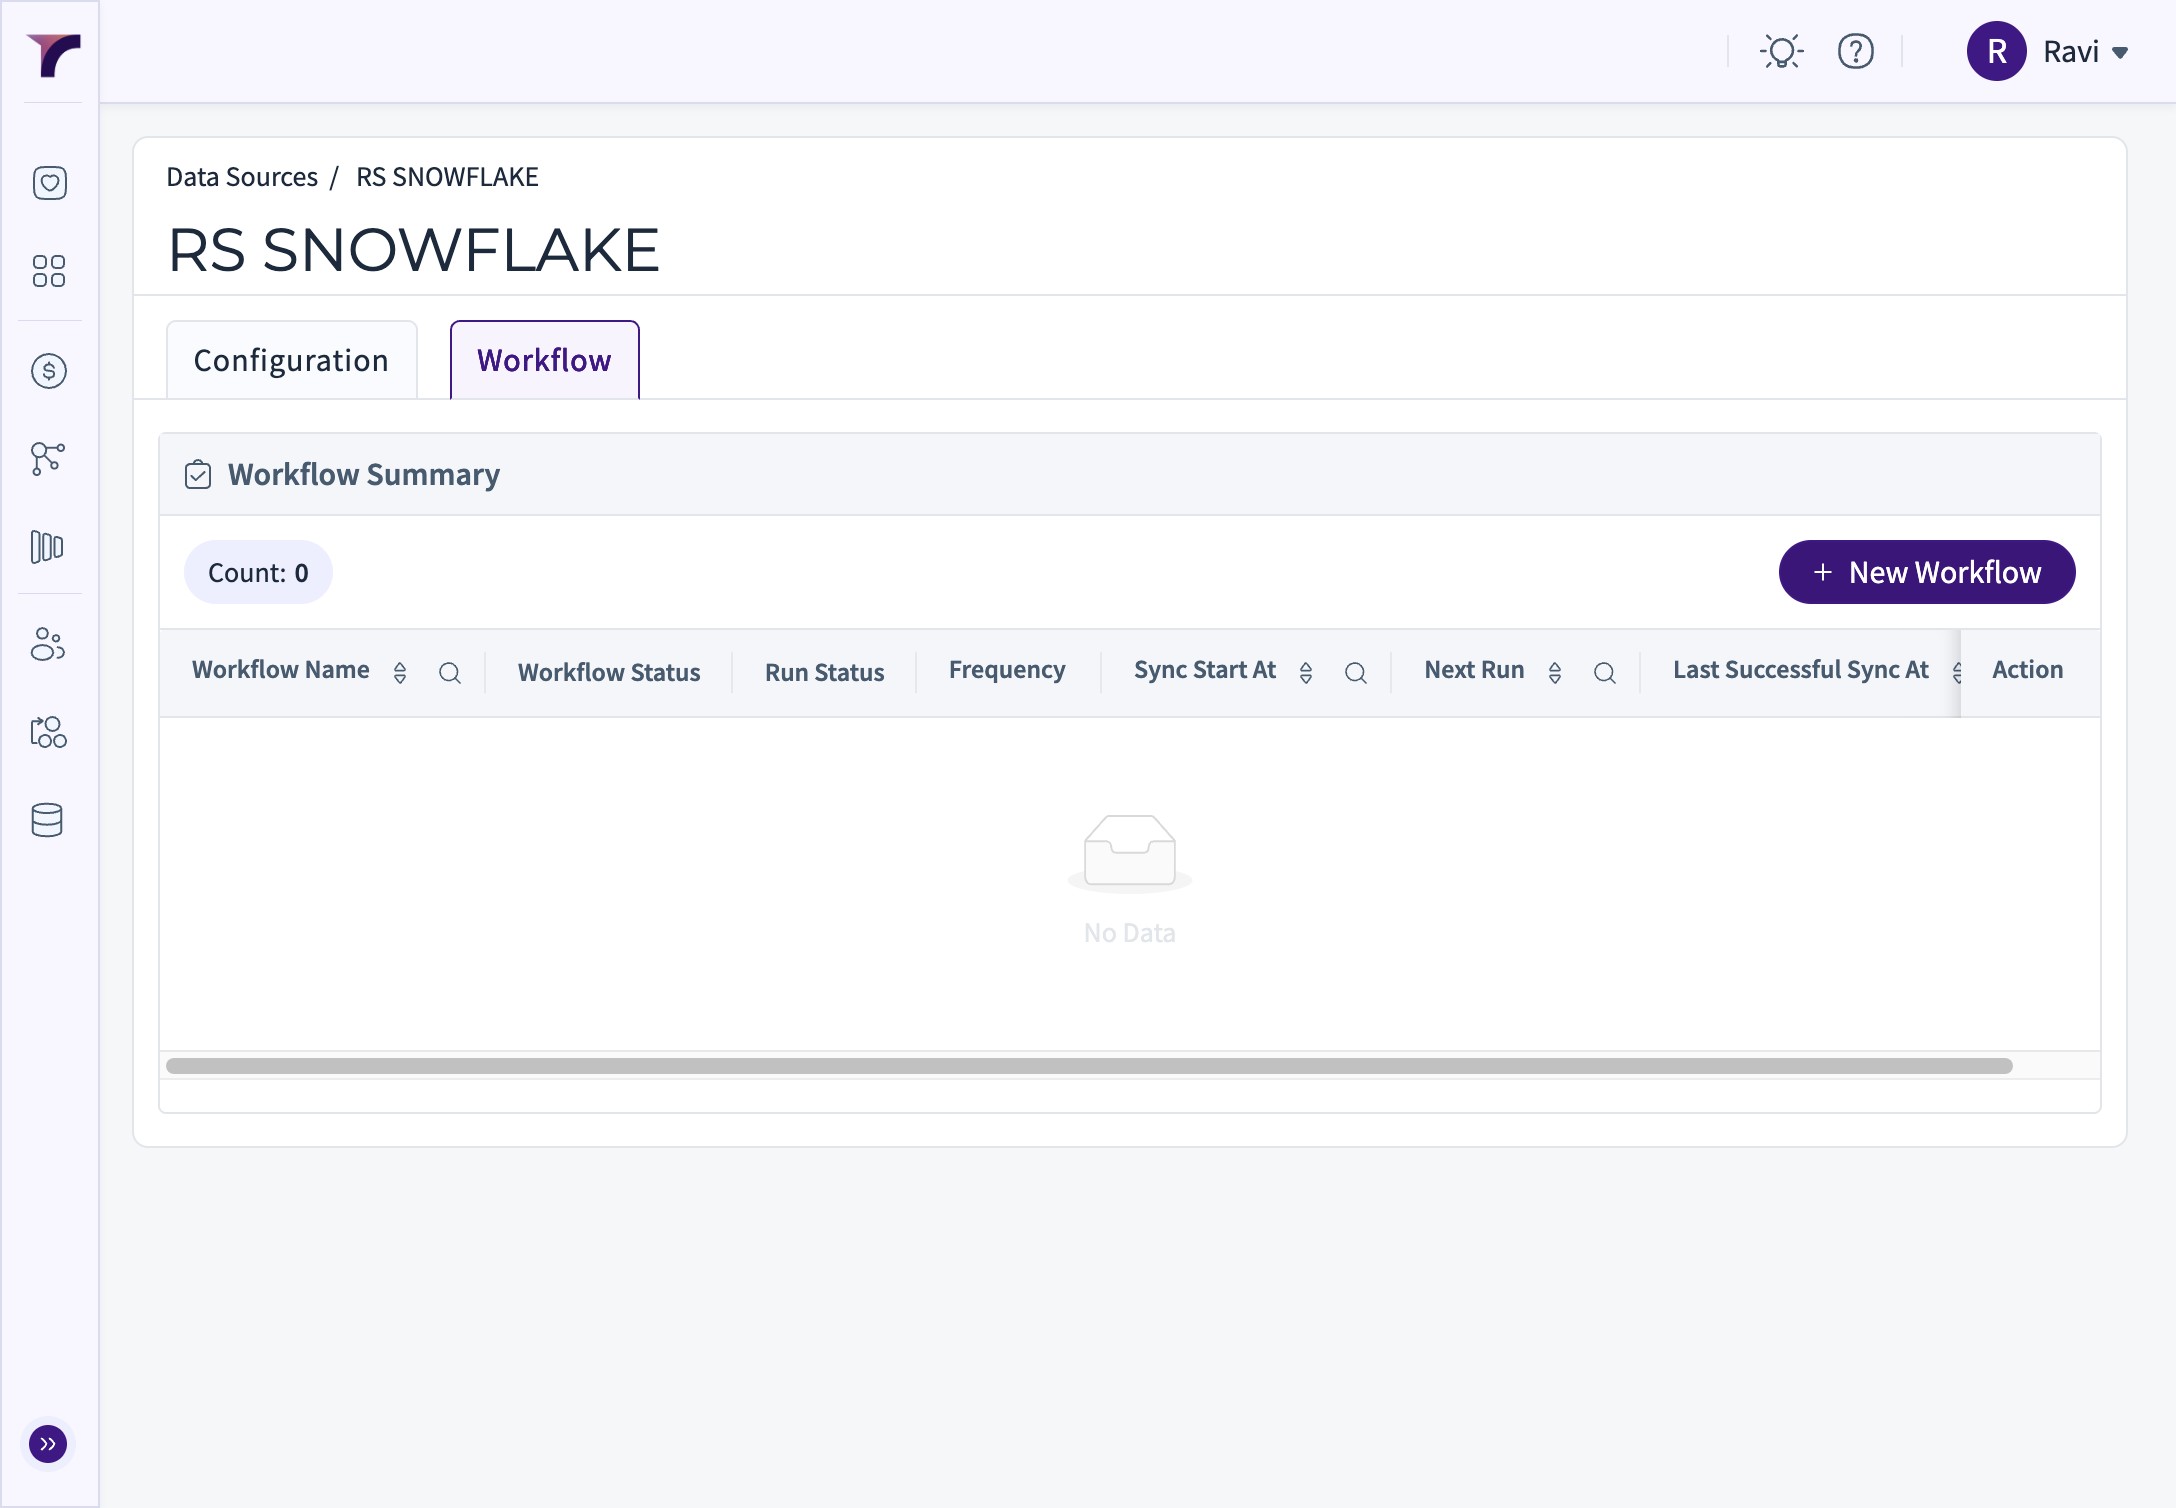
22. The Connection is created, The details can be seen on Configuration Tab.
Move to Workflow tab to setup the workflows for Extraction of Tables
23. Click "New Workflow"
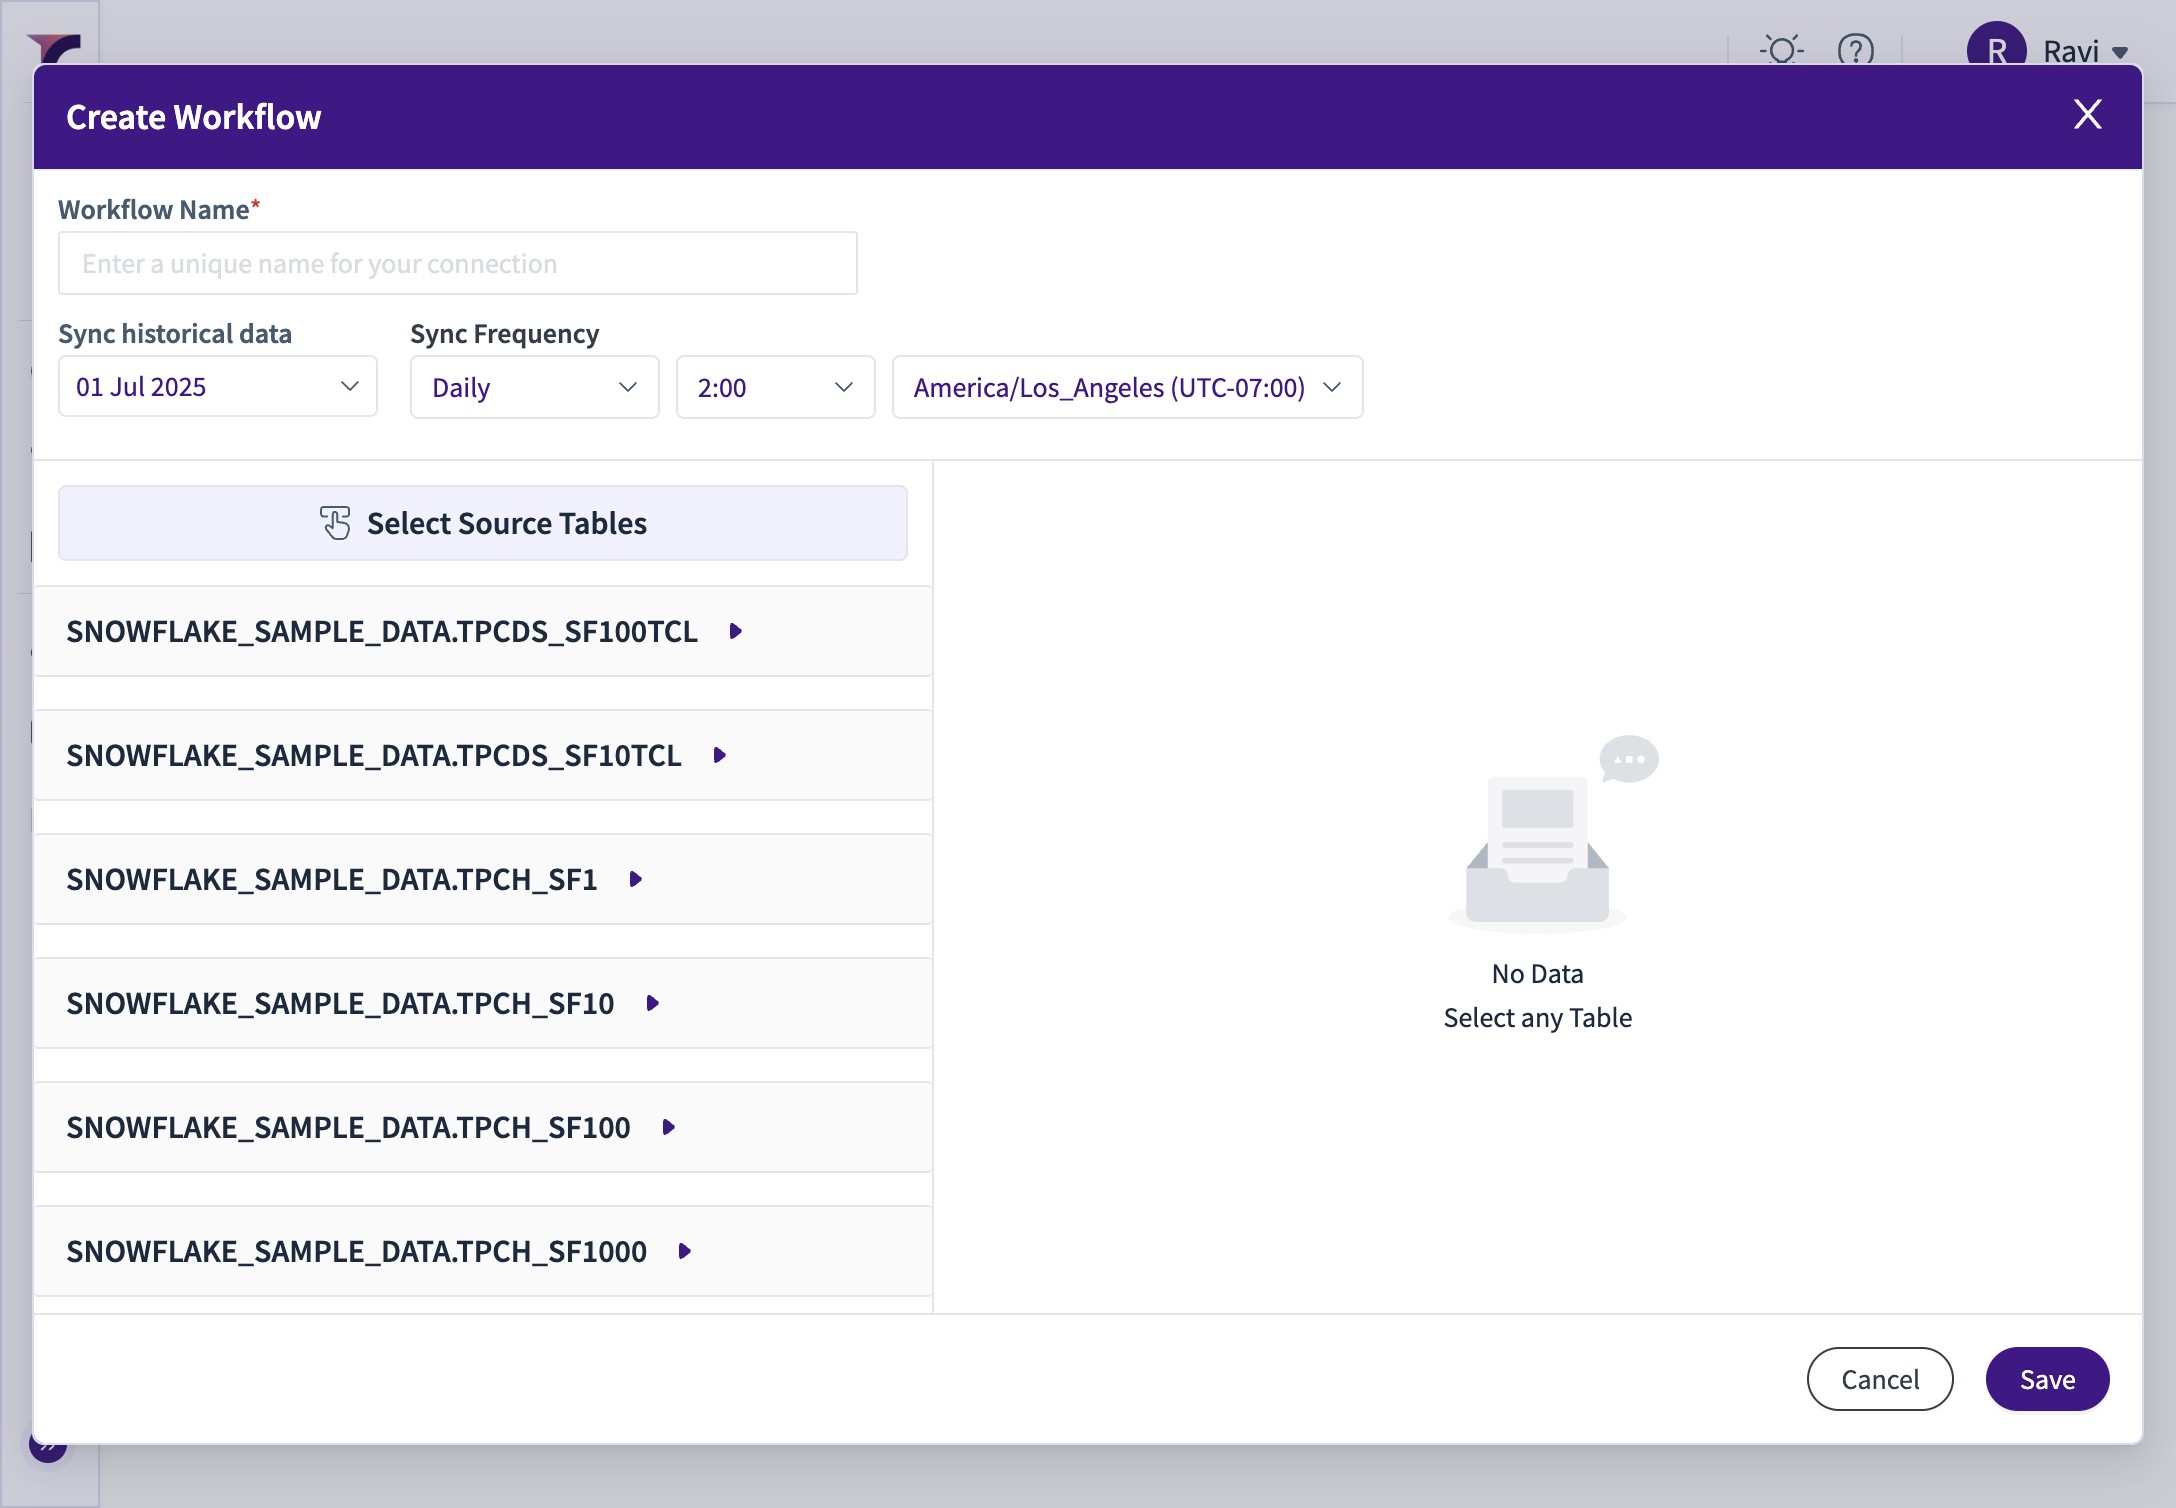
24. Choose the Database Schema
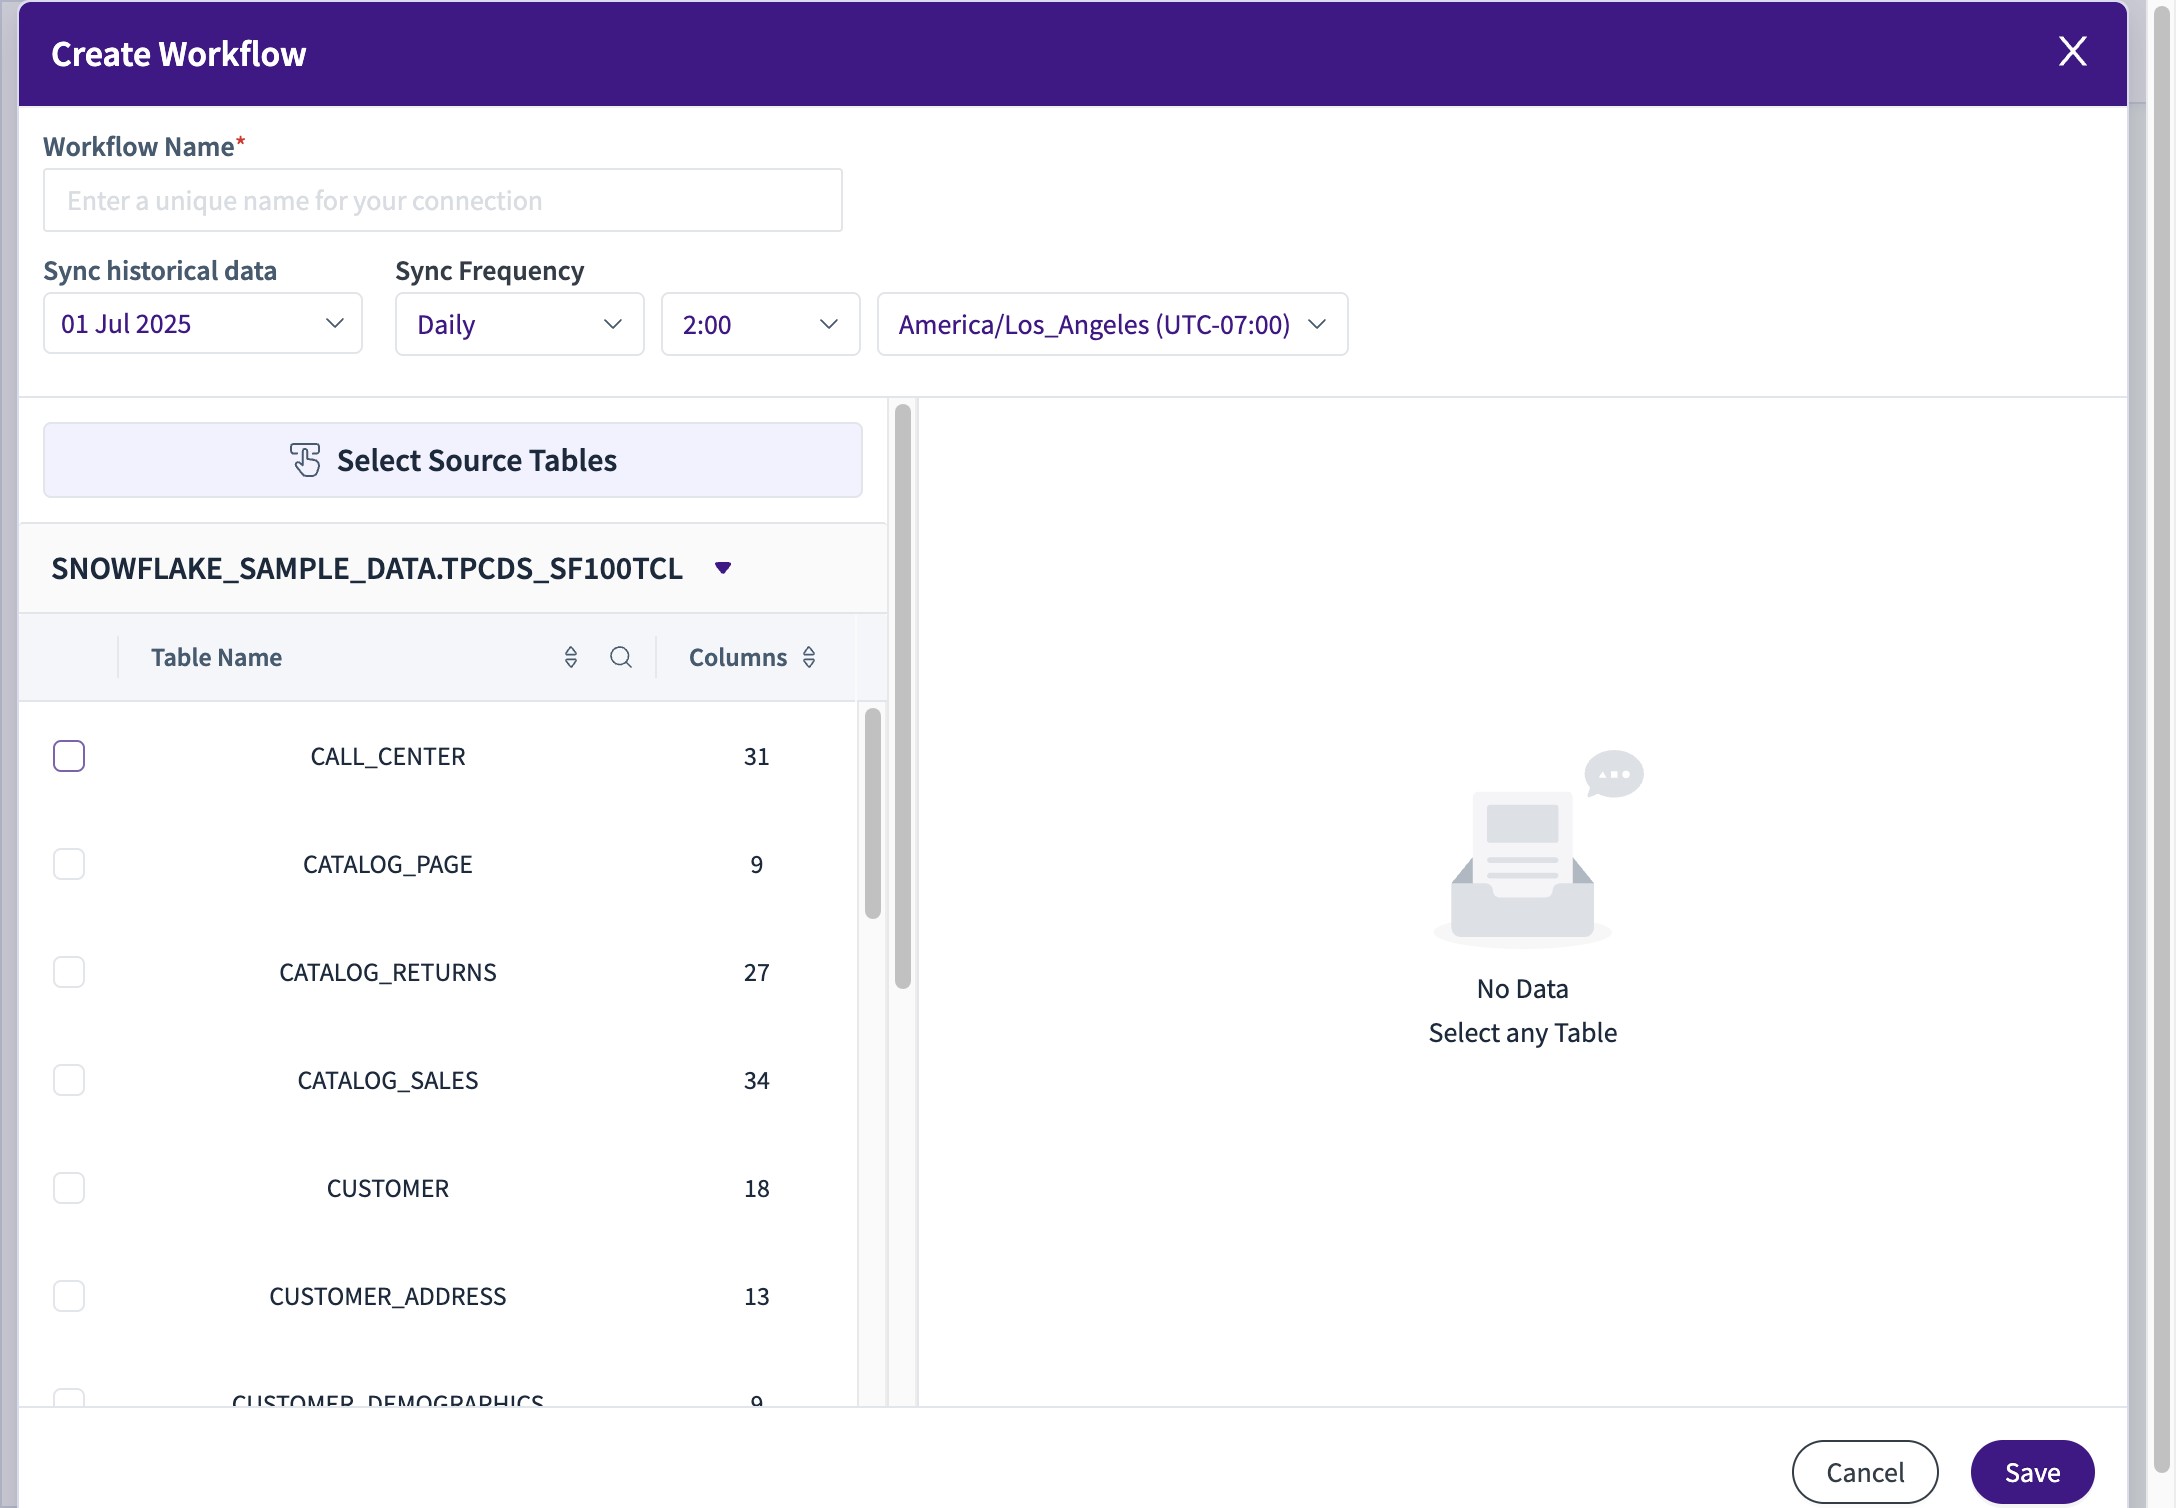
25. Select the Tables you wish to Pull
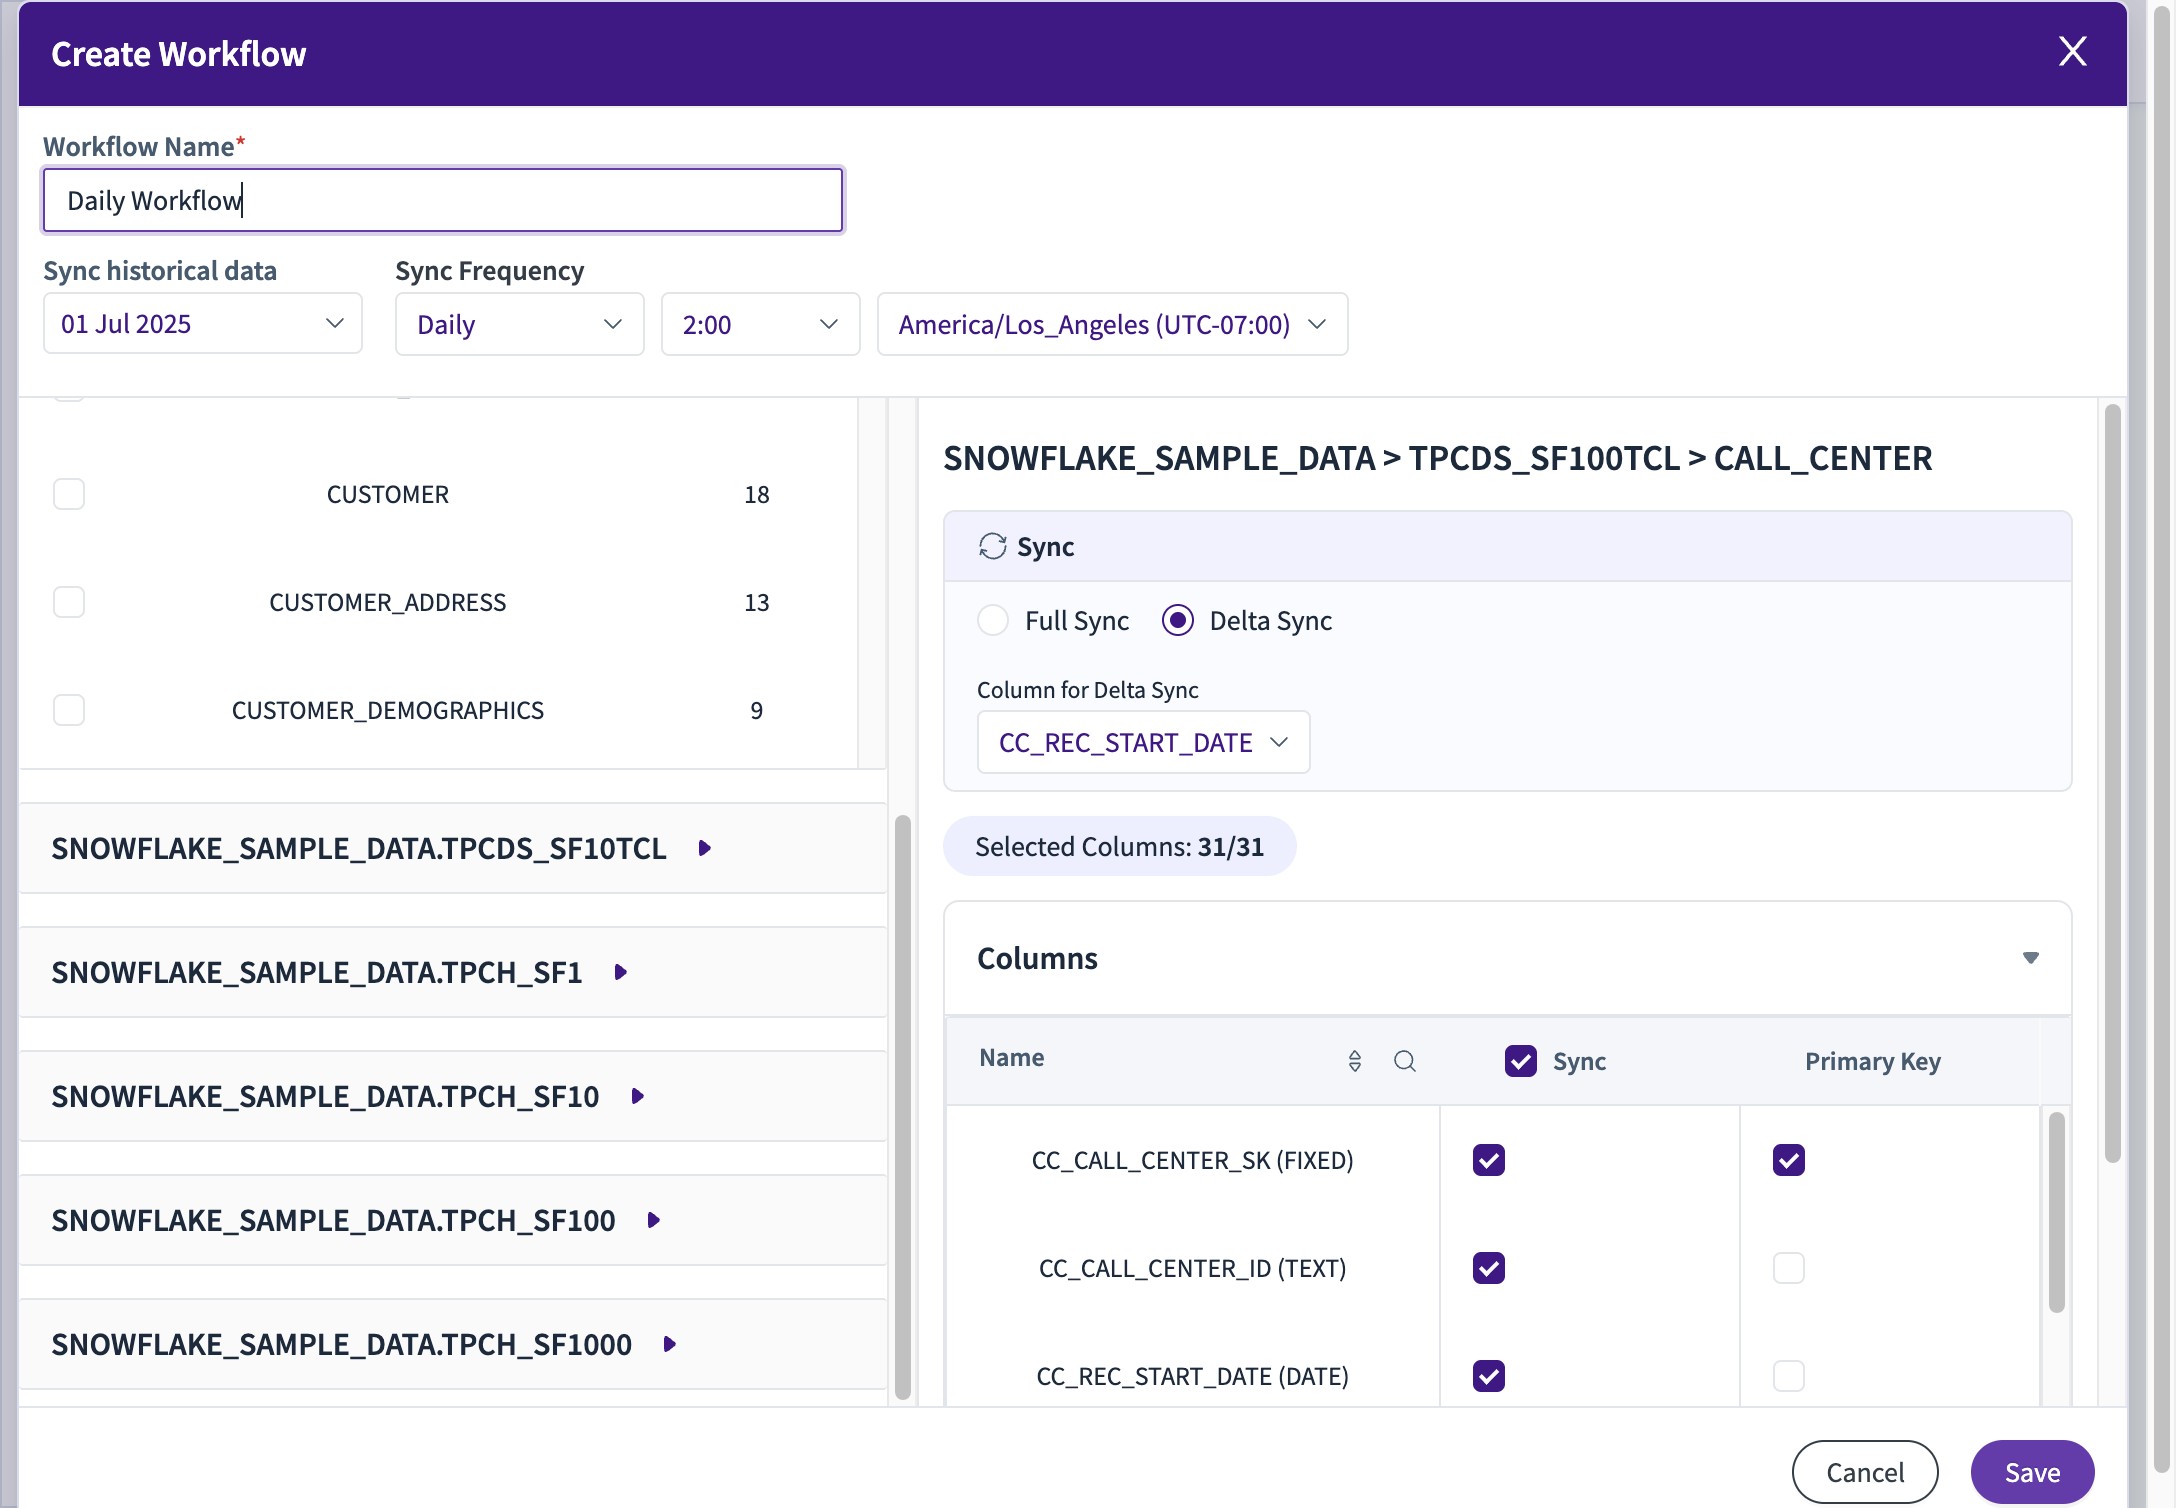
26. Select the Columns of the table you wish to pull
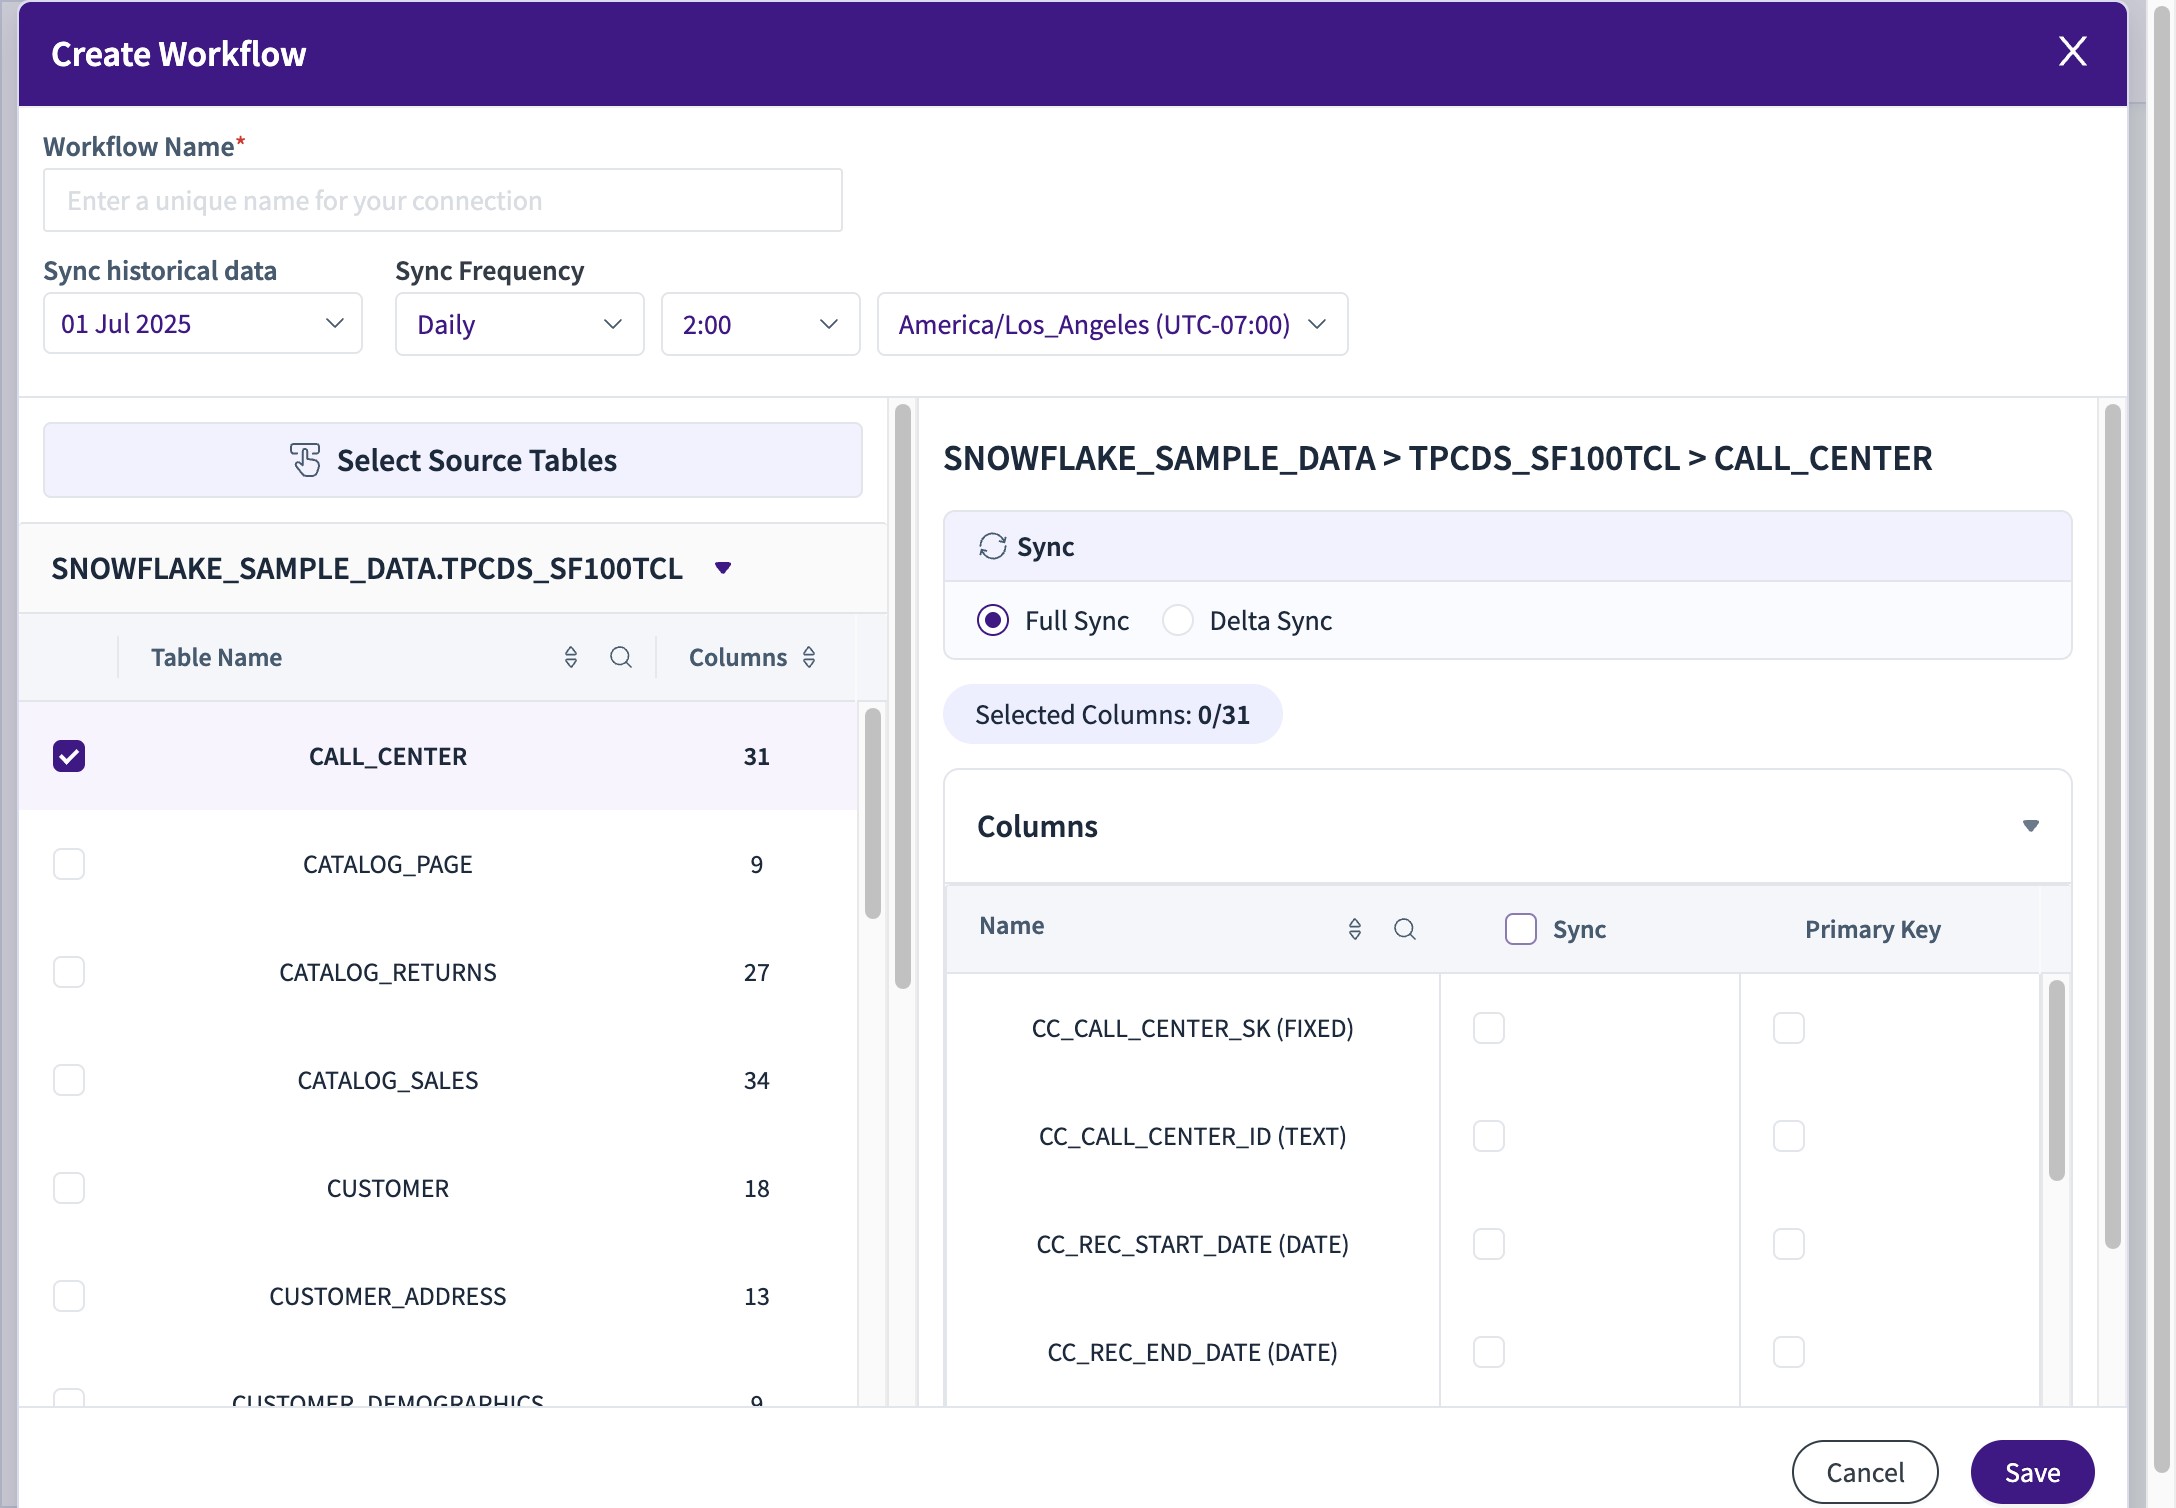
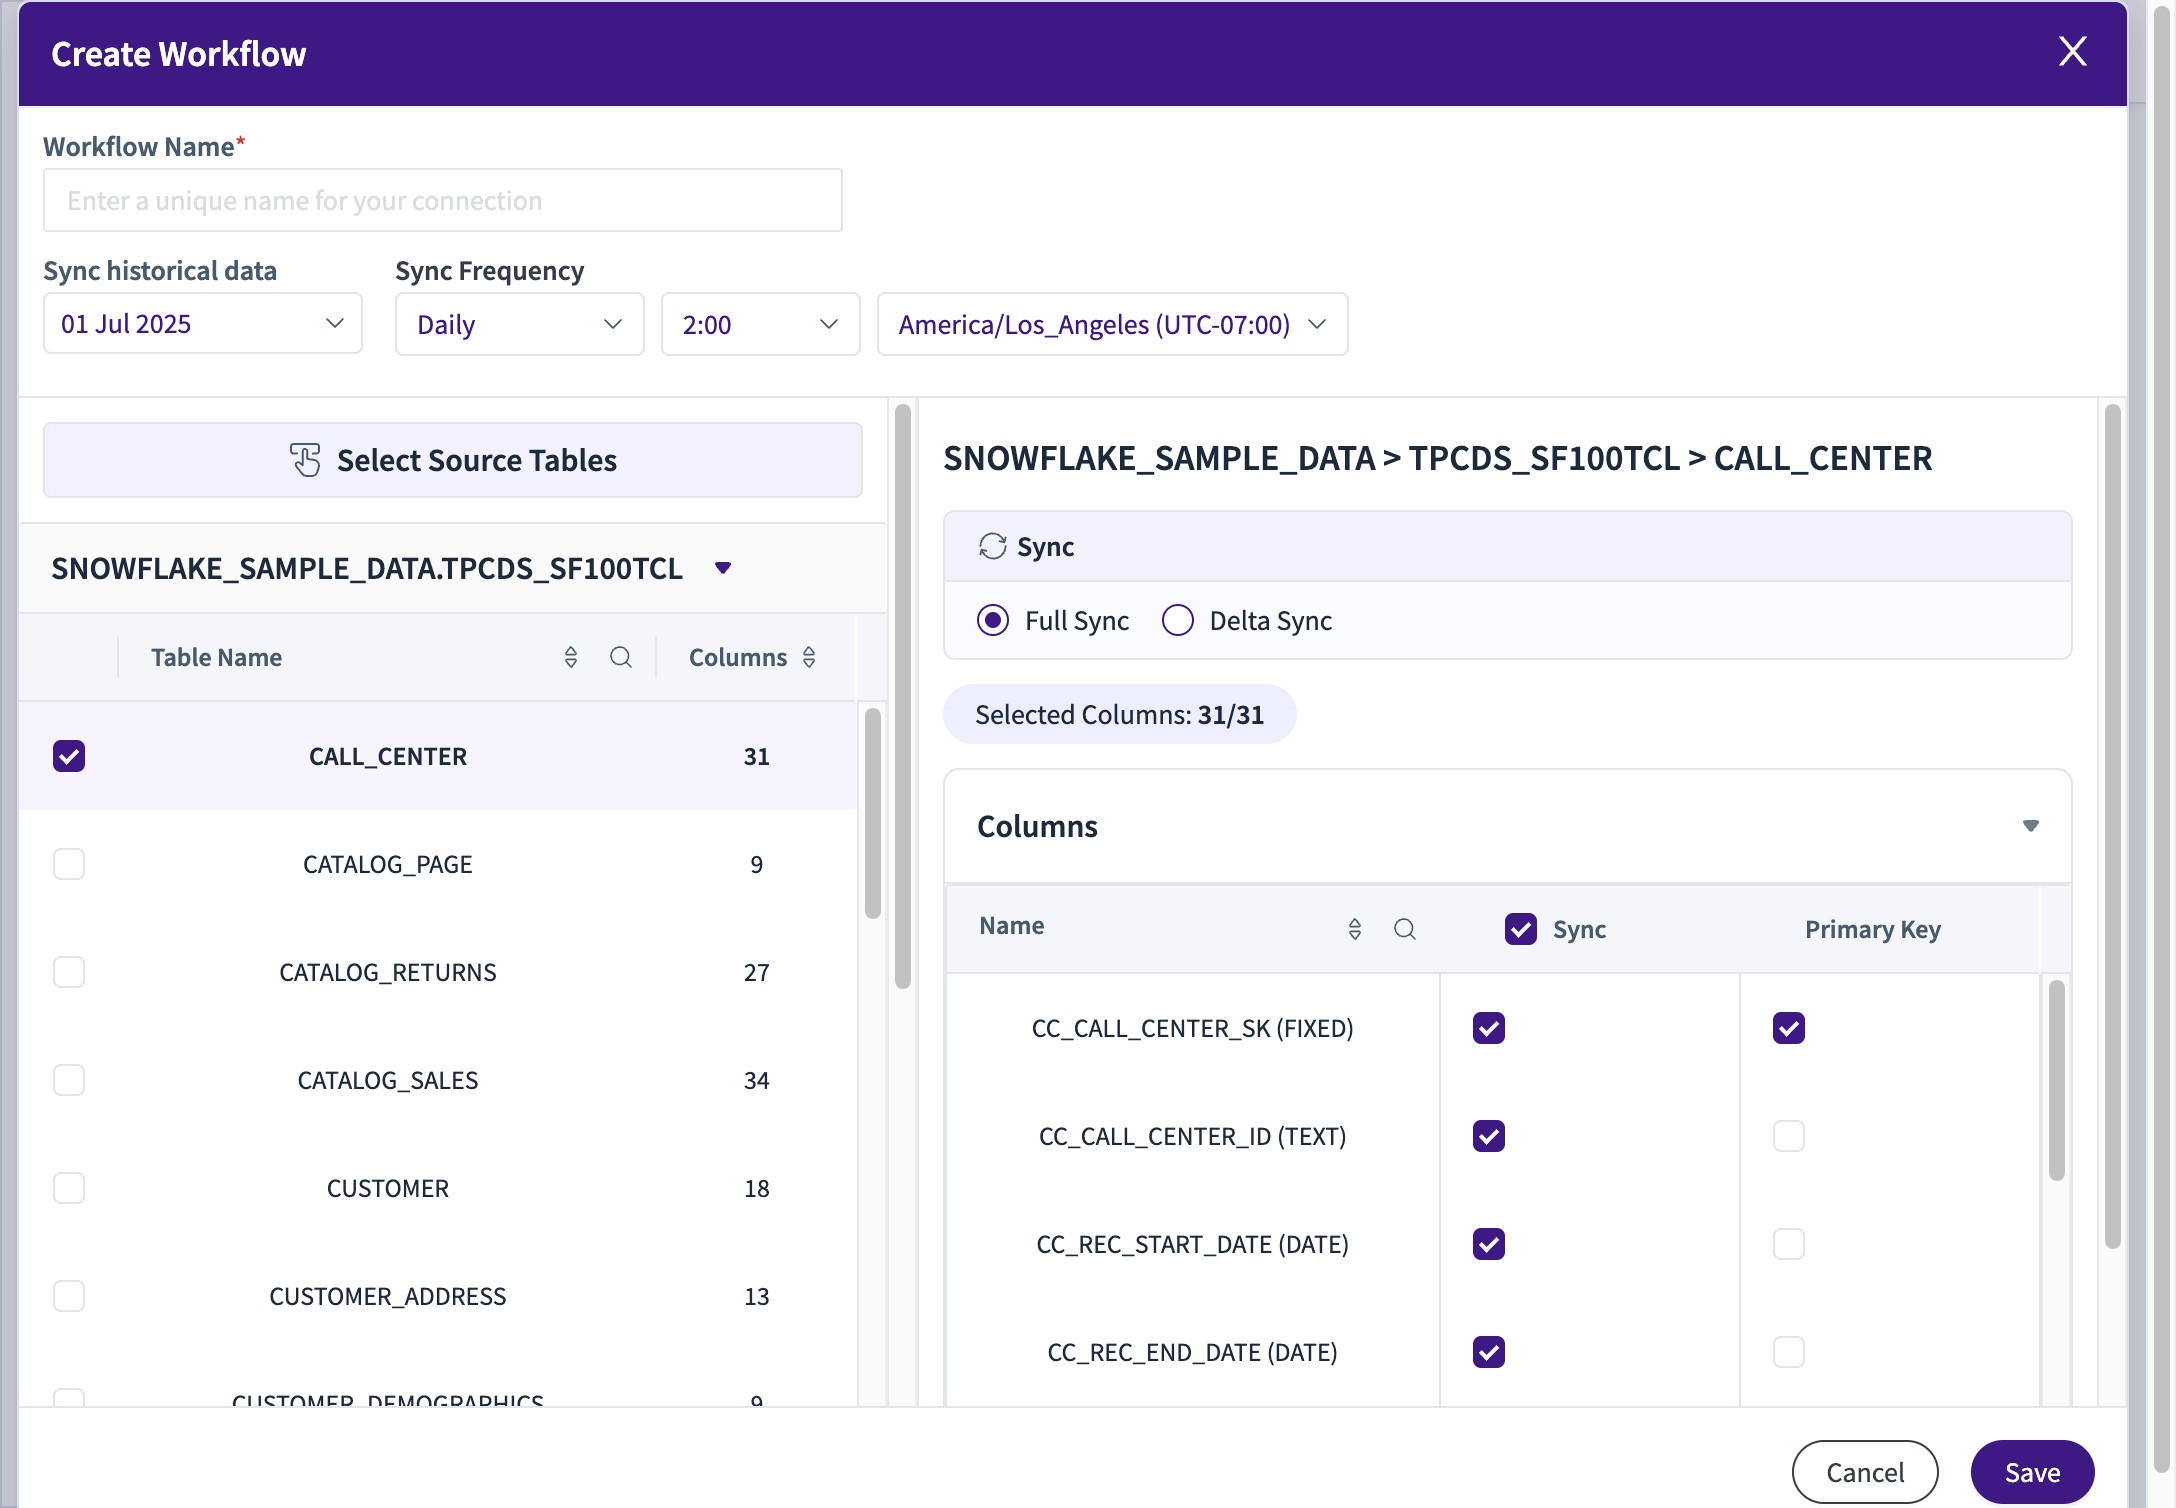
27. Select the Primary Key (Essential for Delta Syncs)
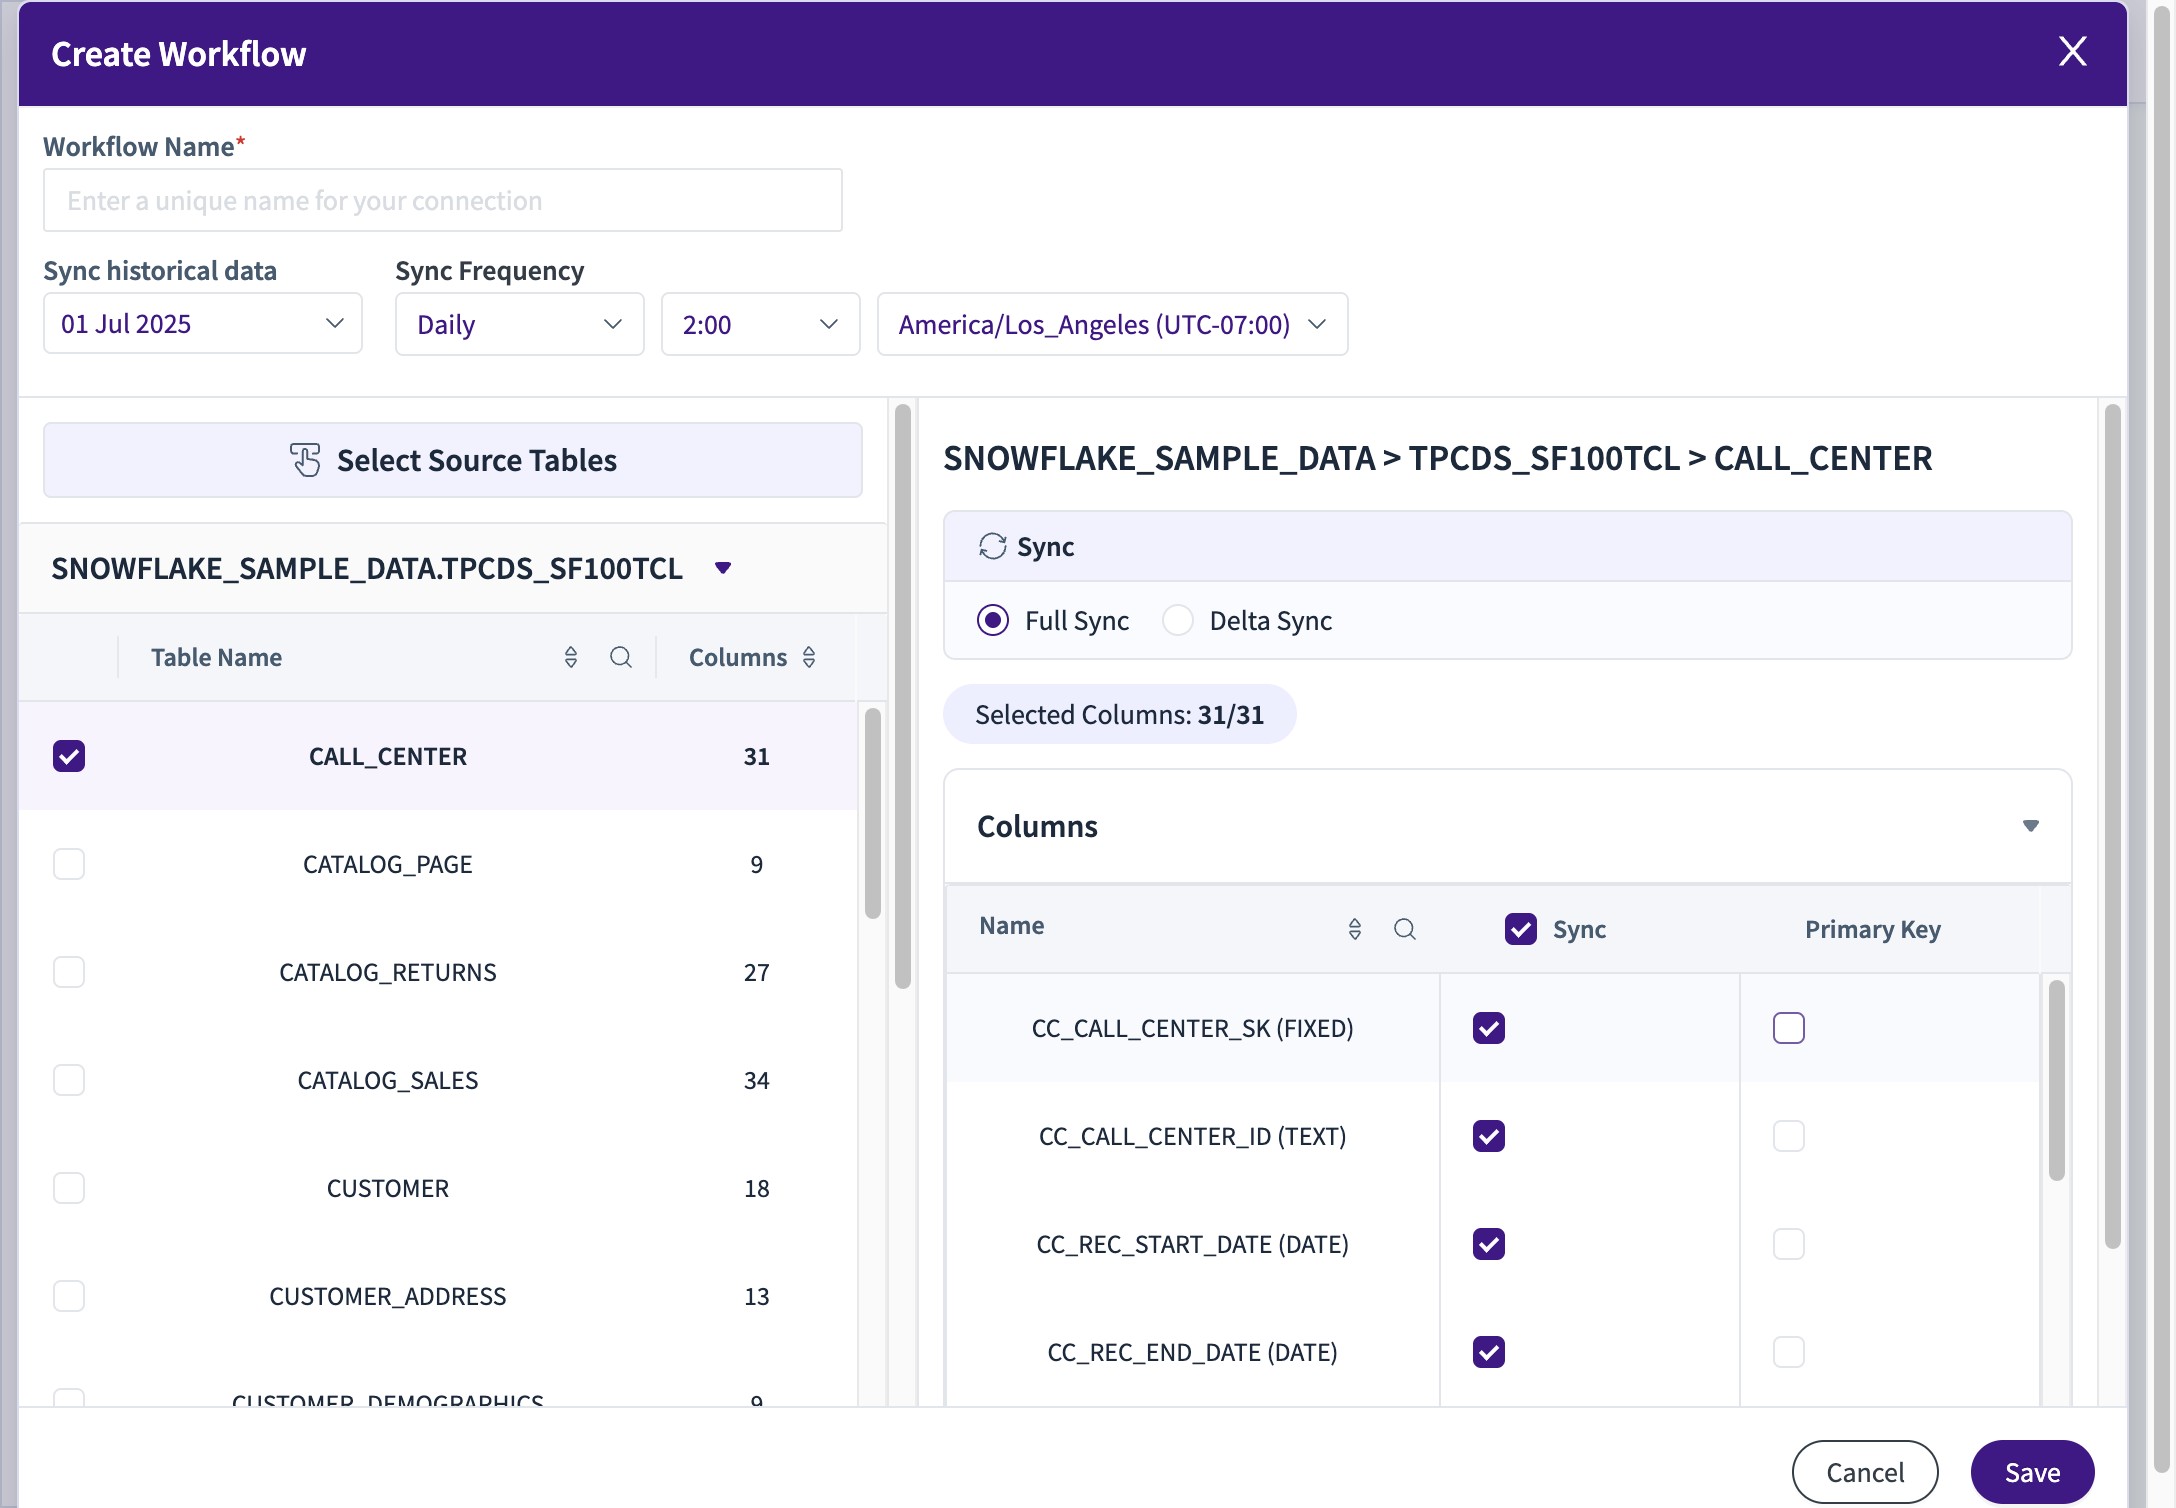
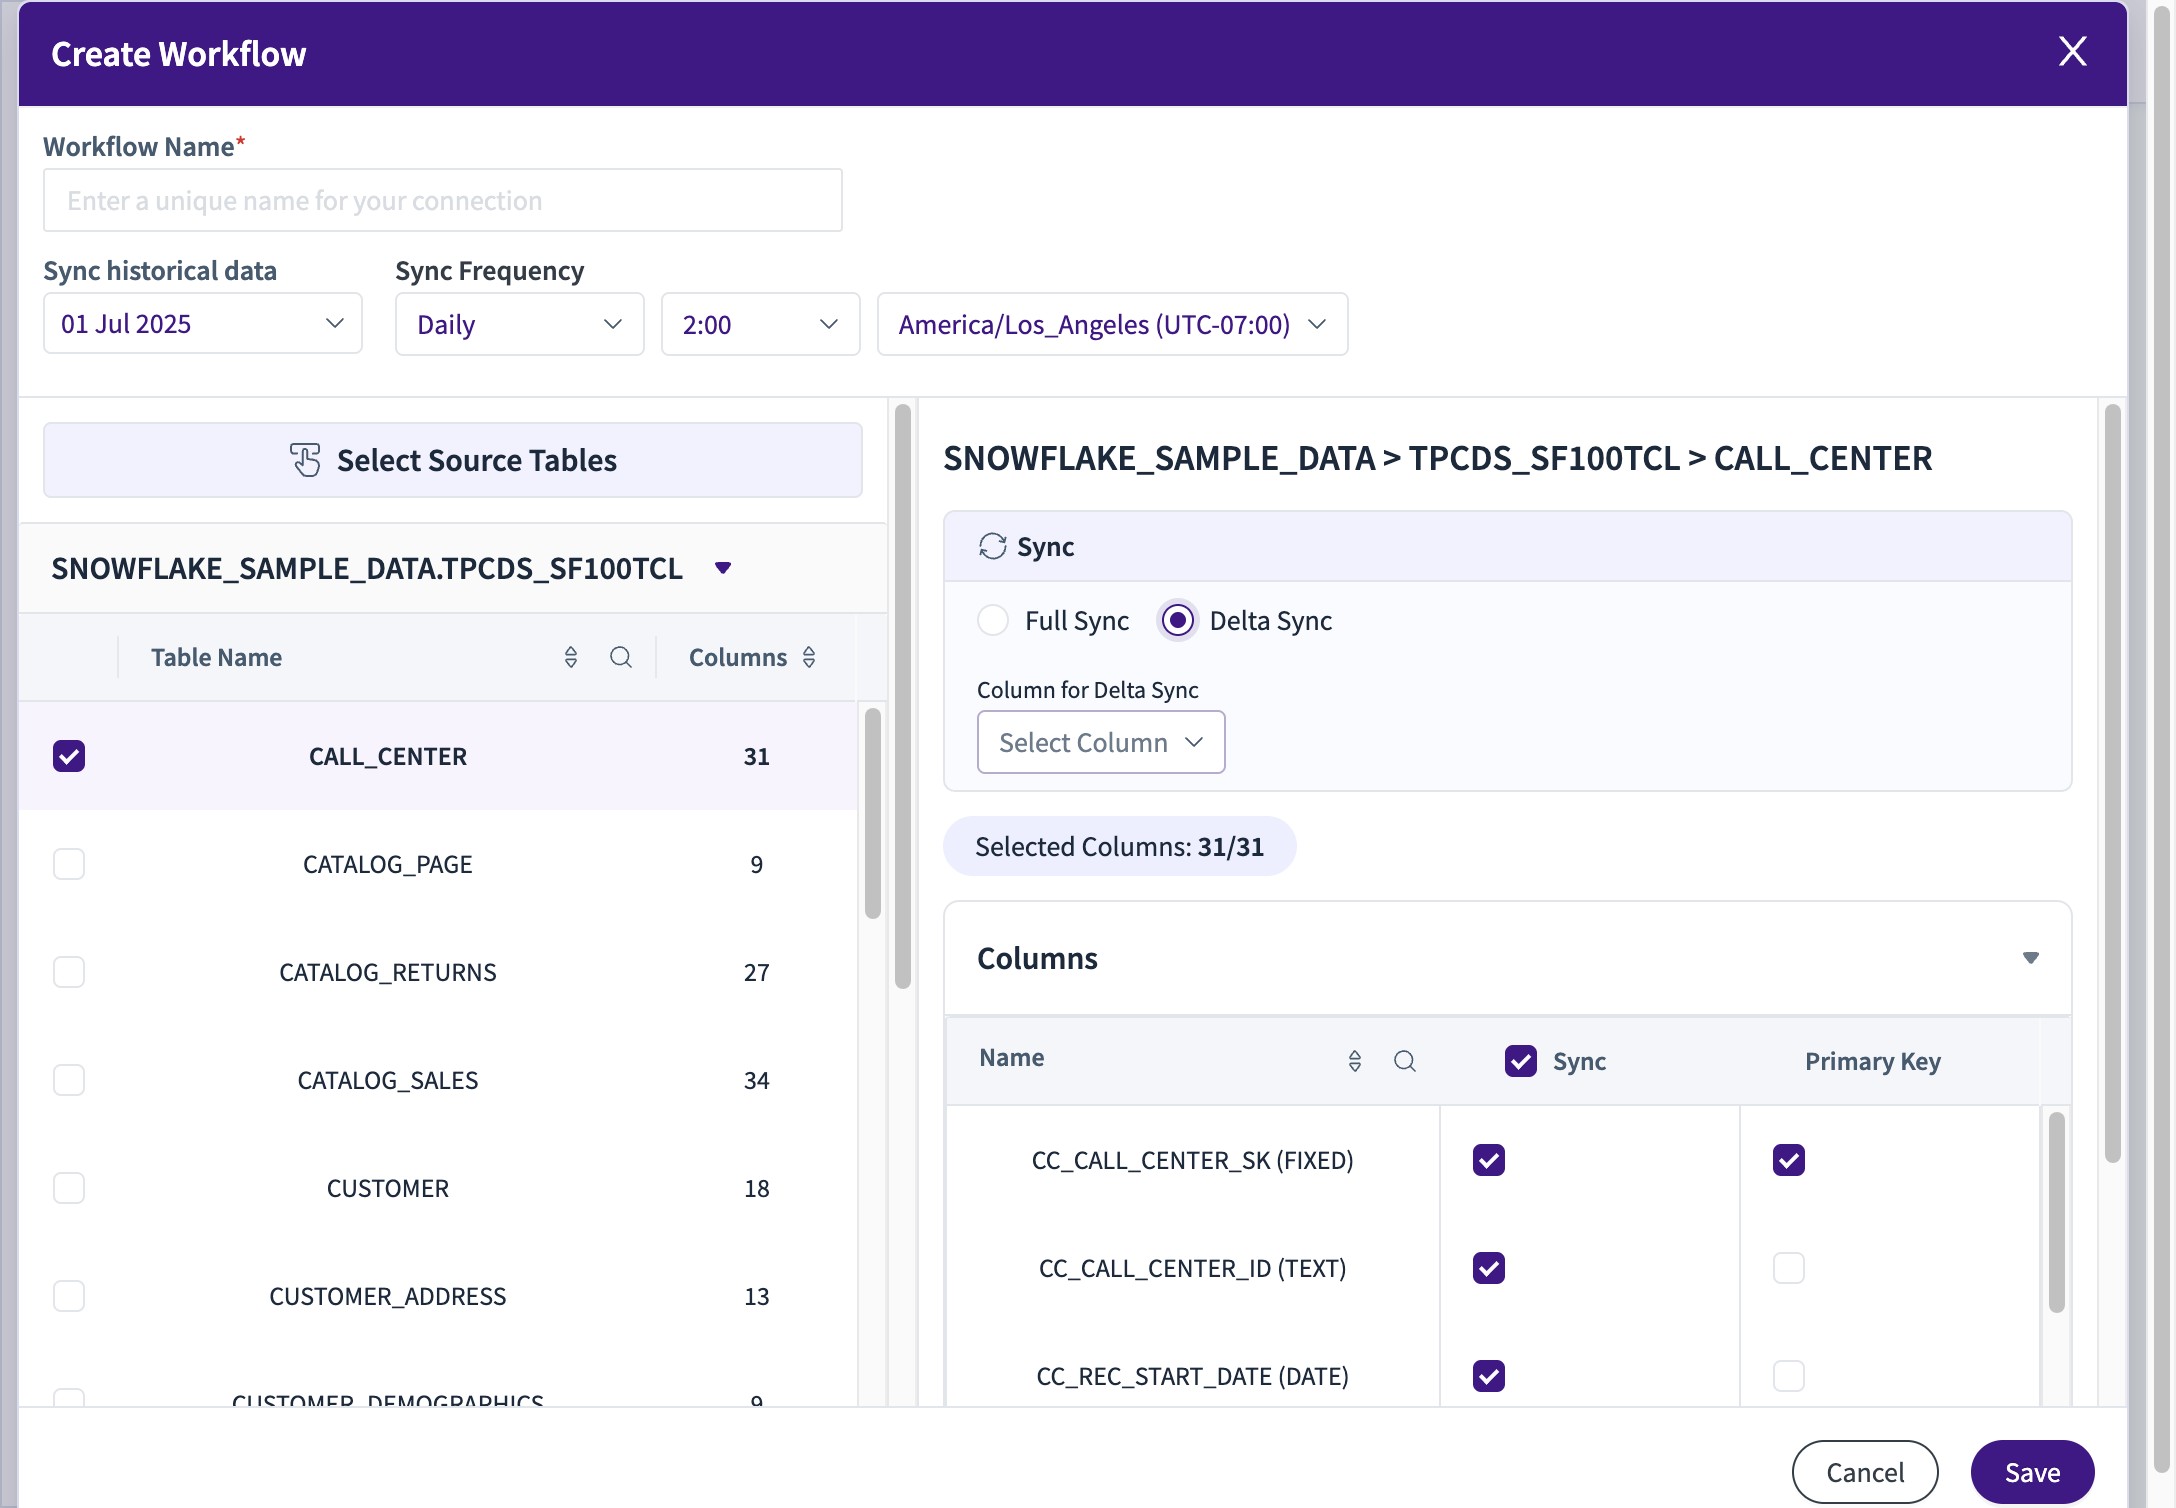
28. Under Sync Setting , Full and Delta Options are Available
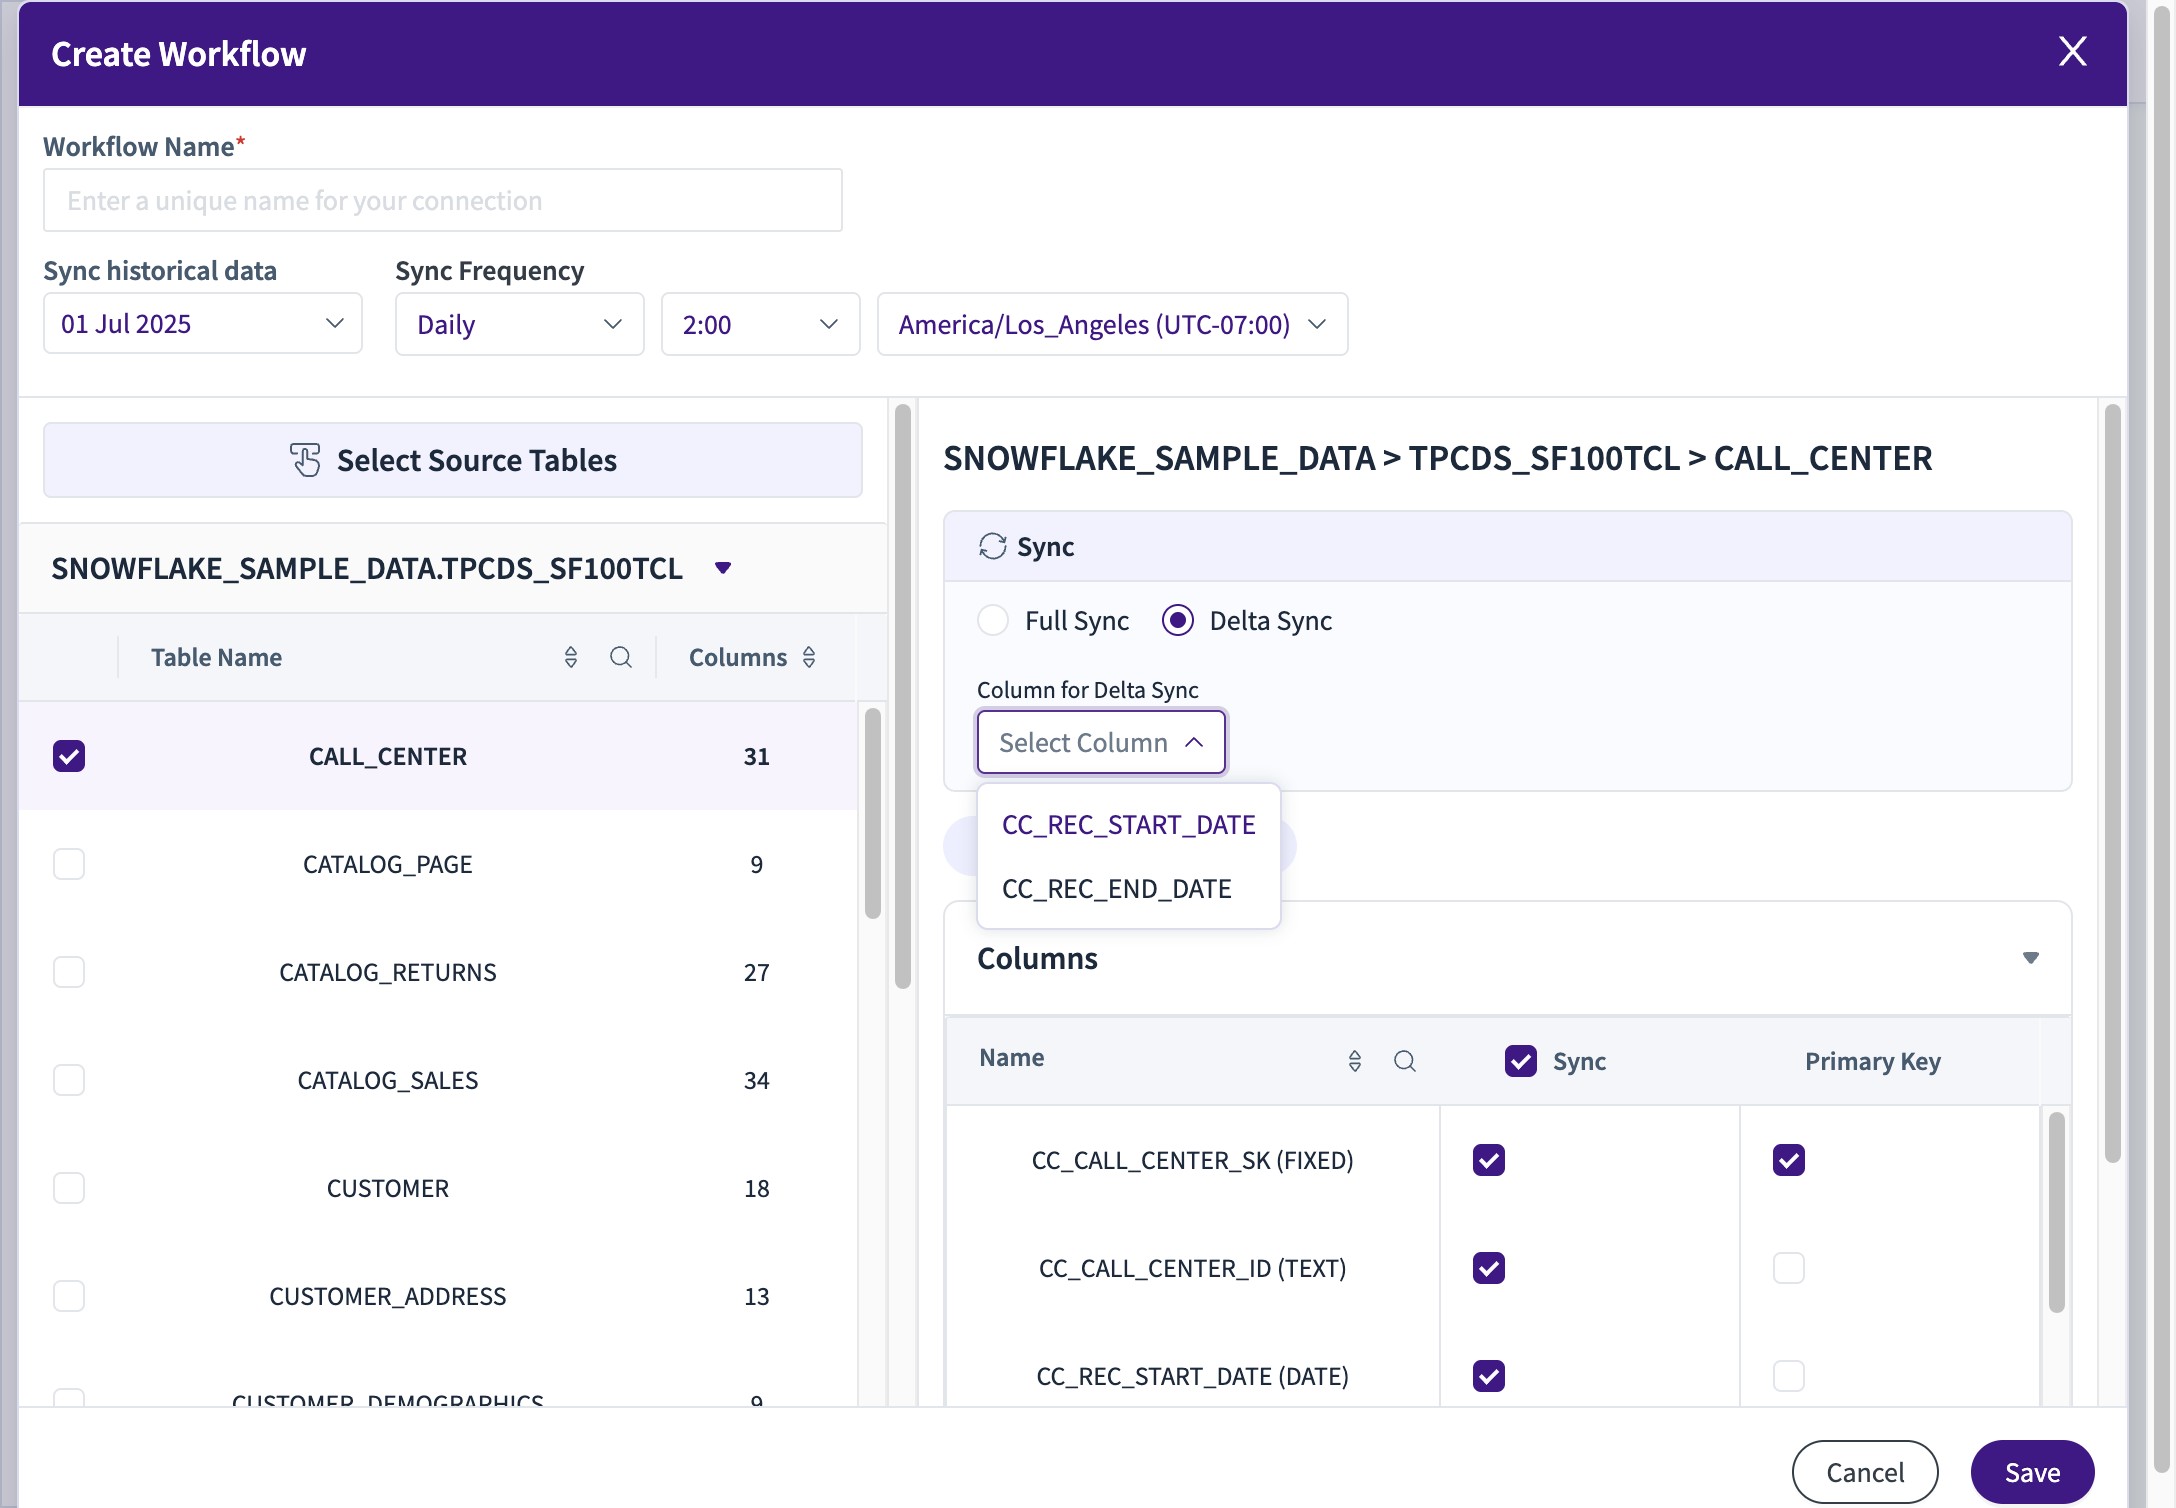
29. If Delta is selected, a Date/Timestamp Column for Delta should be selected
30. Click on the Dropdown and choose the Column
31. Give the Workflow a Name
Set Historical Date from the Date Widget - From where you want data to be pulled
Also Frequency for the time for Sync

32. Type "Daily Workflow"
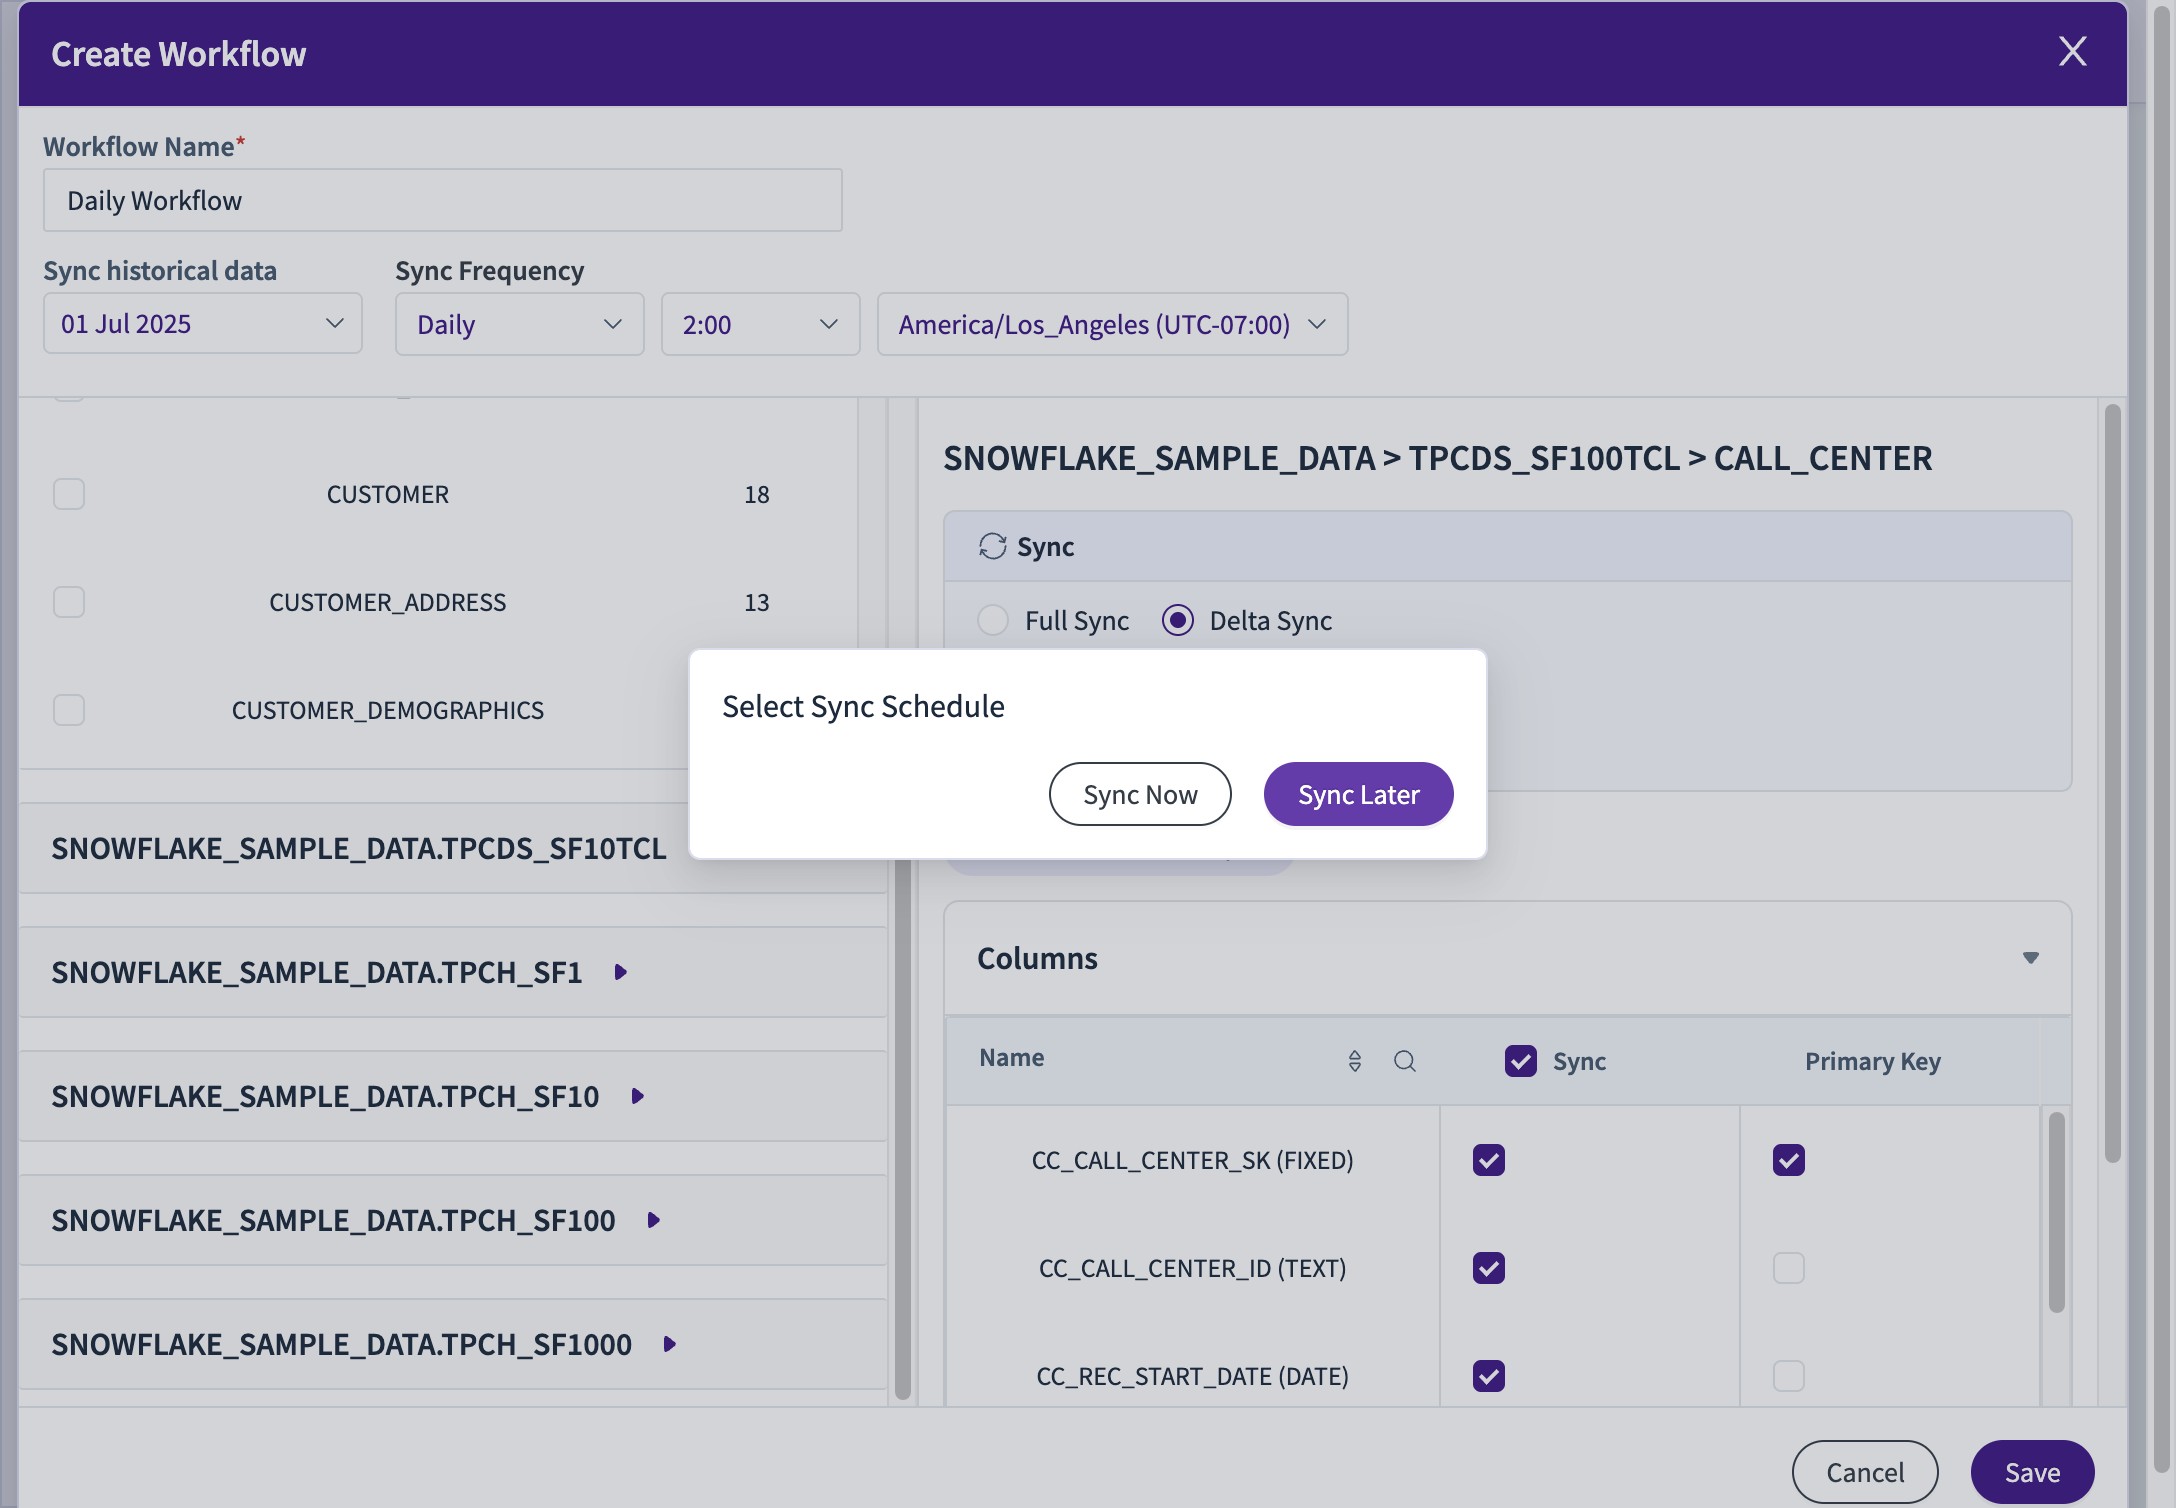
33. Click "Save"
34. At Save, There would be 2 Options - Sync Now and Sync Later
Sync Now - Triggers a Sync right away
Sync Later - The next Sync would start at Selected Frequency
35. You can Check the Status and Other Live information at the Workflow Summary Now